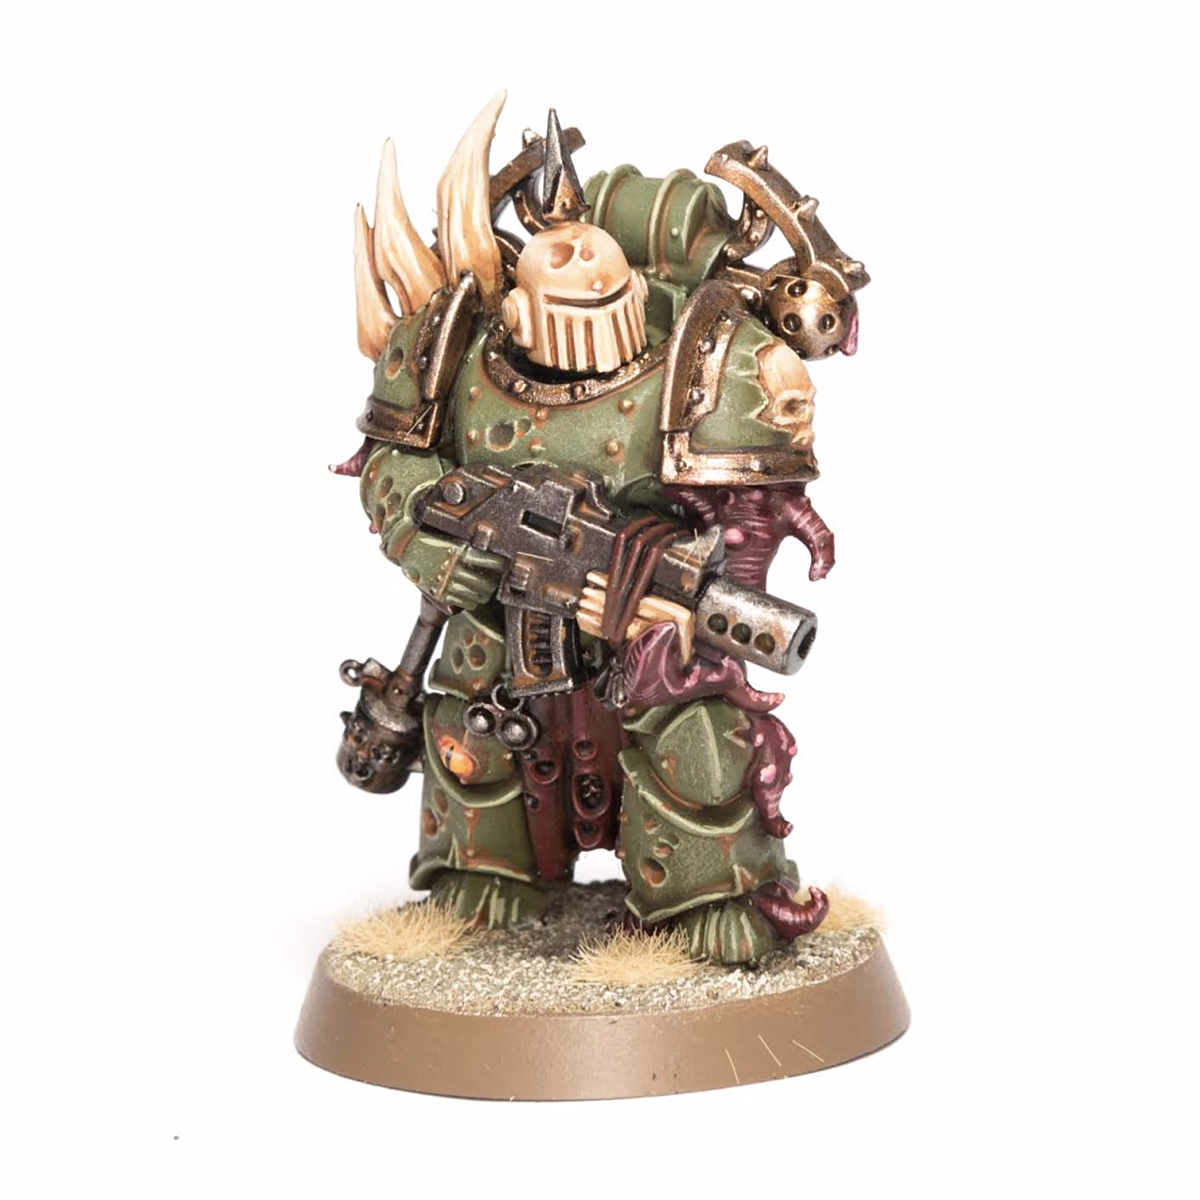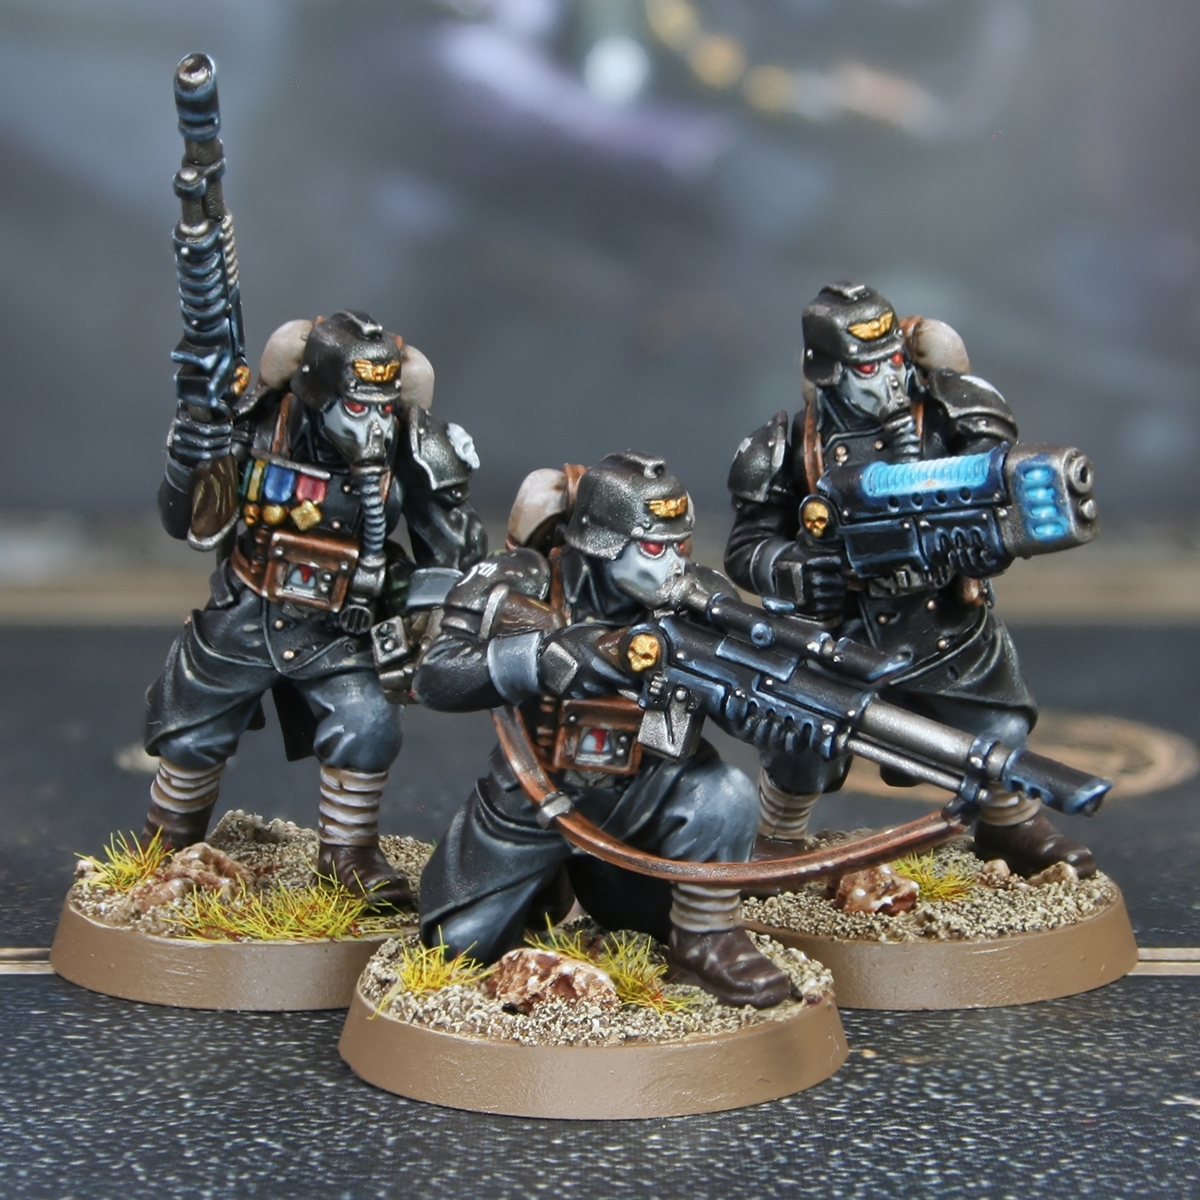

Here is a quick guide to the main colours of my Krieg Veterans. If there is anything else you want covered, please let me know on Instagram.
 Black Trench Coat
- Prime your guardsman with black, just to make things easier. I used Chaos Black .
- Go over all of the black areas with Abaddon Black . I did the trench coat, gloves and gun casing.
- With a 1:1 mix of Abaddon Black and Skavenblight Dinge , drybrush the trench coat. This can be quite a heavy drybrush, as the aim is to catch all raised details.
- Edge highlight all the folds and raised parts with a thin line of Skavenblight Dinge . In areas where edge highlighting is not possible, just thin the paint more and glaze towards the centre of the highlight.
- For the second highlight, go over most of the same area again, but with Stormvermin Fur . This time be more selective and aim for prominent curved edges, corners and points. Drag your brush towards the centre, to ensure the most pigment ends up in what should be the brightest area.
- With an equal parts mix of Stormvermin Fur and Karak Stone , place small highlights even more selevtively within the same area. Make these very small, they are here to frame the final specular highlight and smooth the transition.
- Finally, place dots of pure Karak Stone on points, corners and where lines meet.
- Paint the buttons with Runelord Brass .
- Mix some Stormhost Silver into the paint above and add a small dot to the buttons.
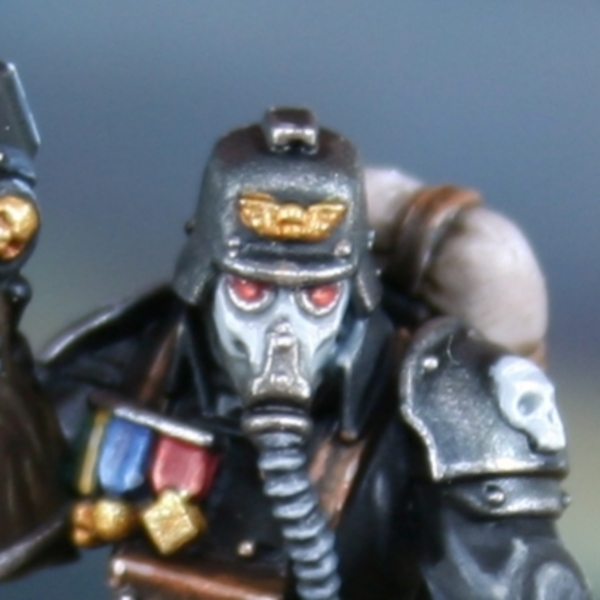
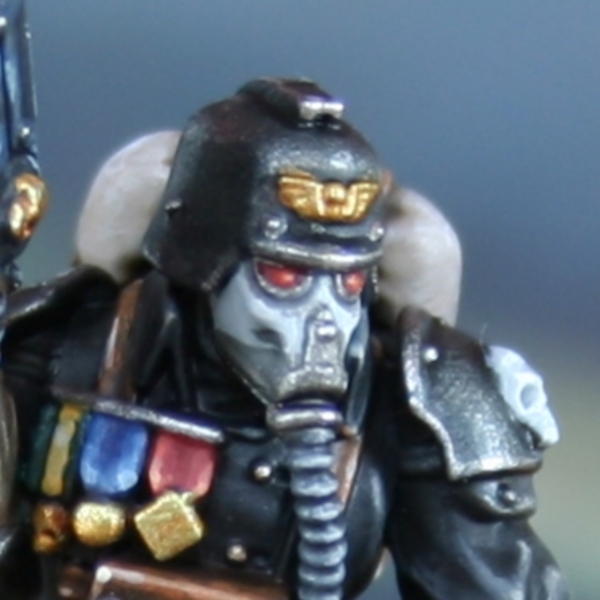 White Gas Mask
- Basecoat the mask with Grey Seer . This will take a few coats.
- Wash the mask with Apothecary White , thinned with Contrast Medium .
- Highlight the cheeks with an equal parts mix of Grey Seer and a pure white.
- Place a small dot of your pure white, like Dead White on the points of the cheeks.
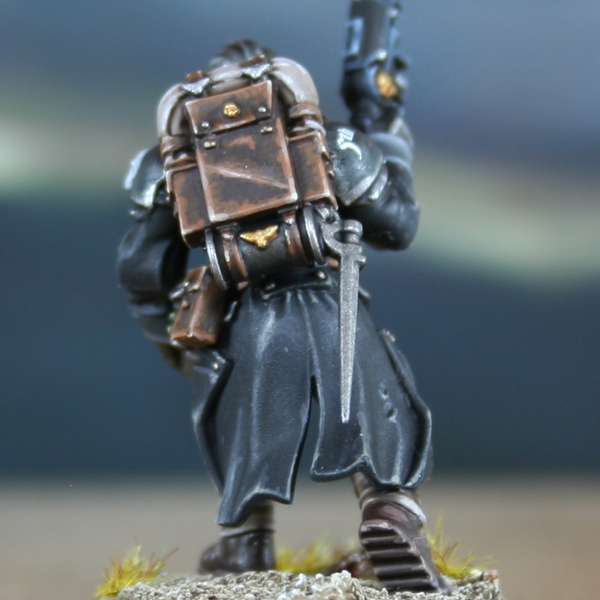
Dark Brown Leather
- Basecoat the leather area with Rhinox Hide .
- Glaze most of the leather with thinned Mournfang Brown . Use quite a small brush and drag towards edges in rough lines. This should create some extra texture.
- Add a chunky edge highlight of Skrag Brown to all edges.
- Highlight everything again, this time with a fine line of Skrag Brown and Ushabti Bone mixed 1:1. This is a good mix to throw in occasional fine lines as scratches too.
- With pure Ushabti Bone , selectively highlight corners and exposed edges of the leather. Put a dot of this colour where the additional scratched above meet edges too.
- Add a little pure white (like Dead White ) to your Ushabti Bone and add dot highlights to corners.
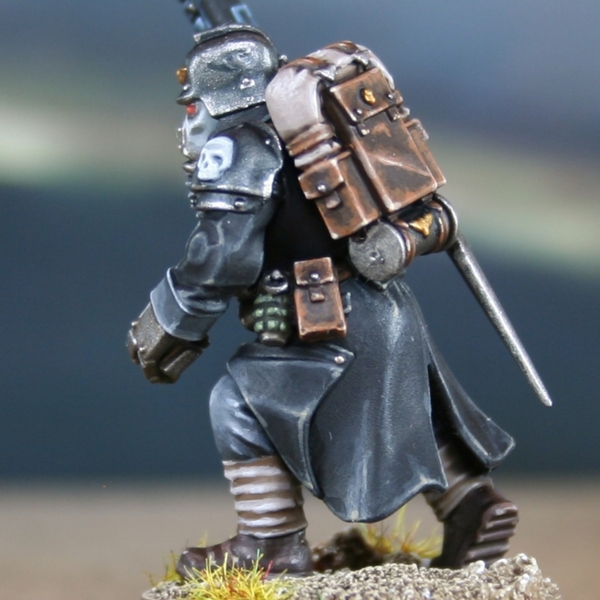 Bandages and Backpack Roll
- Basecoat with Rakarth Flesh .
- Wash with Agrax Earthshade . If it doesn't settle heavily enough in recesses, go back with a fine brush again.
- Highlight both areas with Rakarth Flesh mixed 1:1 with Pallid Wych Flesh . Make these fairly chunky edge/regular highlights.
- Do finer highlights of Pallid Wych Flesh .
- Add selective highlights of Pallid Wych Flesh , brightened with a pure white.
- Using a pure white, like Dead White , add specular highlights.
 Dark Steel Armour
- Basecoat with Steel .
- Wash all of the plating with Black Templar and Contrast Medium , mixed 1:1. Be careful not to let is pool too much.
- Add some Chrome to the previous metal paint and agde highlight everything. This is a good colour to add small scratches too.
- Add specular highlights with pure Chrome on points and rivets.
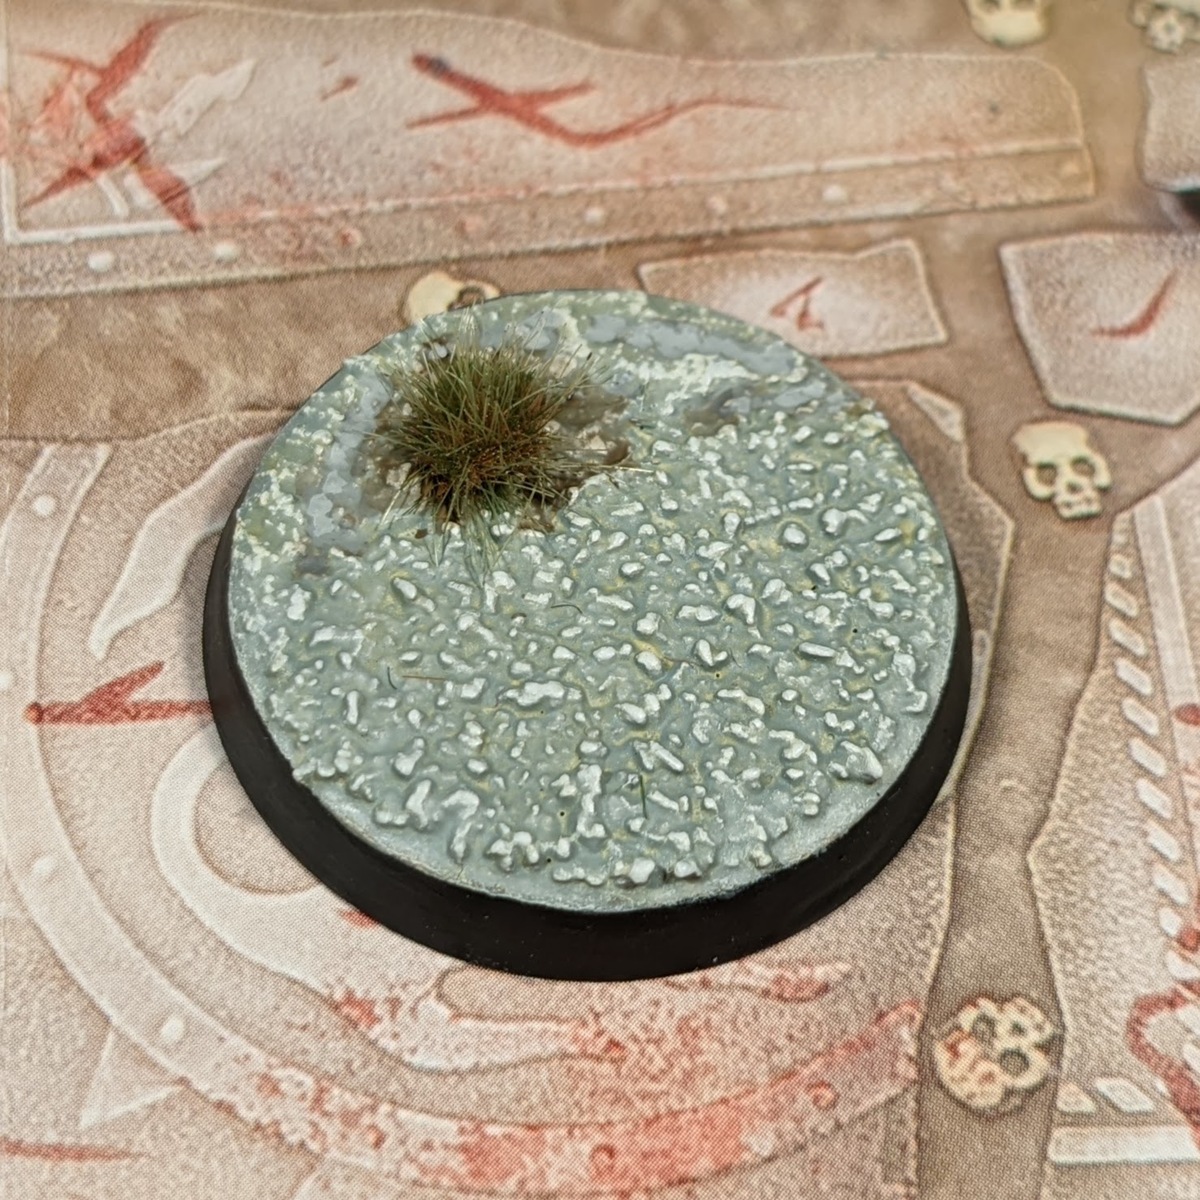
 Grey Material
- Basecoat with Mechanicus Standard Grey .
- Wash with Nuln Oil .
- Highlight anything largely exposed with Mechanicus Standard Grey and Dawnstone mixed 1:1.
- Add chucky highlights of Dawnstone to folds and glaze onto areas where light would hit.
- Add smaller and finer highlights to the same areas with Administratum Grey .
- Mix a little :white scar in with the previous paint and make tiny highlights on the most extreme points.
- Place selective specular highlights of a pure white on points and where other highlights from the last stage meet.
If you like the look of the leather on this miniature, be sure to check out my "Dark Brown Leather" tutorial too.
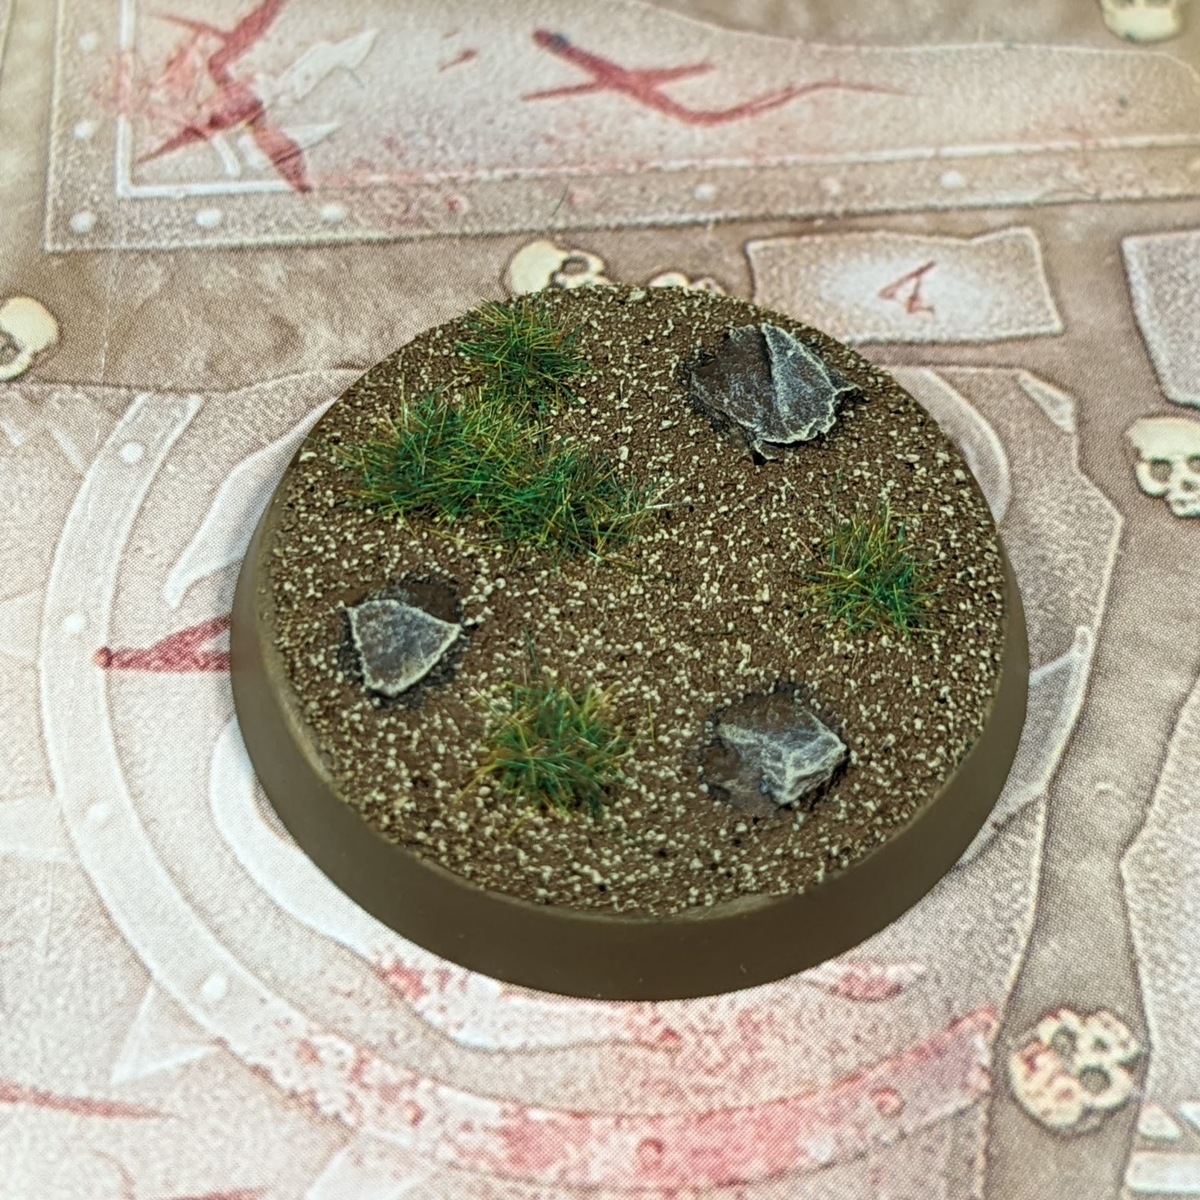
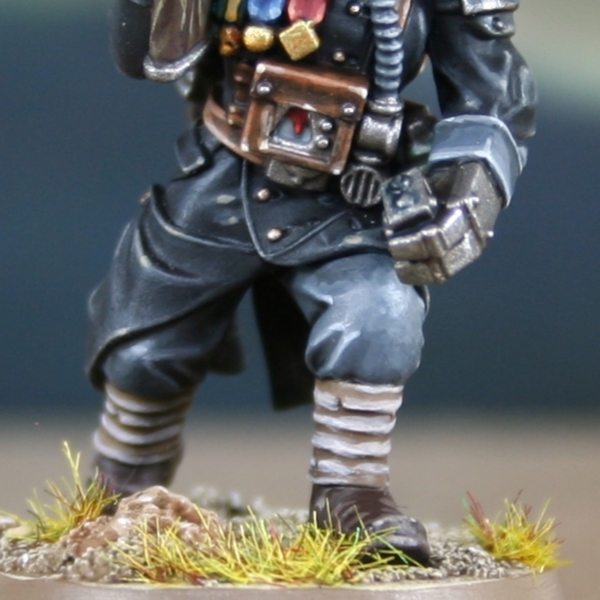
Desert Base (Bonus)
- Basecost with Zandri Dust .
- Wash with Agrax Earthshade .
- Re-establish the base colour with a drybrush of Zandri Dust again.
- Drybrush slightly lighter with Ushabti Bone .
- Light drybrush with Screaming Skull .
- Wash rocks with Reikland Fleshshade .
- Pick out occasional grains of sand and the points of the rocks with dots of Pallid Wych Flesh .

Rookie Brushes
RookieBrushes
Aspiring miniature painter and biscuit enthusiast. Here to share my hobby and help where I can.
Citadel Painting System 26
Base 8
- Abaddon Black
- Grey Seer
- Mechanicus Standard Grey
- Mournfang Brown
- Rakarth Flesh
- Rhinox Hide
- Runelord Brass
- Zandri Dust
Shade 3
- Agrax Earthshade
- Nuln Oil
- Reikland Fleshshade
Layer 10
- Administratum Grey
- Dawnstone
- Karak Stone
- Pallid Wych Flesh
- Screaming Skull
- Skavenblight Dinge
- Skrag Brown
- Stormhost Silver
- Stormvermin Fur
- Ushabti Bone
Technical 1
- Contrast Medium
Air 1
- Mechanicus Standard Grey
Spray 1
- Chaos Black
Contrast 2
- Apothecary White
- Black Templar
Vallejo Game Color
Base 1
- 72.001 Dead White
Vallejo Metal Color
Base 2
- 77.707 Chrome
- 77.712 Steel