Results for ‘ork’
Found 1444 recipes
-
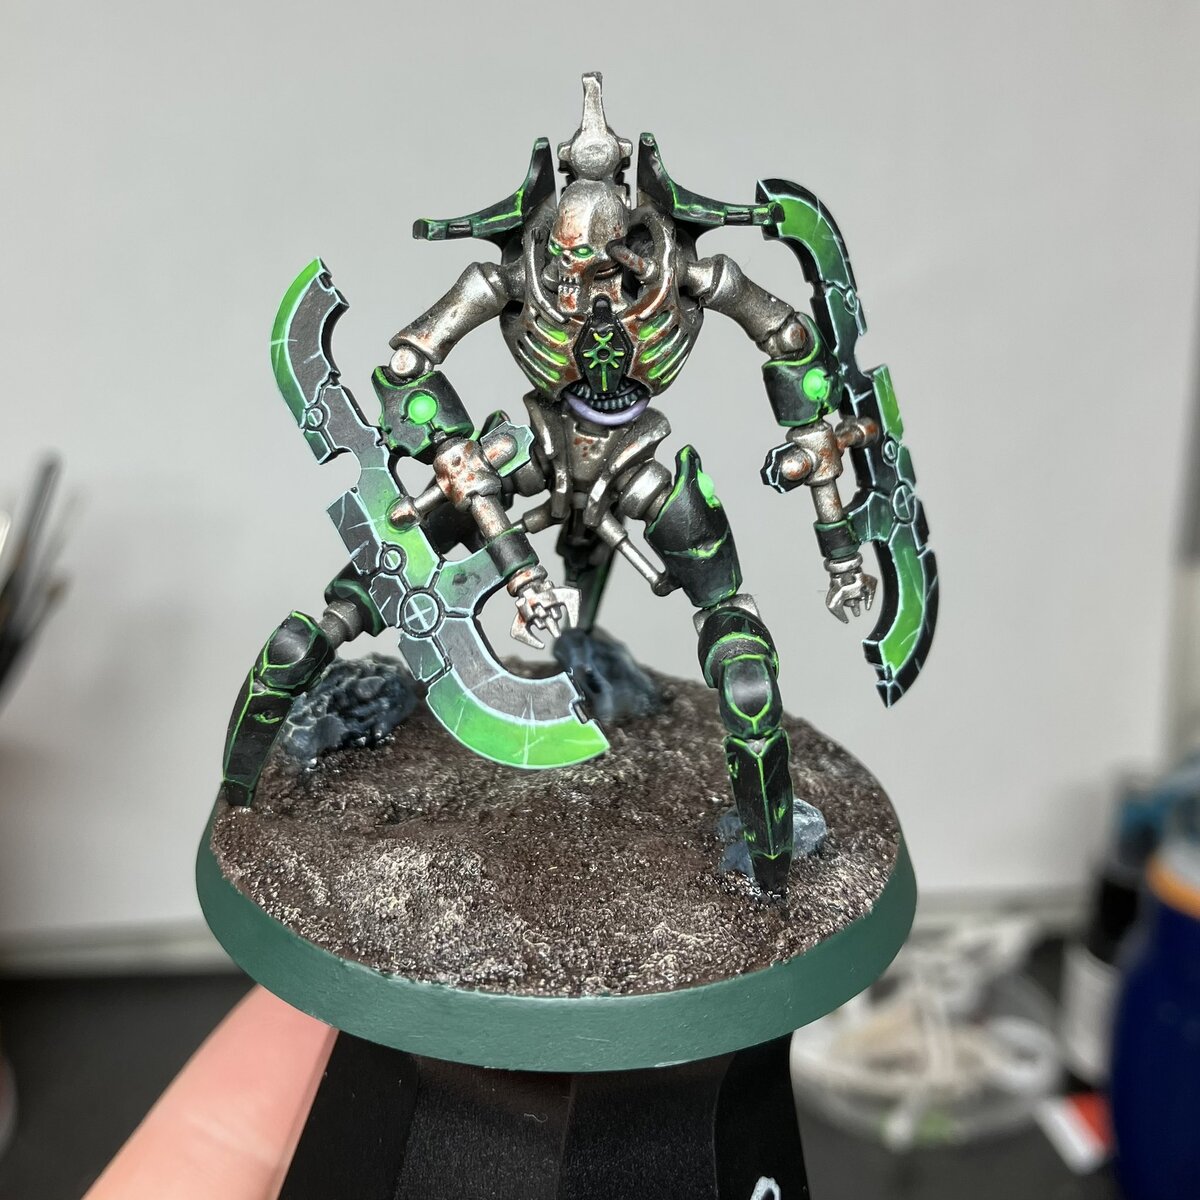
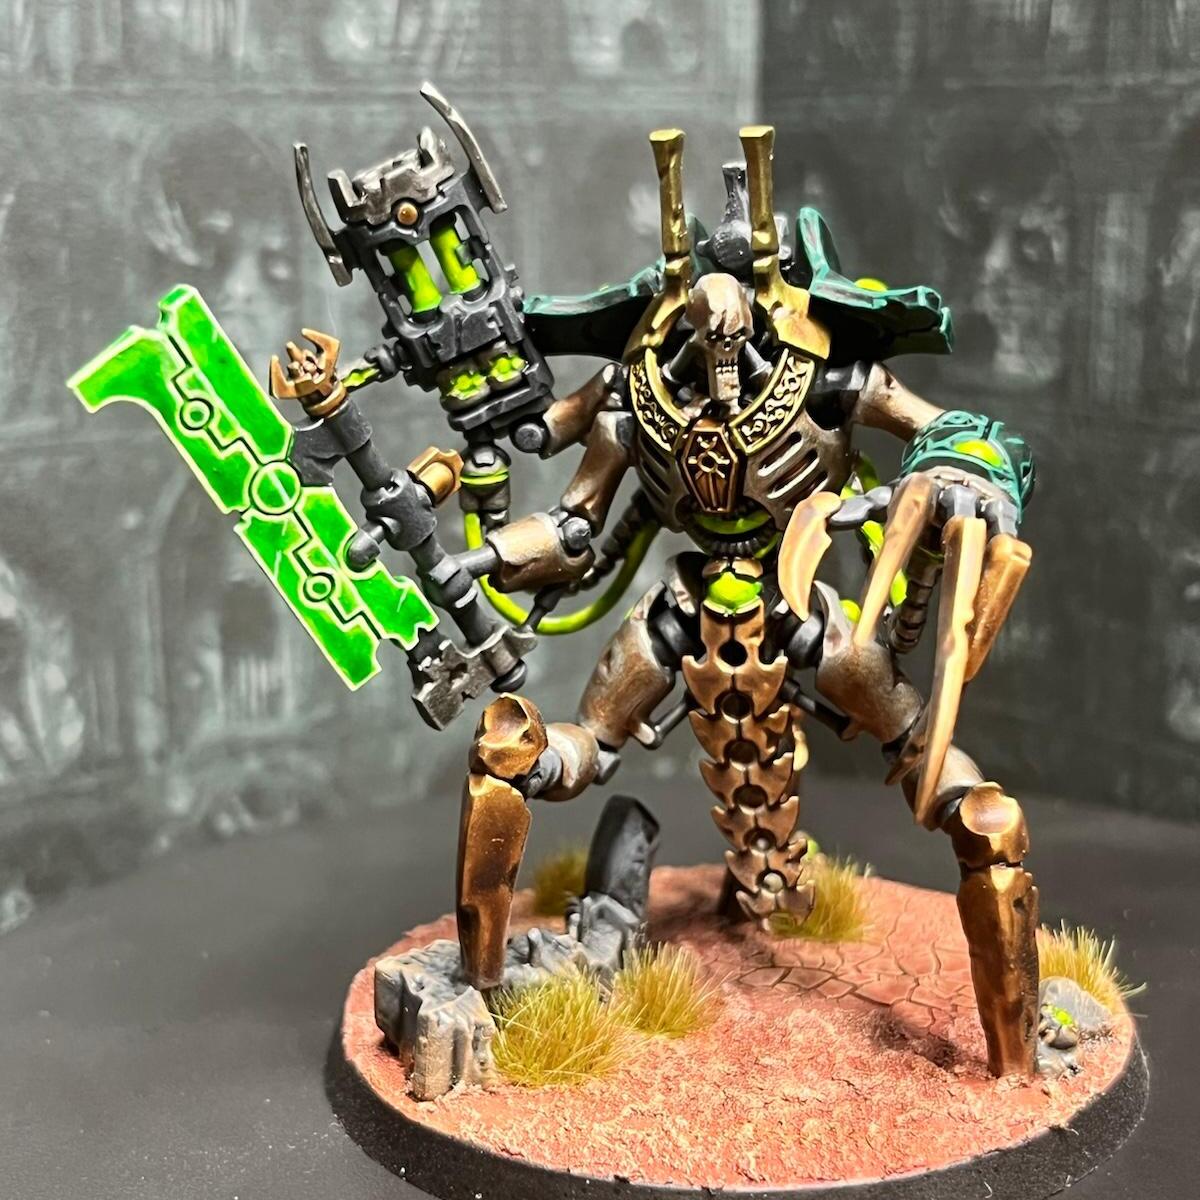
Sautekh Skorpekh Destroyers
Showing how I painted my Sautekh Skorpekh Destroyers as a supplement to my video tutorial.
-
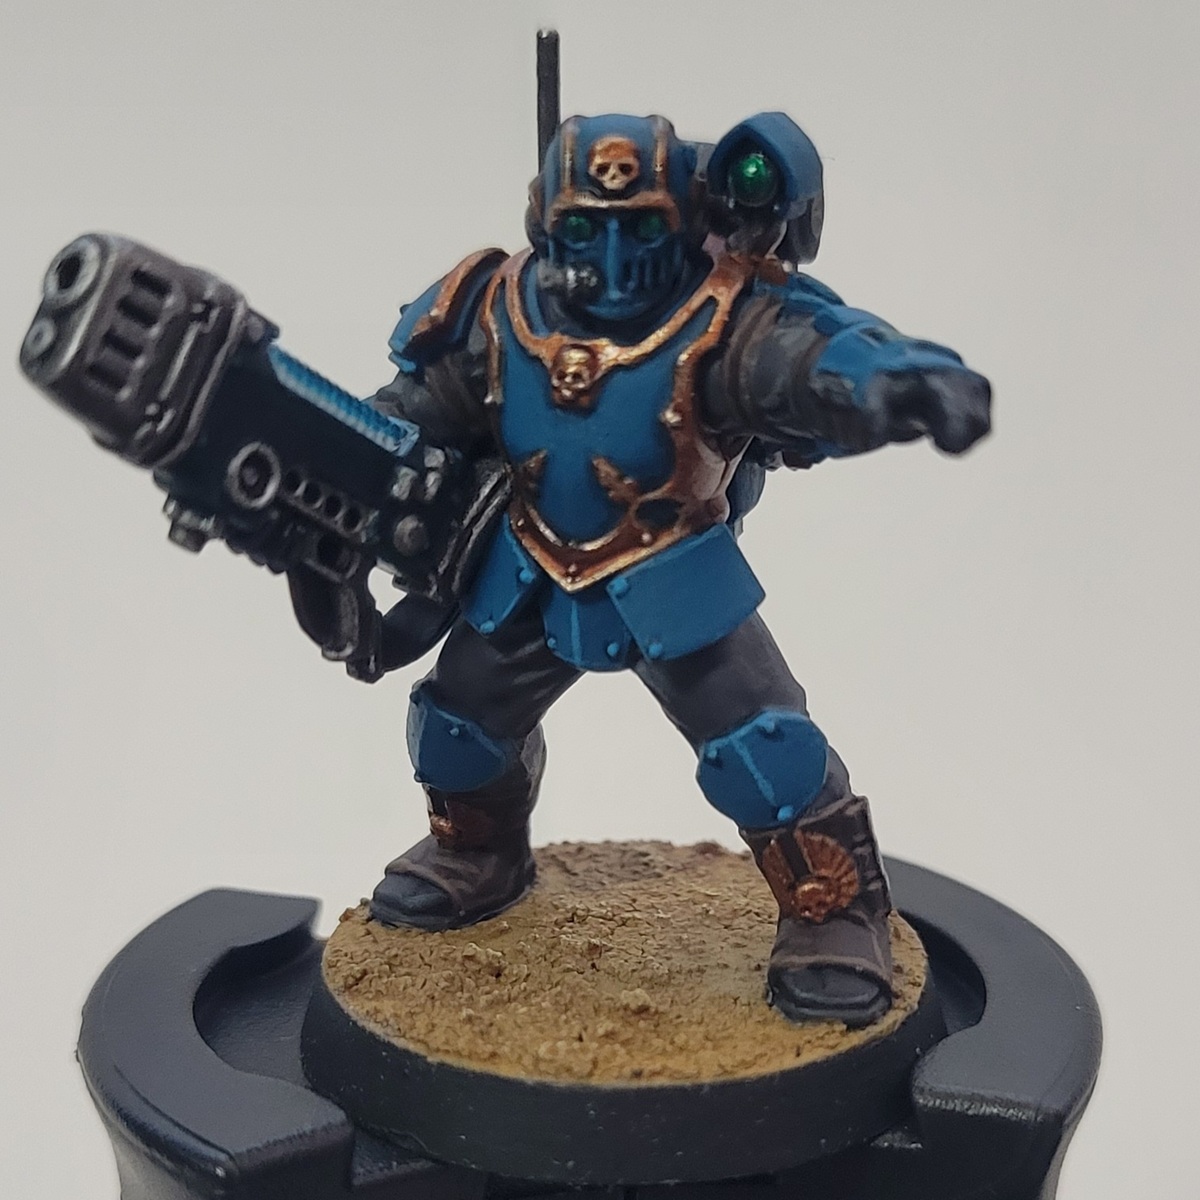
Tempestus Scions & Aquilons
Homebrew regiment - 88th Lambdan Cobras - based on 55th Kappic Eagles & 34th Psian Vipers colours. Main colours are blue-green and red-orange (copper).
-
Epic Gauls Warband for Hail Caeser
How I'm painting my Epic Gauls Warbands (line infantry)
-
-
Galvanic Servohaulers / Crane
WIP recipes for Games Workshop Galvanic Servohaulers (specifically the large crane)
-
-
Comprehensive Paint Guide for Pyregheists and Nighthaunt
The Nighthaunt Pyregheists are a hauntingly beautiful and deadly Warcry warband, embodying the vengeful spirits of the Mortal Realms. Rising from the crypts of Shyish, these spectral warriors are bound by Nagash's will, their ethereal forms exuding a chilling, otherworldly glow. This guide will help you bring their ghostly presence to life, with painting techniques designed to highlight their spectral nature, decayed relics, and fiery magic.
From the wispy cloaks that dissolve into nothingness to the flickering flames that burn with unnatural hues, each element of the Pyregheists tells a story of vengeance and despair. This step-by-step guide caters to painters of all levels, offering foundational techniques and advanced methods to achieve stunning results that reflect the eerie beauty of these spectral warriors.
Whether you are painting for display or battle-ready models, this guide ensures your warband will haunt the table with an unforgettable presence. -
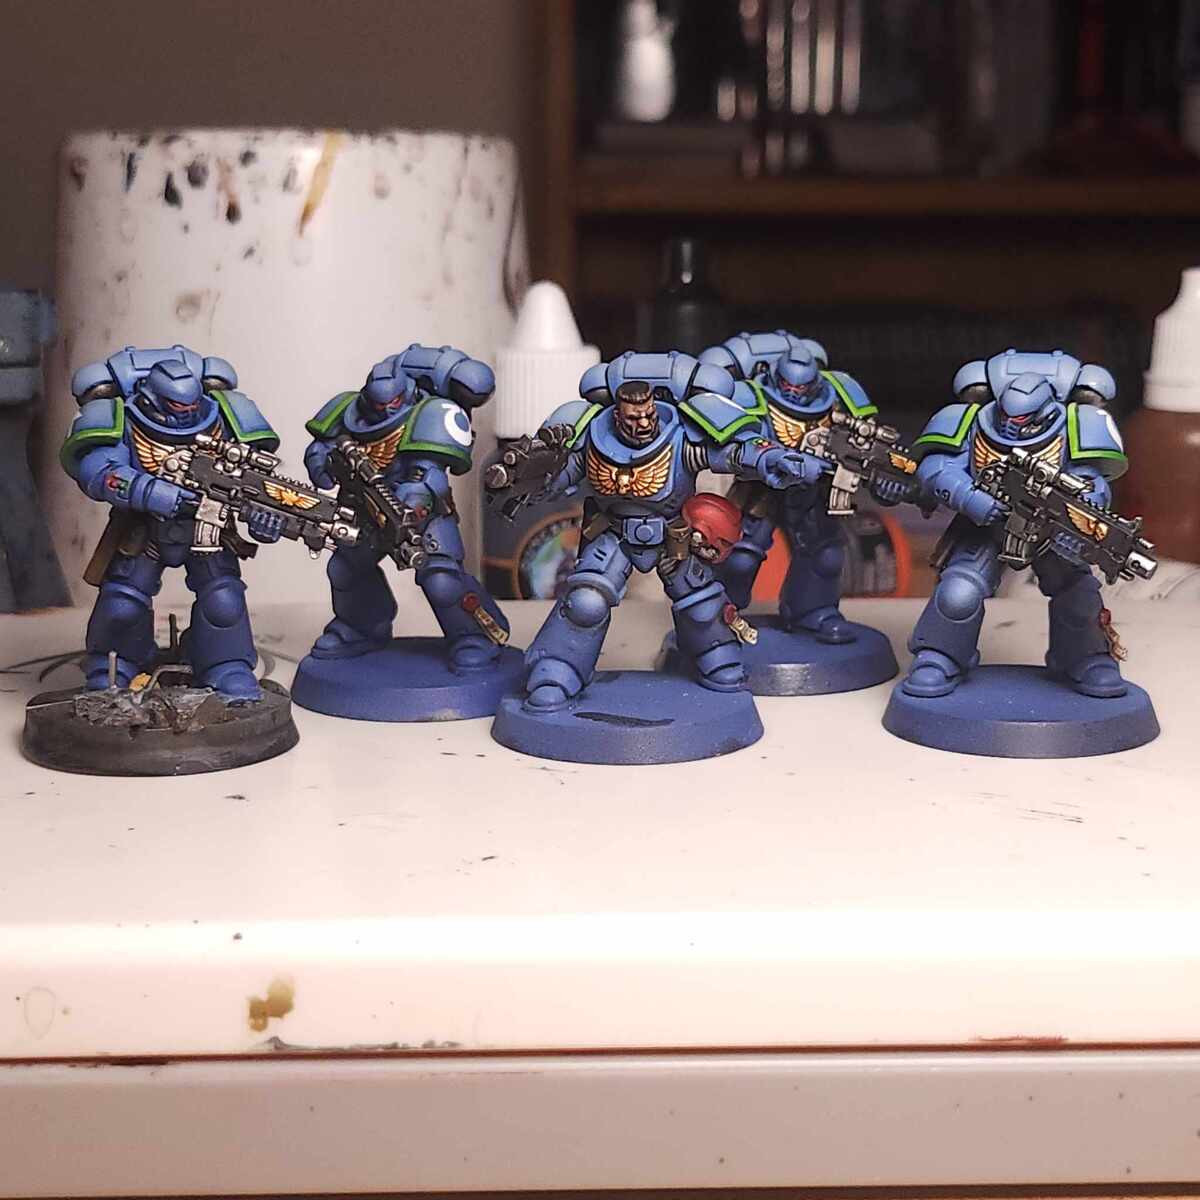
Ultramarines 4th Company
Recipe for the Ultramarines 4th Company, the 'Defenders of Ultramar'. Designed with Airbrushing in mind. *WIP*
-
Evocator on Dracoline
Steps for an Evocator on Dracoline. This is largely based on Duncan Rhode's Karazai tutorial.
-
Nurgle Chaos Warrior
Nugle chaos warriors
-
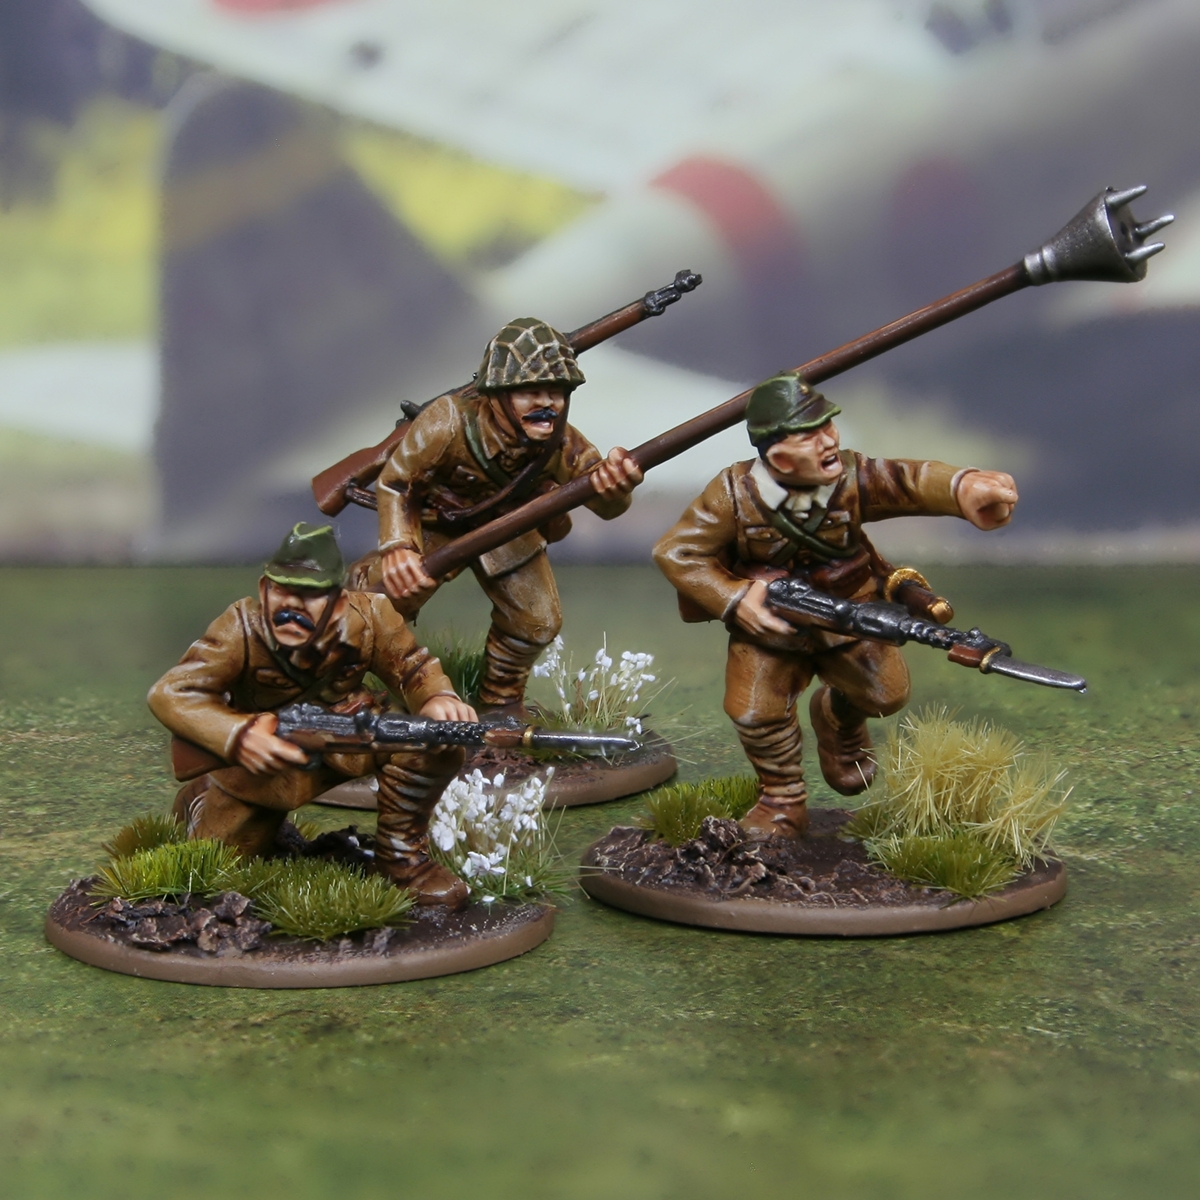
Japanese Infantry - WWII Imperial Japanese
The aim with this project is to get a decent result, without this army taking an eternity. As such, I will be painting in a pretty different style.
The majority of the model will be covered in the first section, with more attention placed on faces, weapons and other points of interest later. I hope you like how they look. -
-
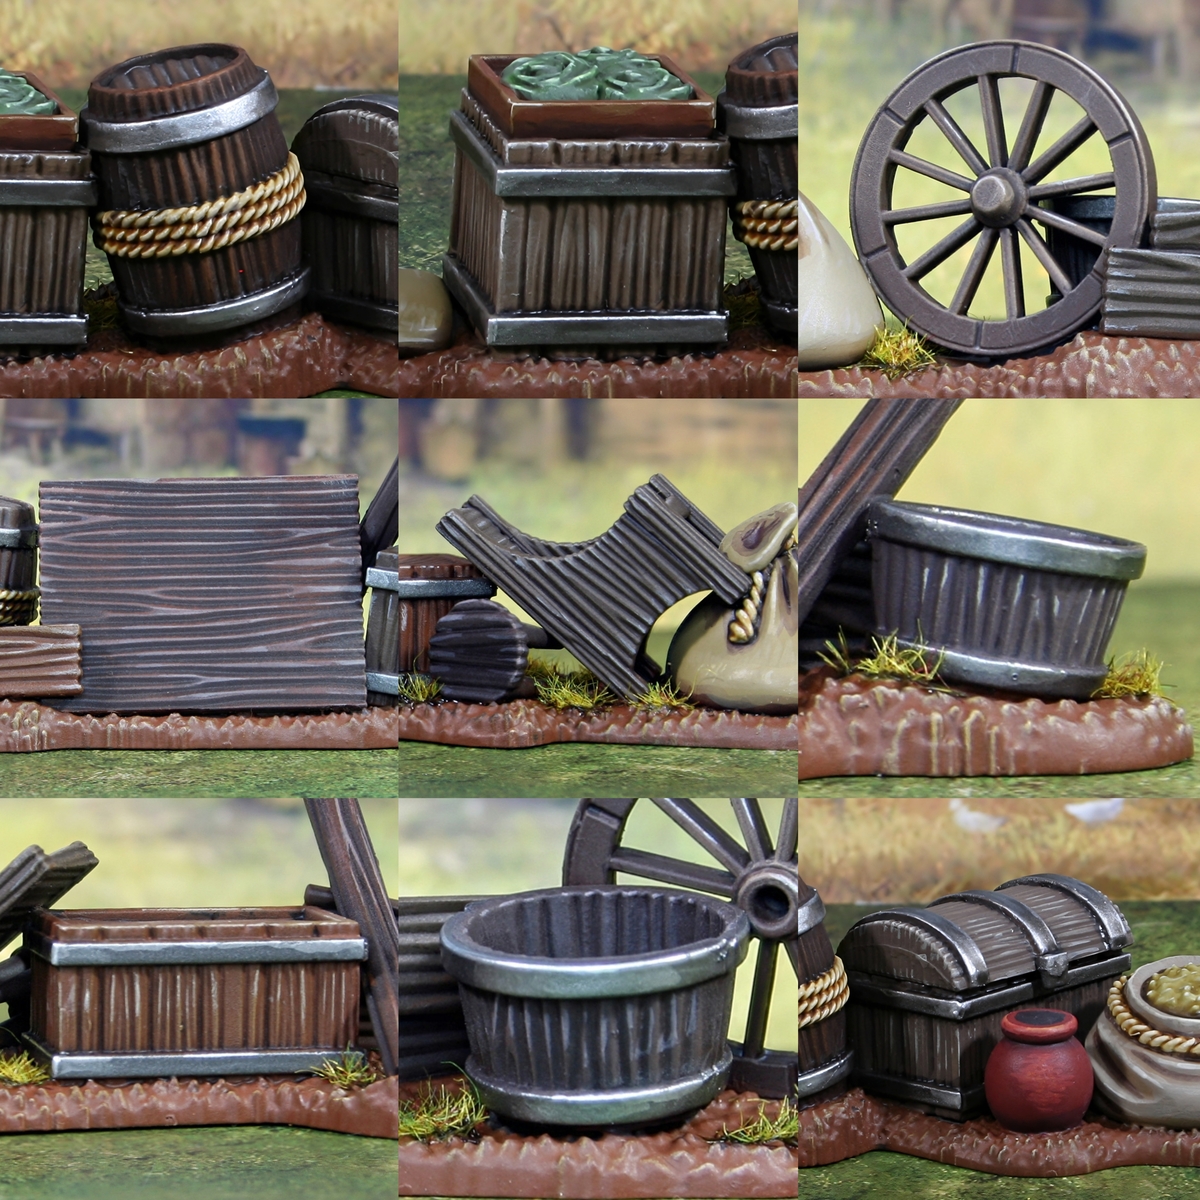
Wood Recipe Collection
A collection of wood recipes that can be used in a variety of systems. I have mixed up the tones here so you can make your terrain look more believable on the table. The steps here have been written so they can be applied to any wood on miniatures, but if you have sculpted woodgrain on your model, consider applying the first two highlights with heavy/light dry brushing, THEN applying any shading and final highlight.