Results for ‘base’
Found 3074 recipes
-
-
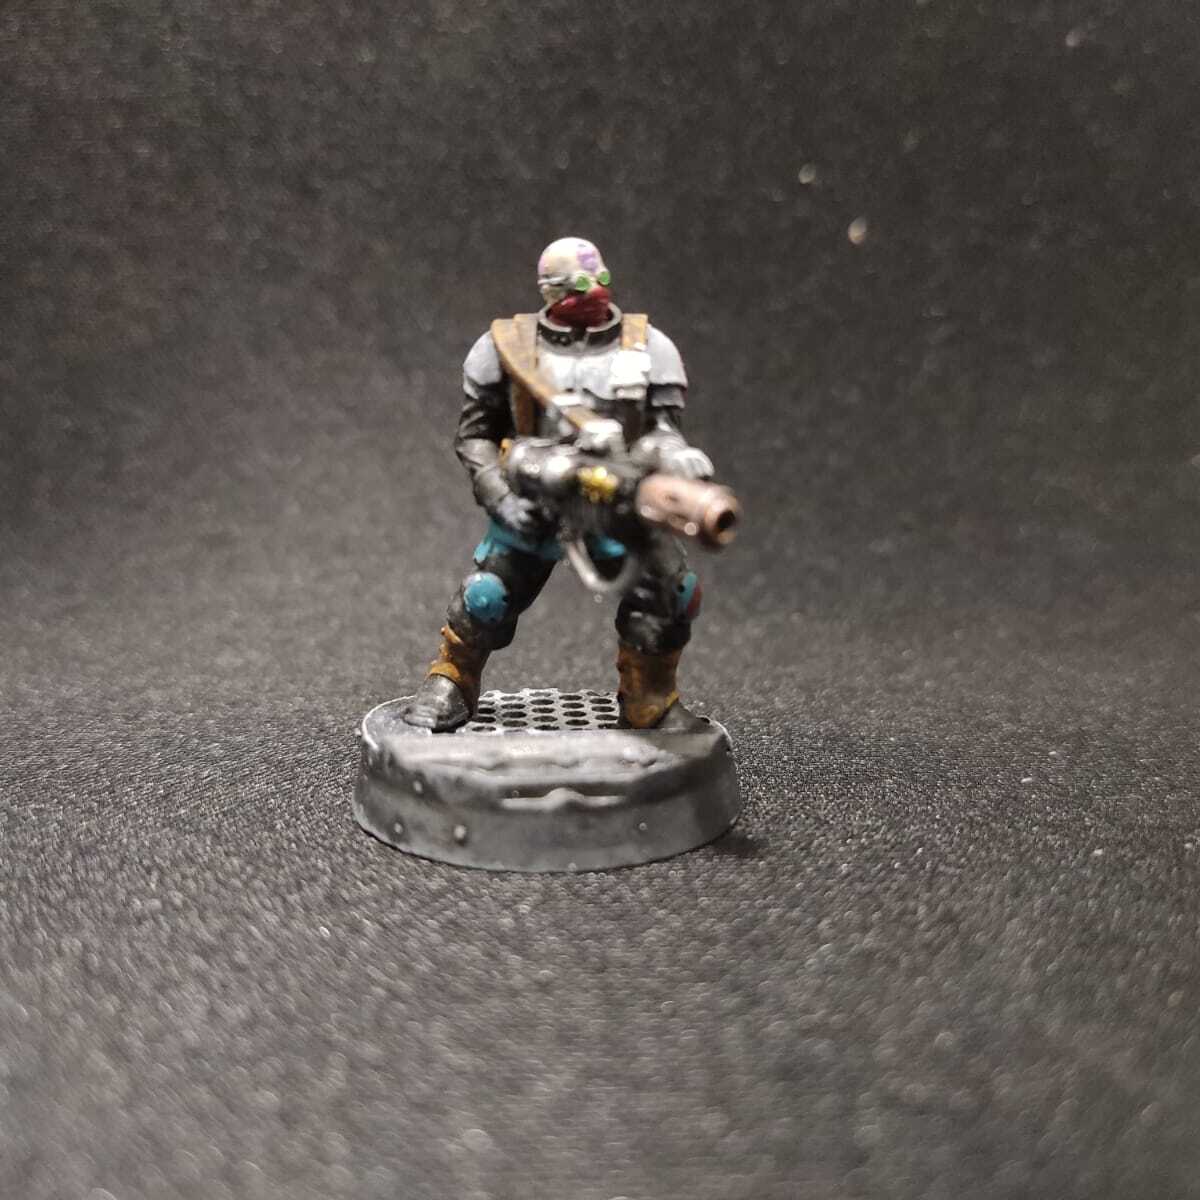
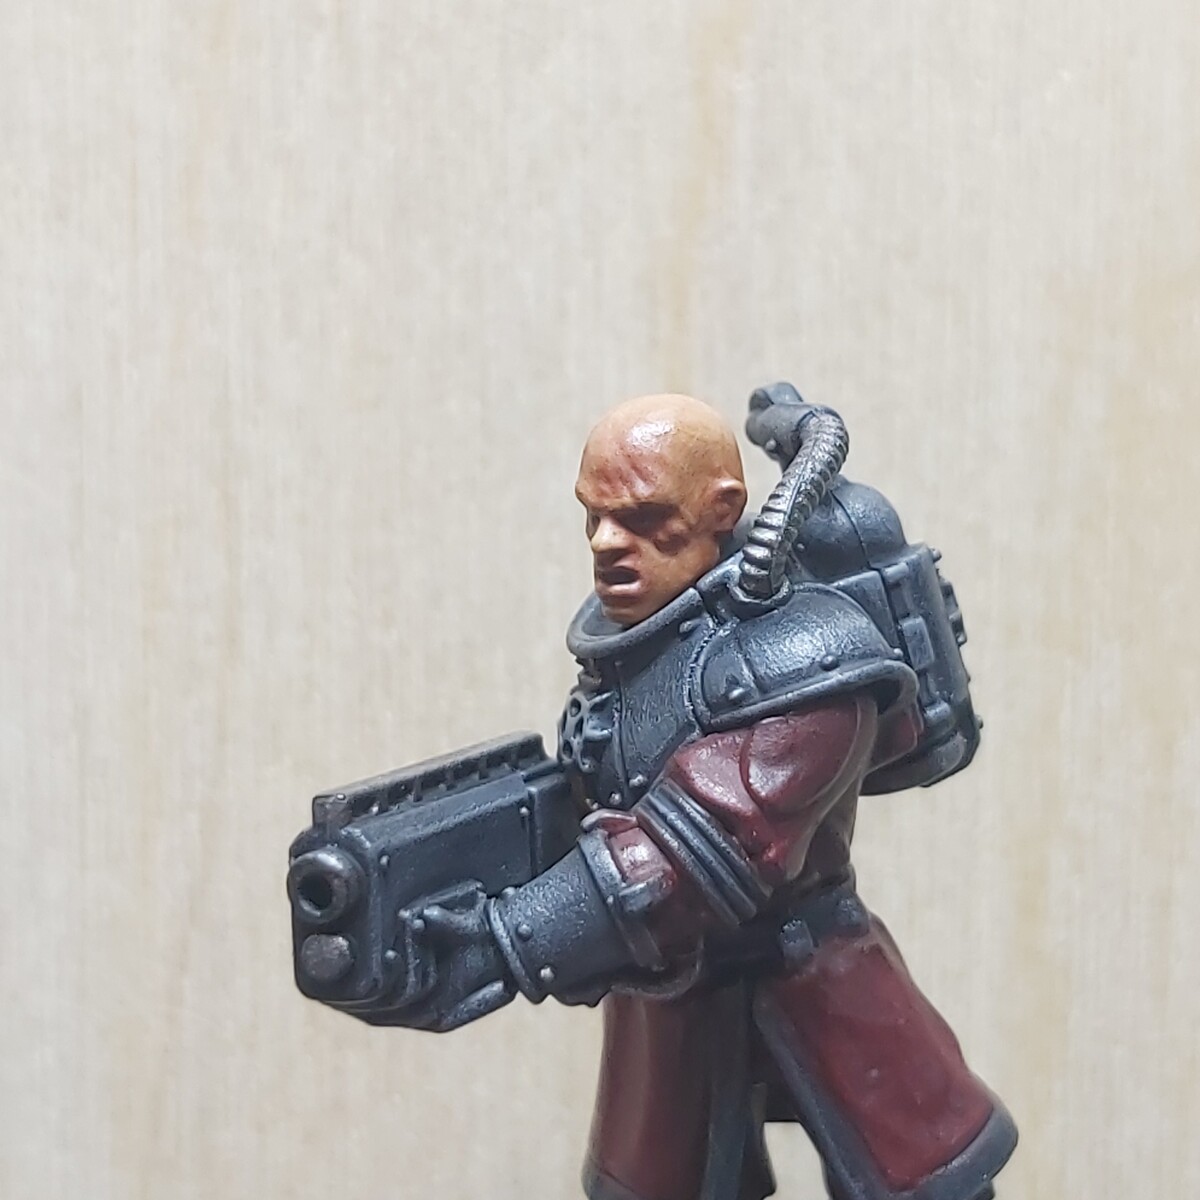
Brood Brothers - Gunners
Pintura com Cores da Acrilex Acrílico Fosco e Metálicas(BR) e versão Citadel/Vallejo
-
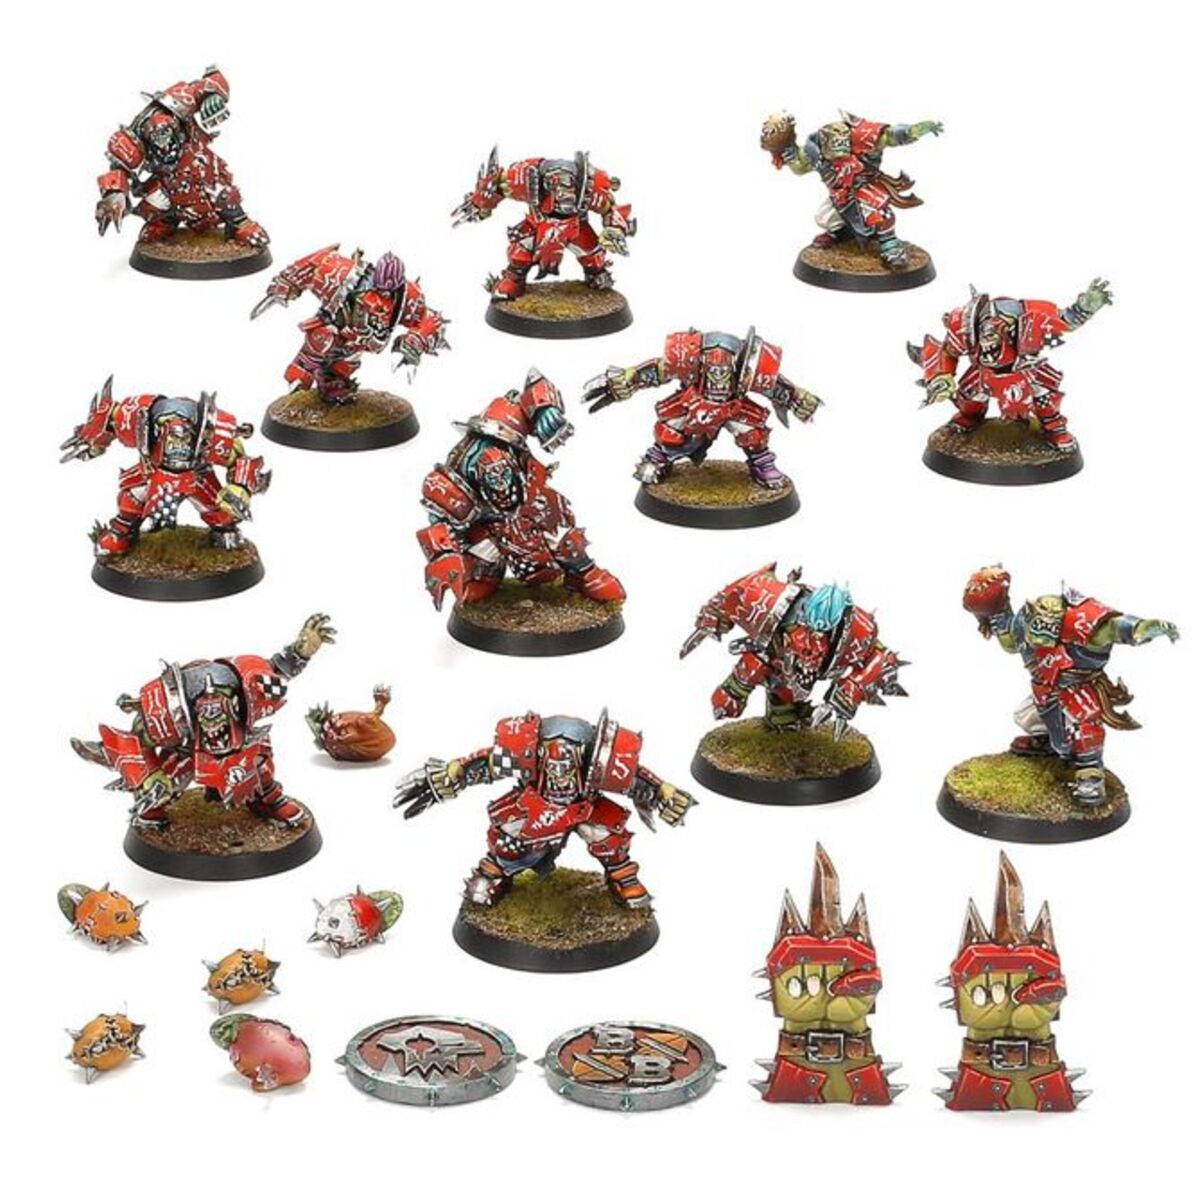
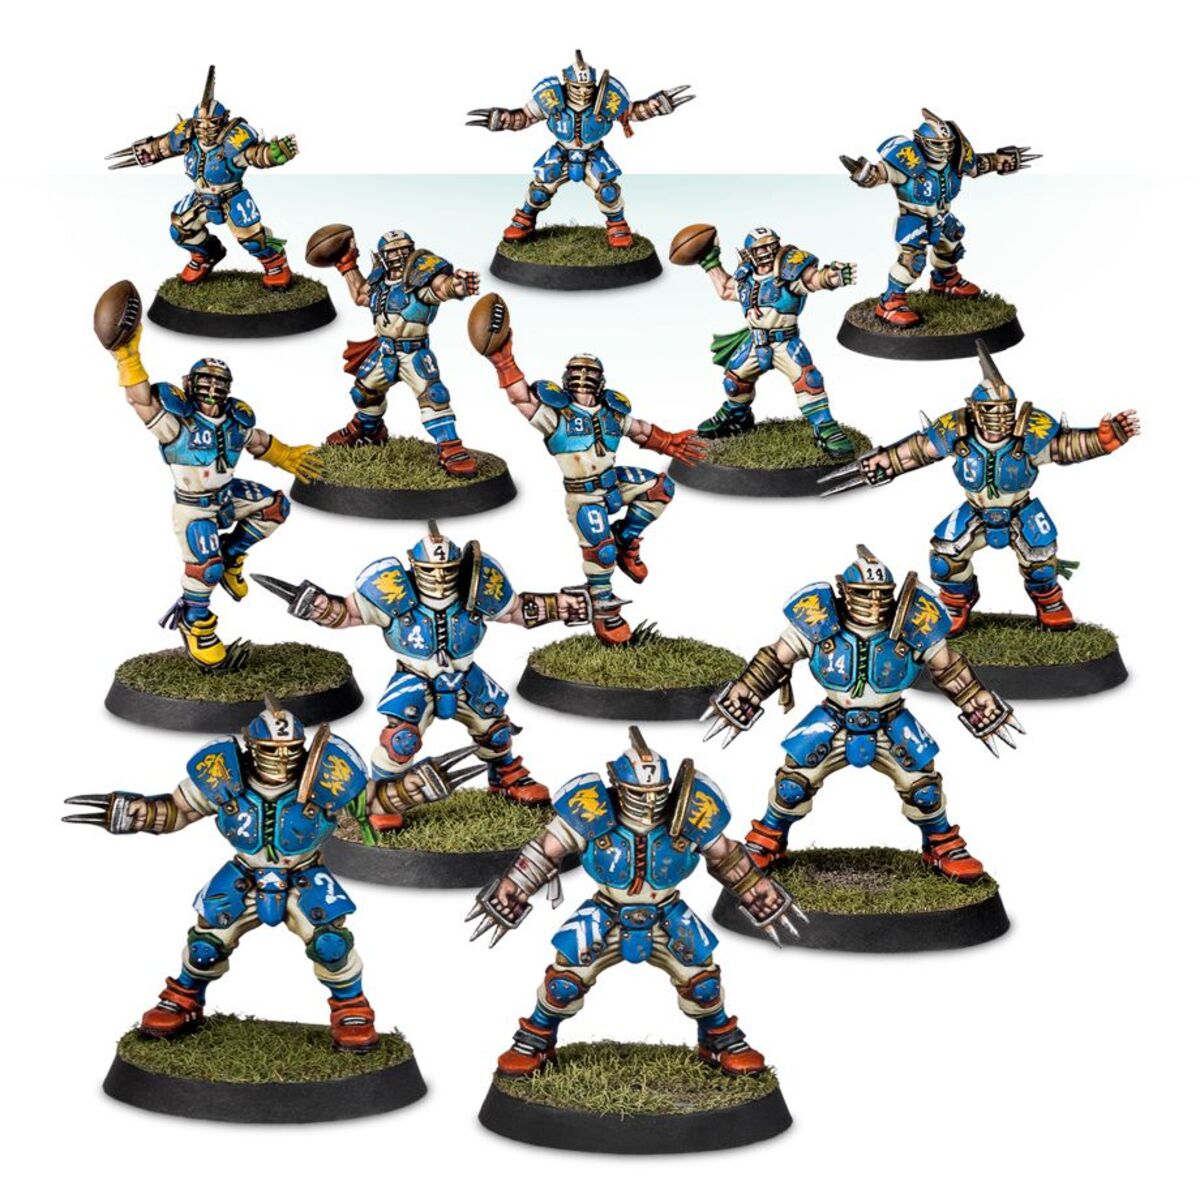
Blood Bowl - Orks - Lineman
El esquema utilizado es el del equipo Gouged Eye.
-
-
-
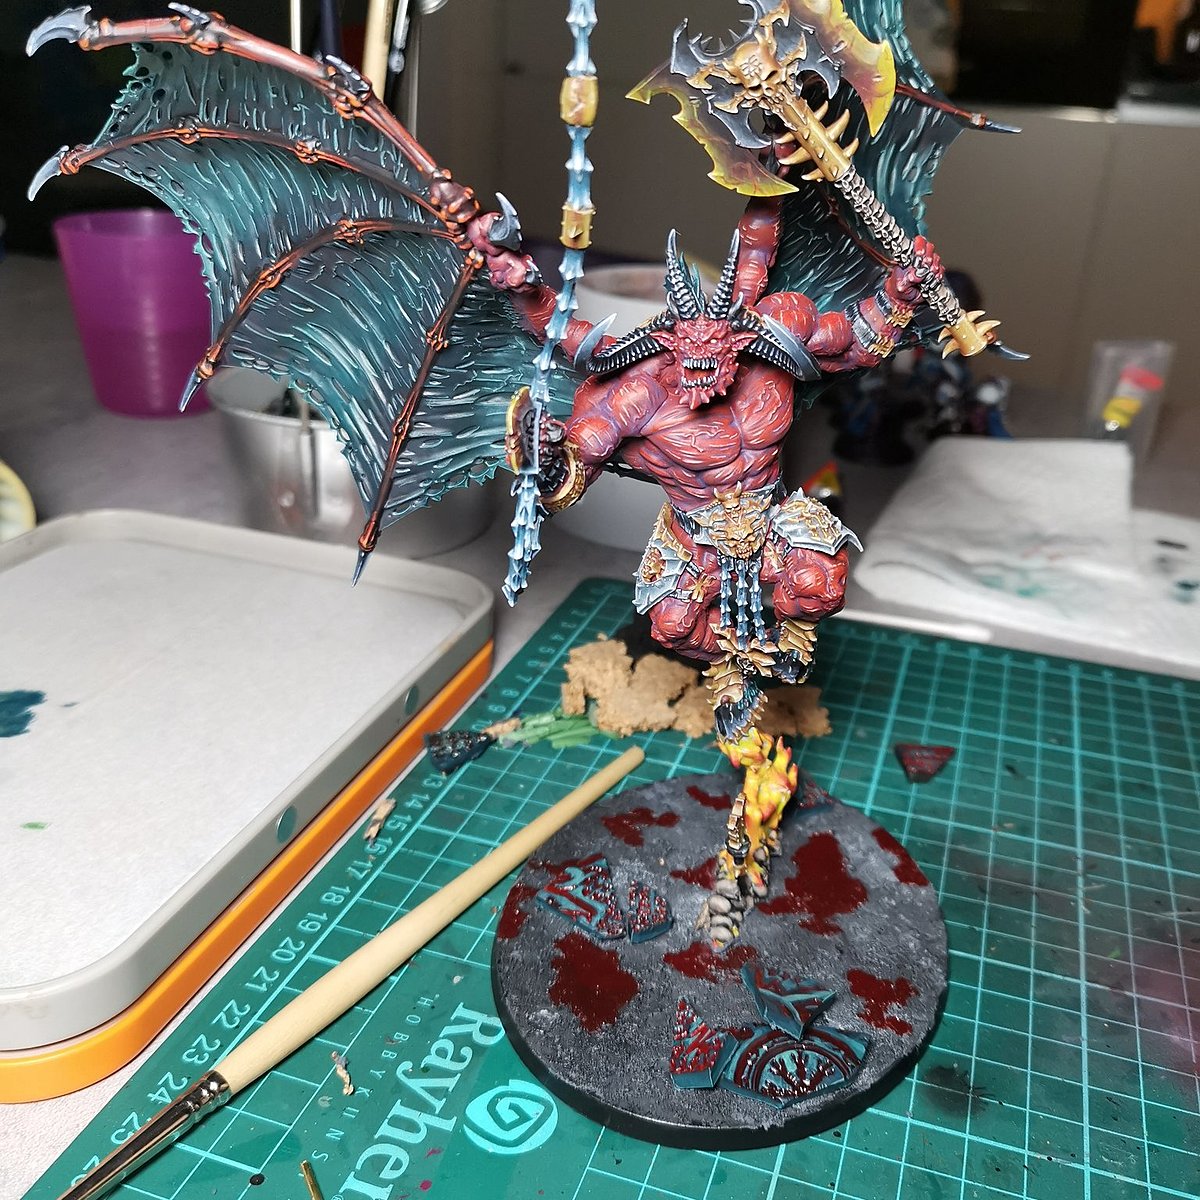
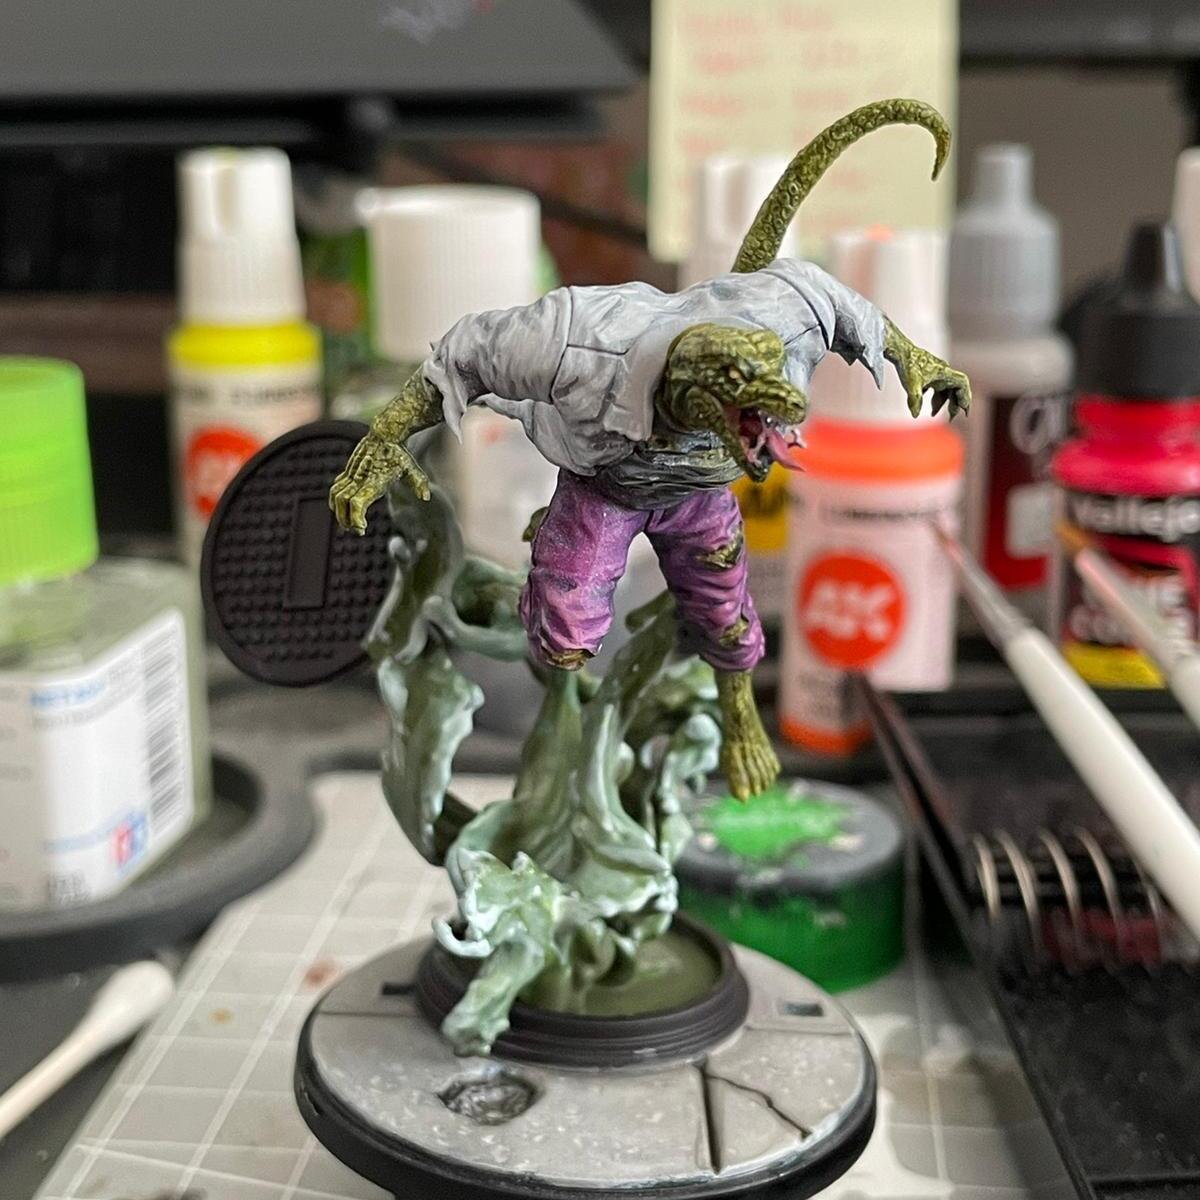
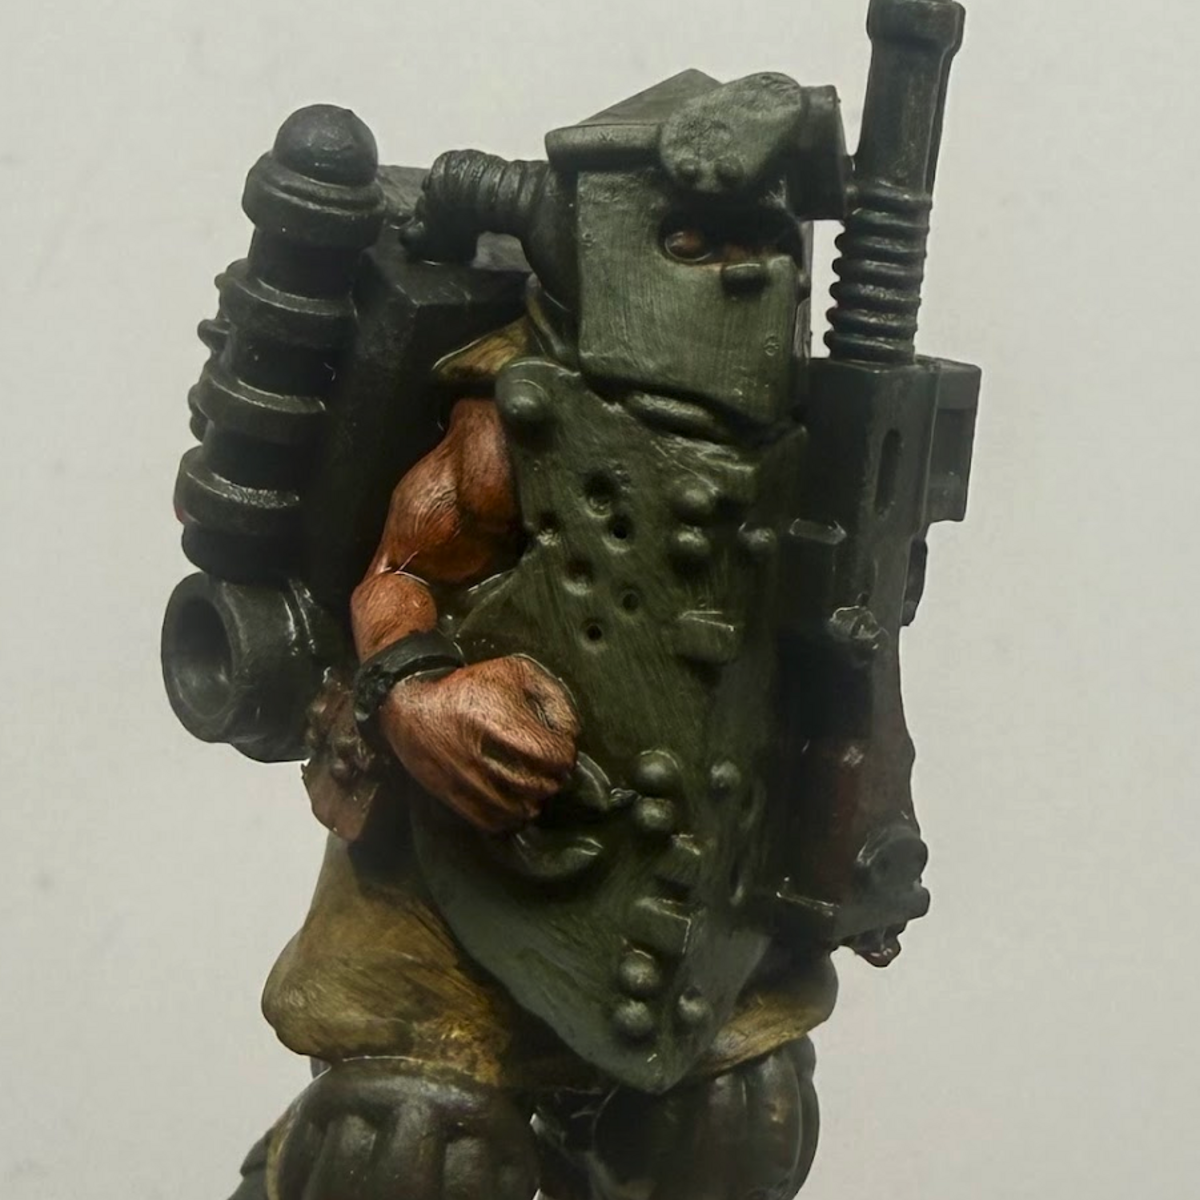
1490 Doom: Fighter
How I painted my copy of the official 'Fighter' model for the new game 1490 Doom.
-
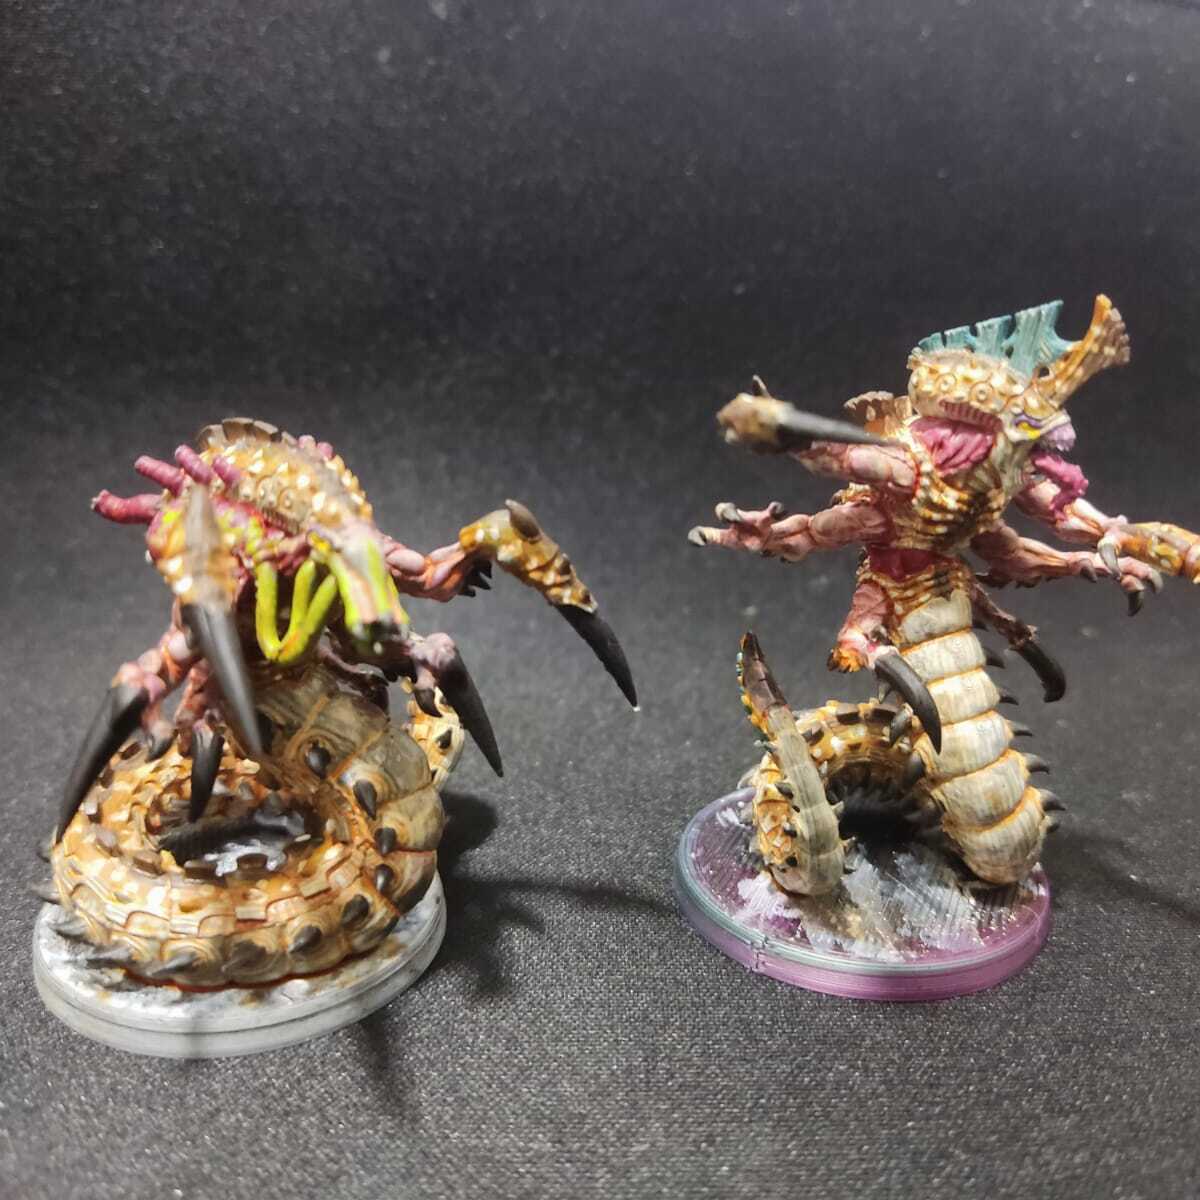
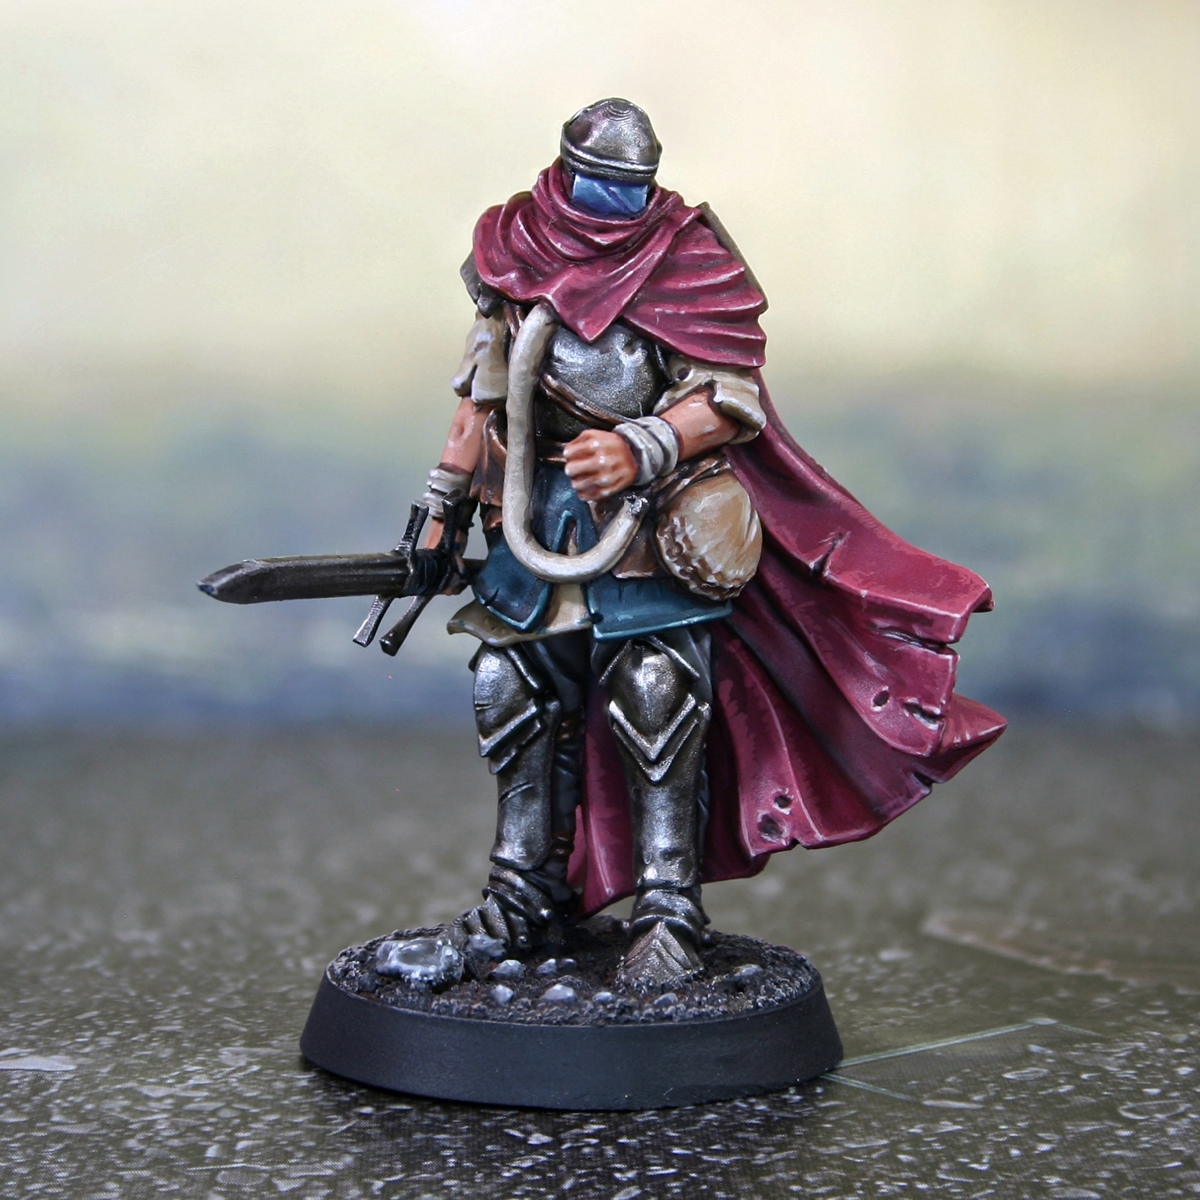
Brewsters from Knucklebones Miniatures
For games like the Last War and Trench Crusade
-
Dirty Skin Pale (Simple Latham recipe)
Quick recipe (my simplified version) for 'How to paint faces on a miniature. Light skin tones' by Games Workshop Miniatures Designer and former 'Eavy Metal figure painter Darren Latham.
-
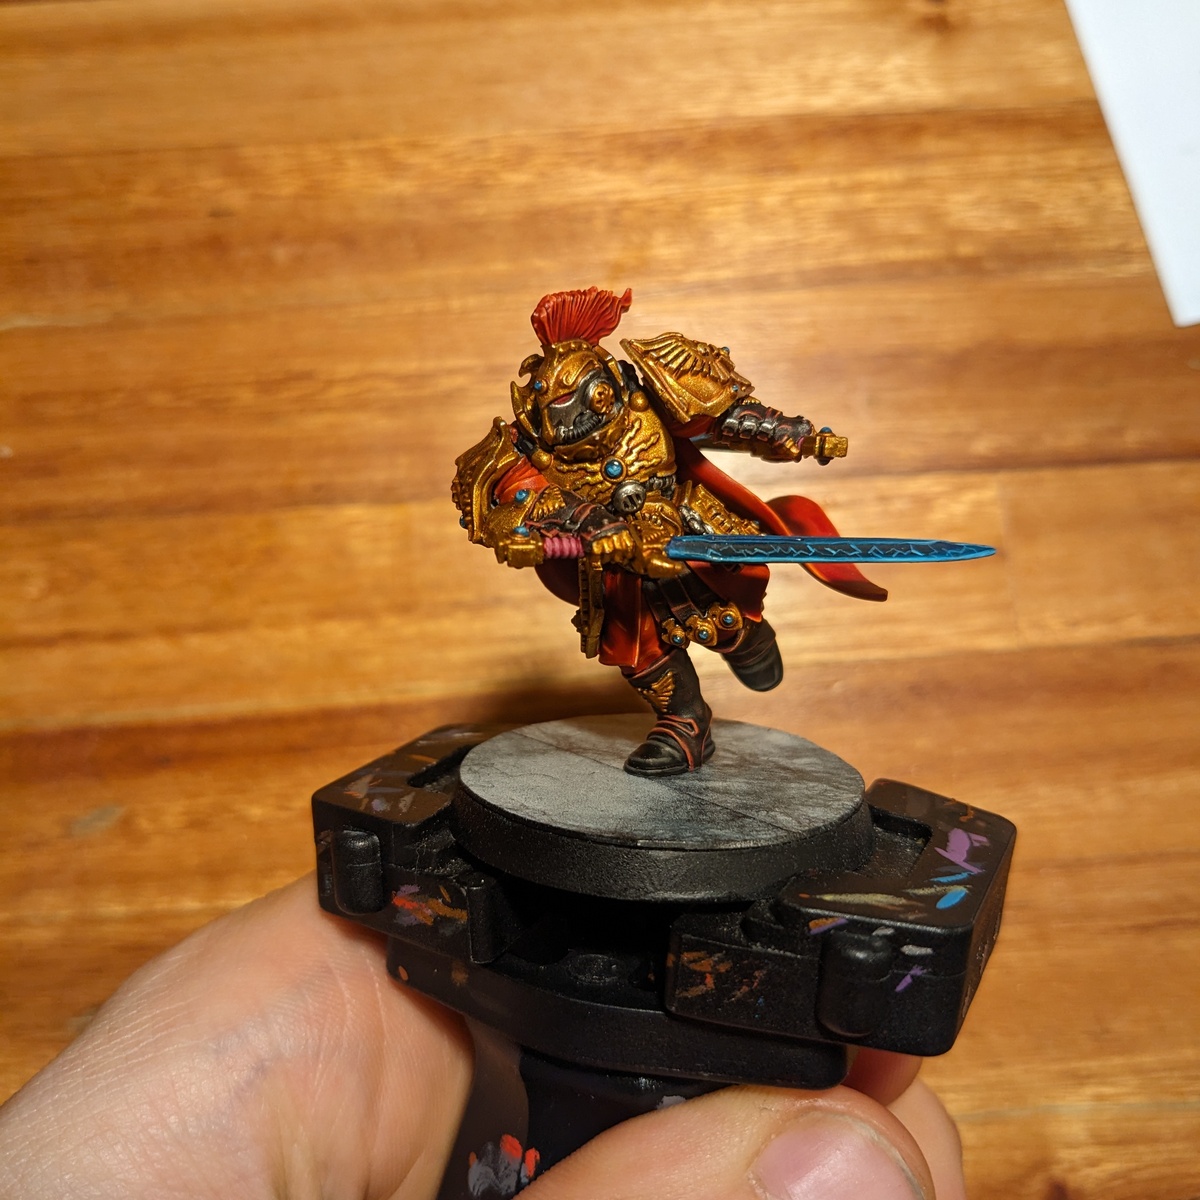
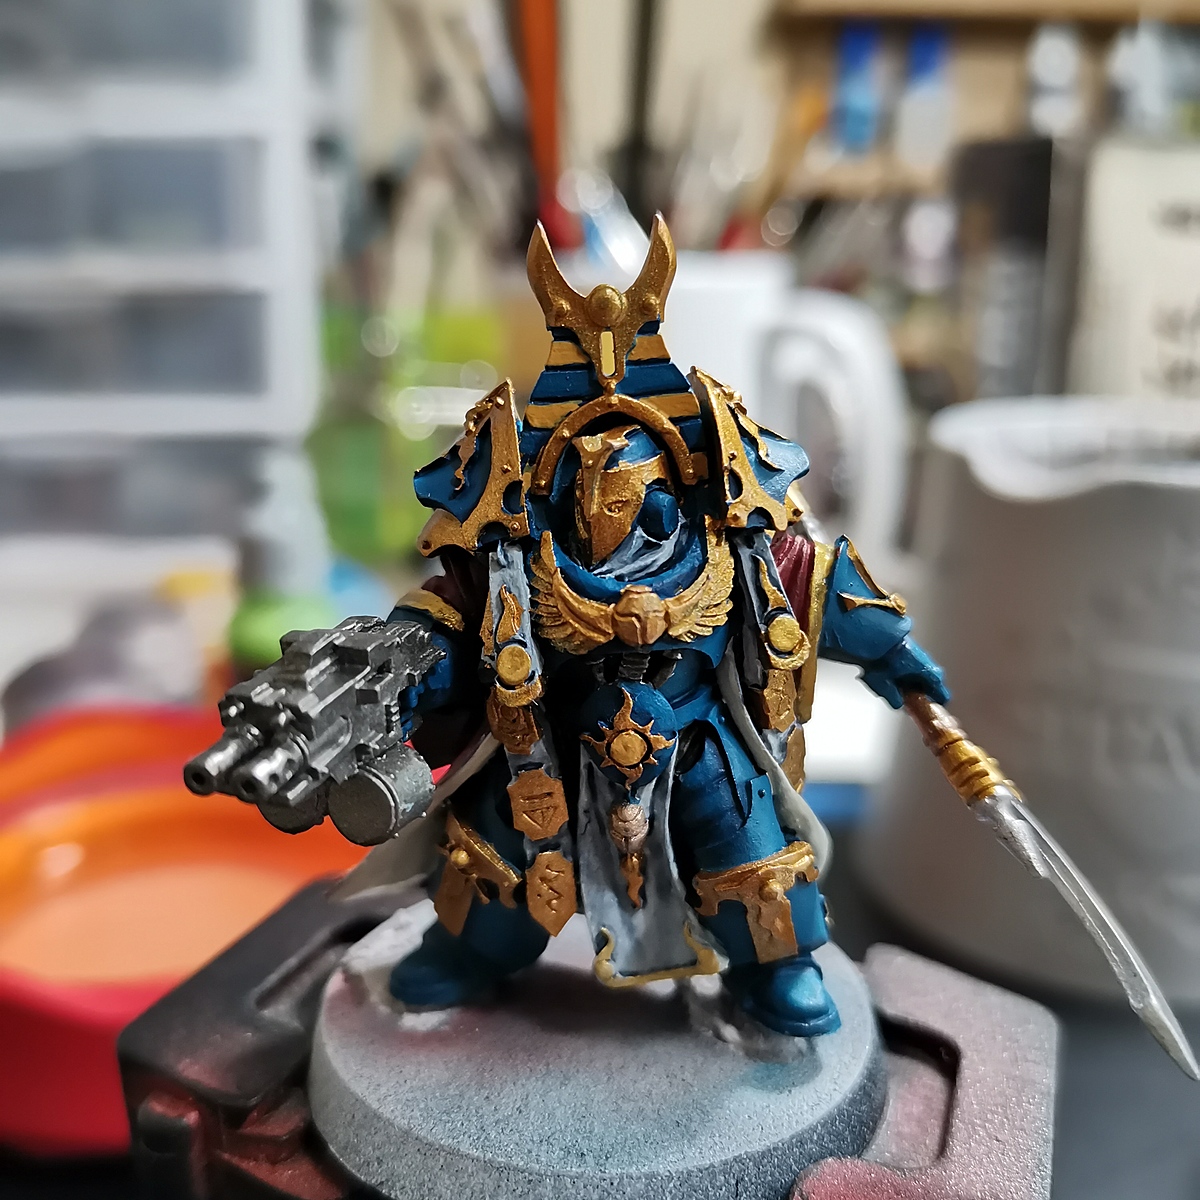
Exaction Squad Kill Team
Blue-grey armor with gold metallic details
-
Blood Bowl - Human - Lineman
El esquema de color usado es el del equipo Reikland Reavers
-
Our Martyred Lady: for Maxi
This is a beginner recipe, assuming you are doing things in batches. I personally don't like to paint this way, but it's the most efficient way to put an army together.
-
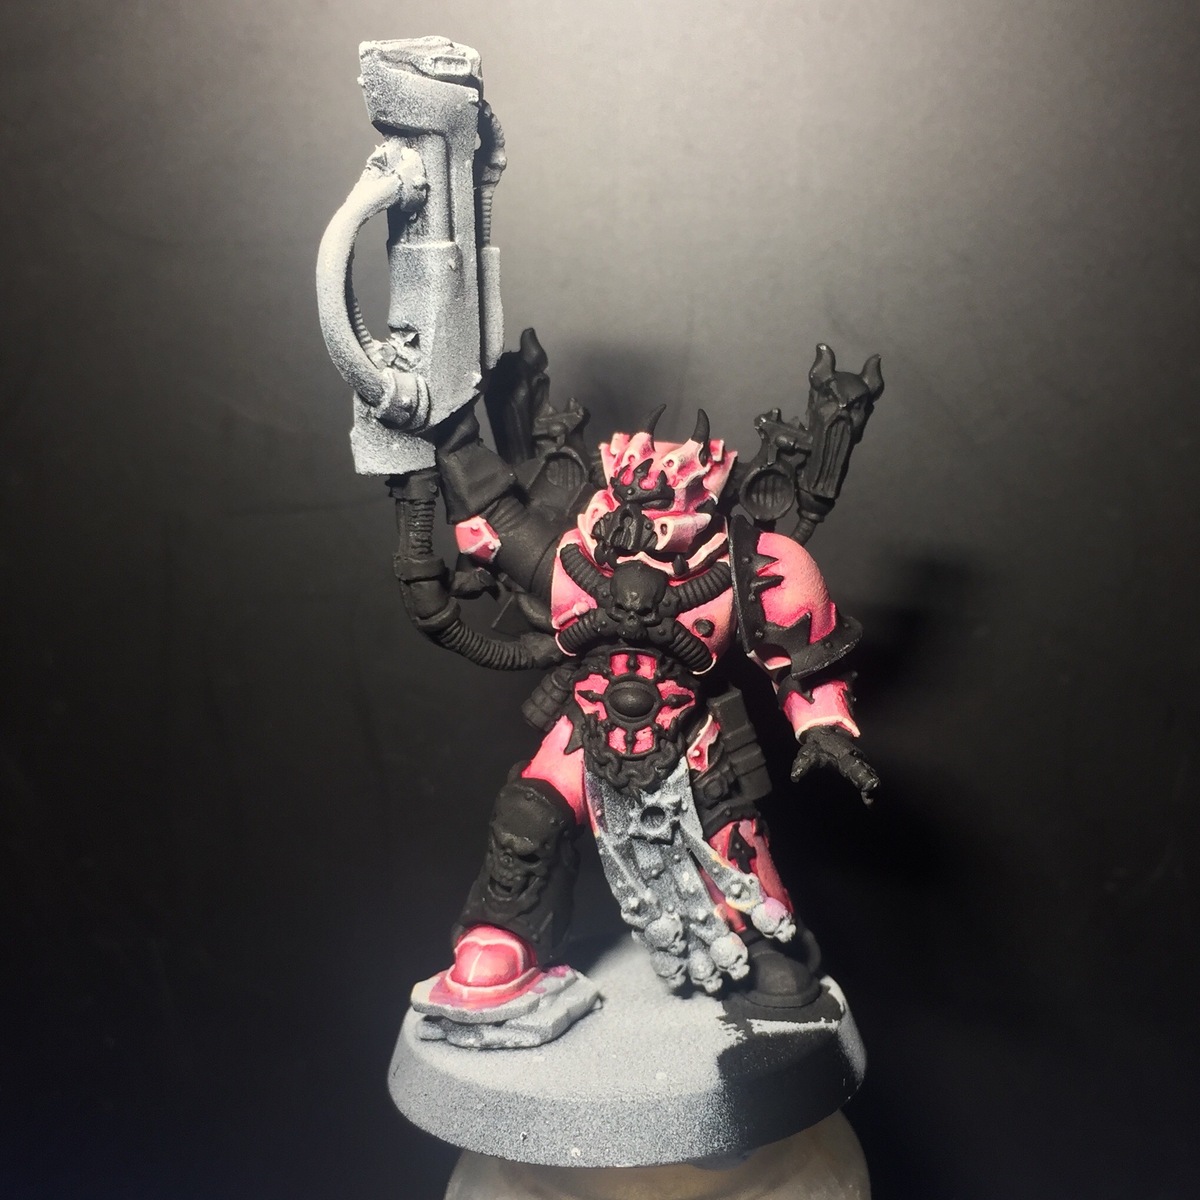
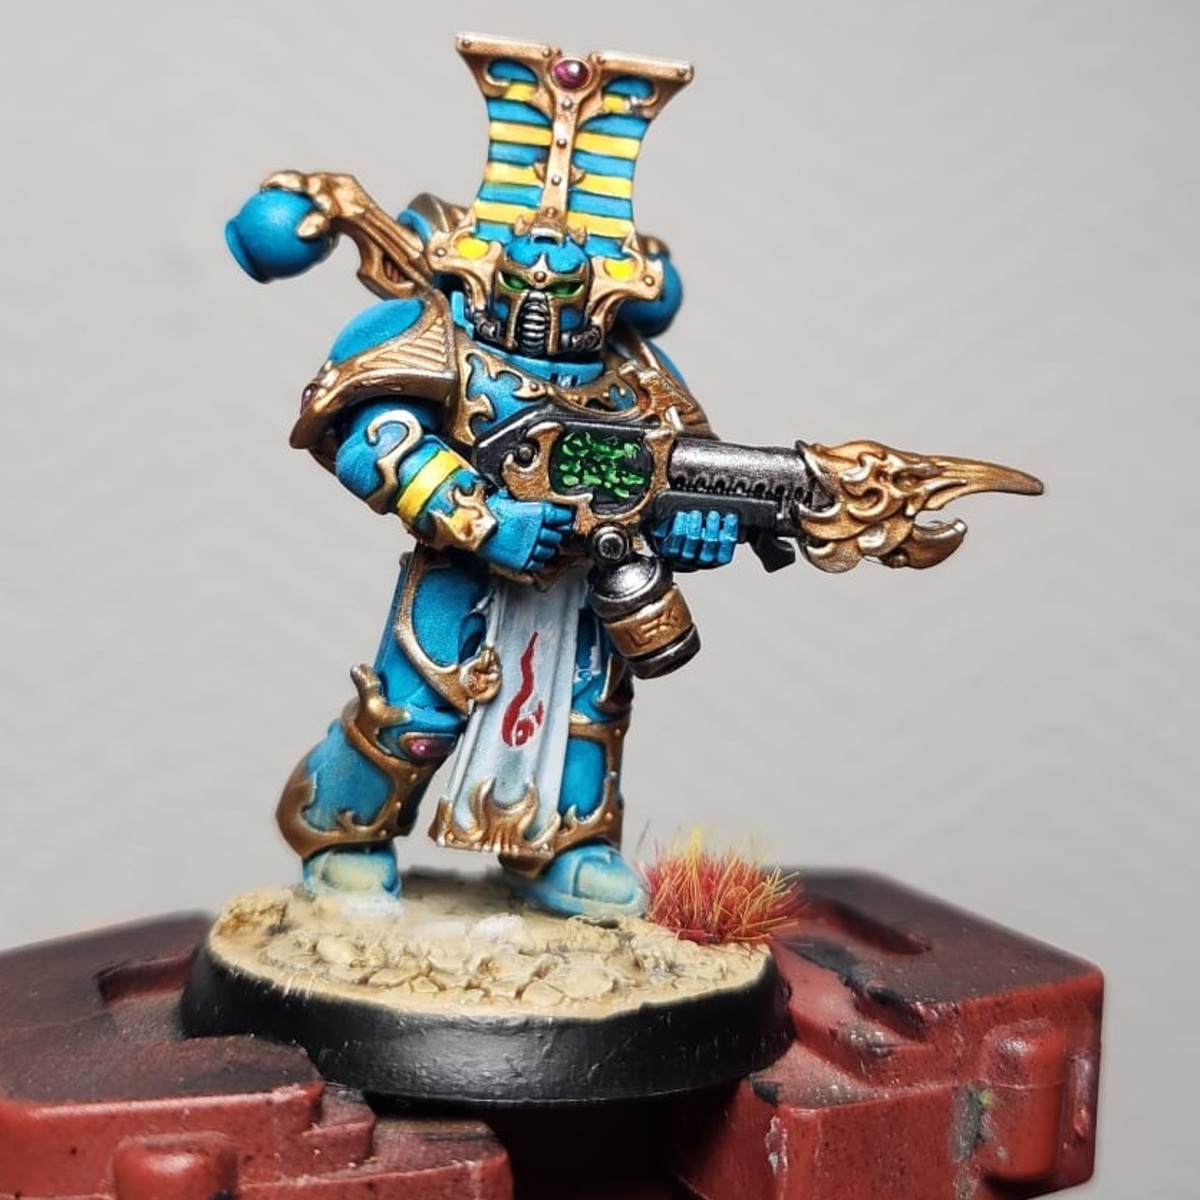
Emperor's children pink armor
Many ppl have asked me how I paint my emperor's children pink so here's a detailed guide for ya😉 The scheme is pretty easy and doesn't require too many paints and steps, while the end result looks decent, at least 4 me. Hope this helps!🤘🏻