Results for ‘ork’
Found 1439 recipes
-
Crux terminatus (cold stone)
A reminder to myself of how I paint the crux terminatus on terminators - canonically they're pieces of granite or similar.
-
-
-
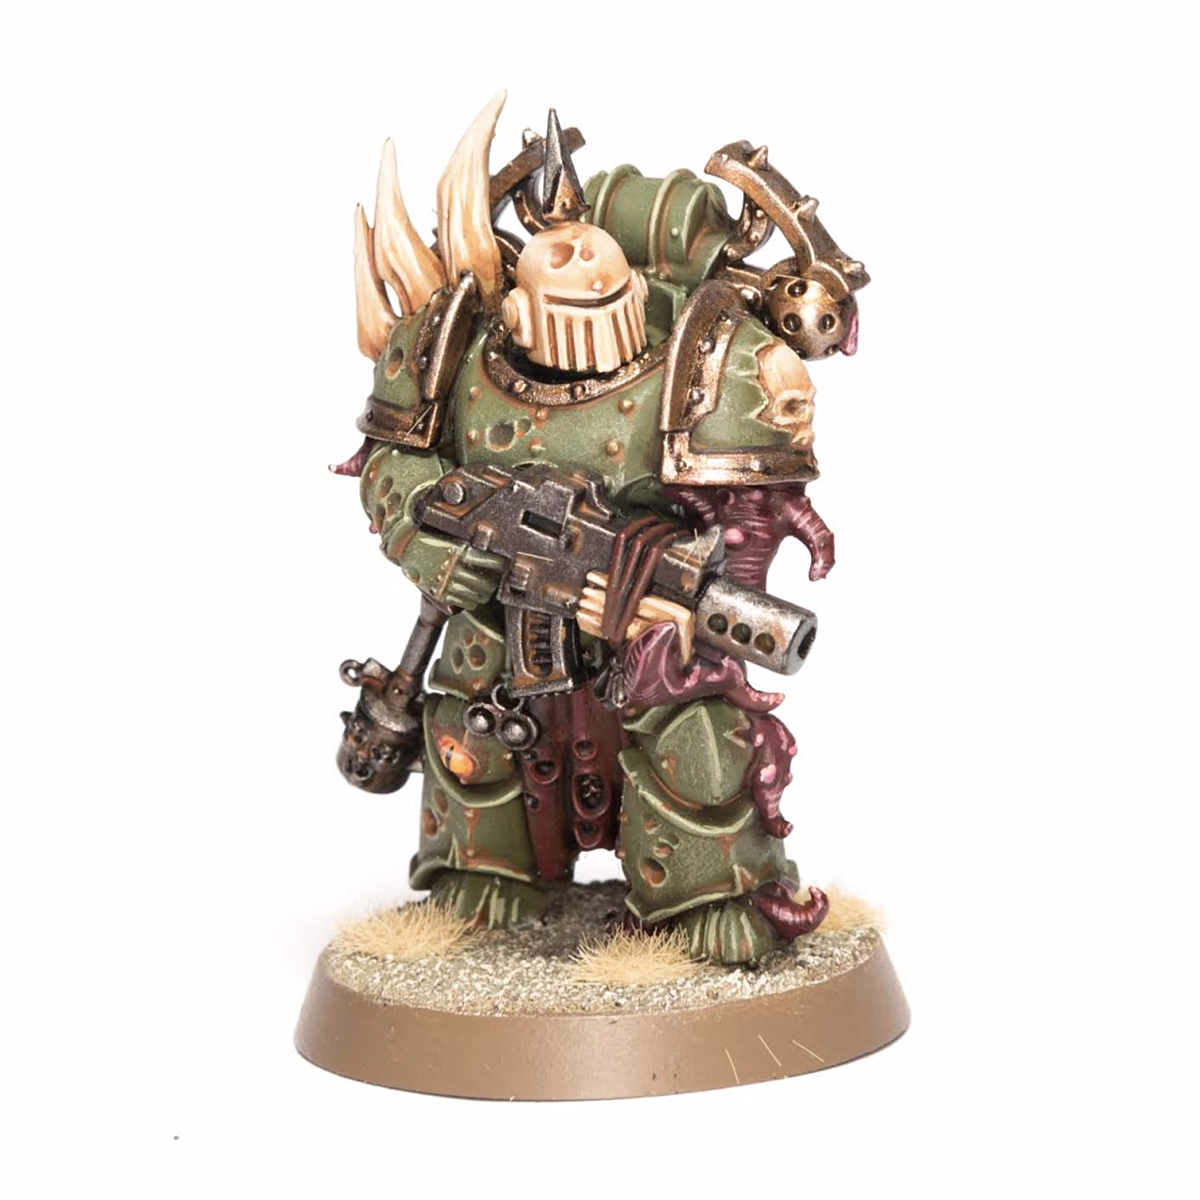
Death Guard
Drybrush and wash scheme for Death Guard.
-
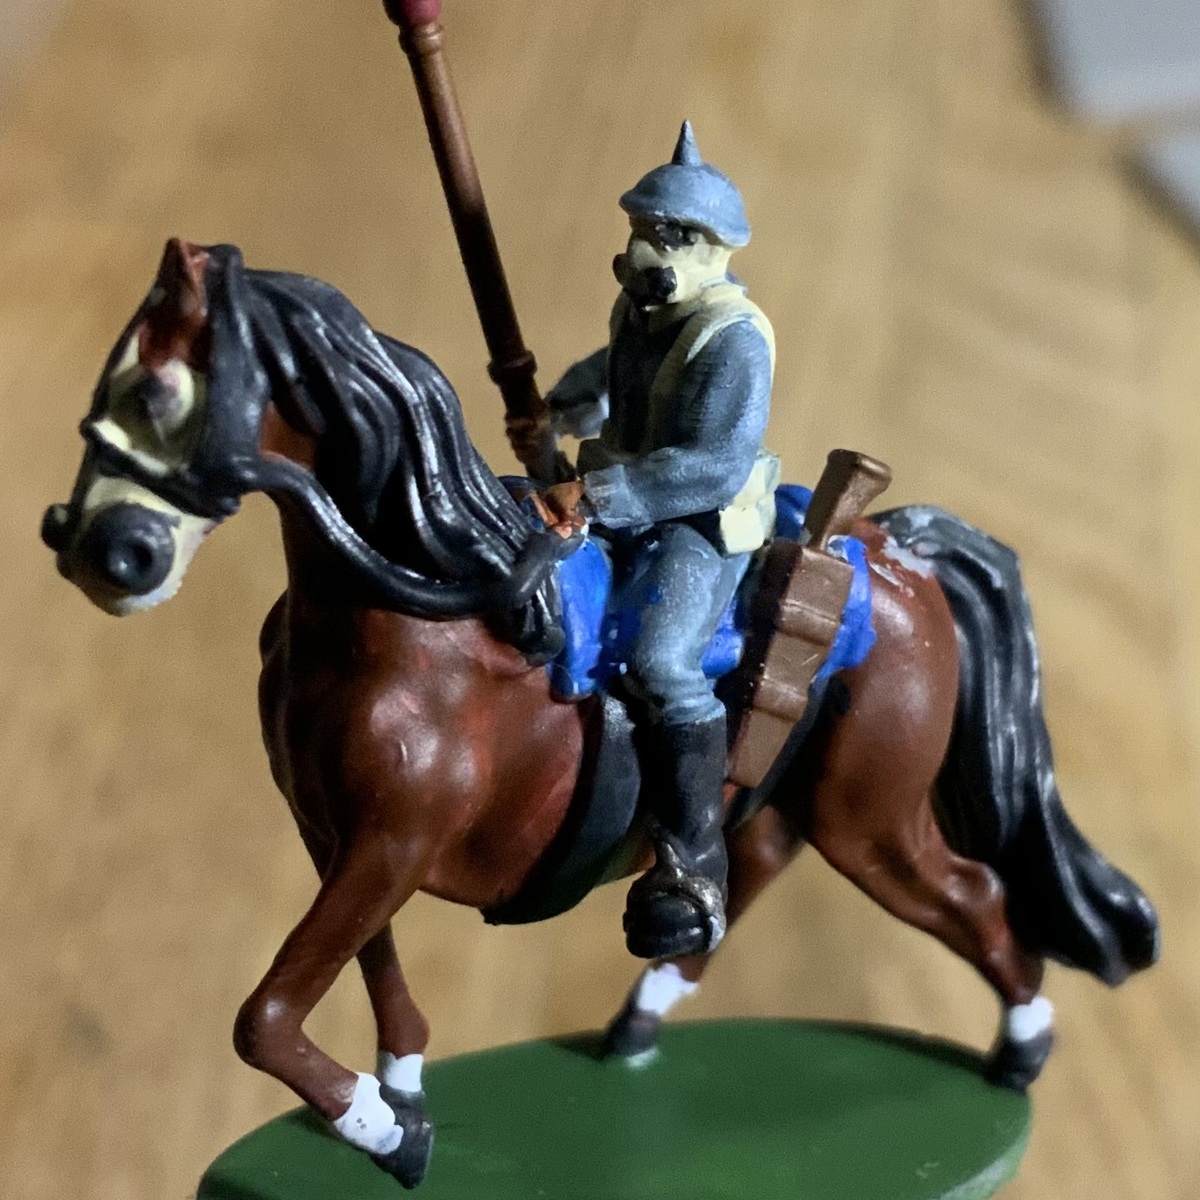
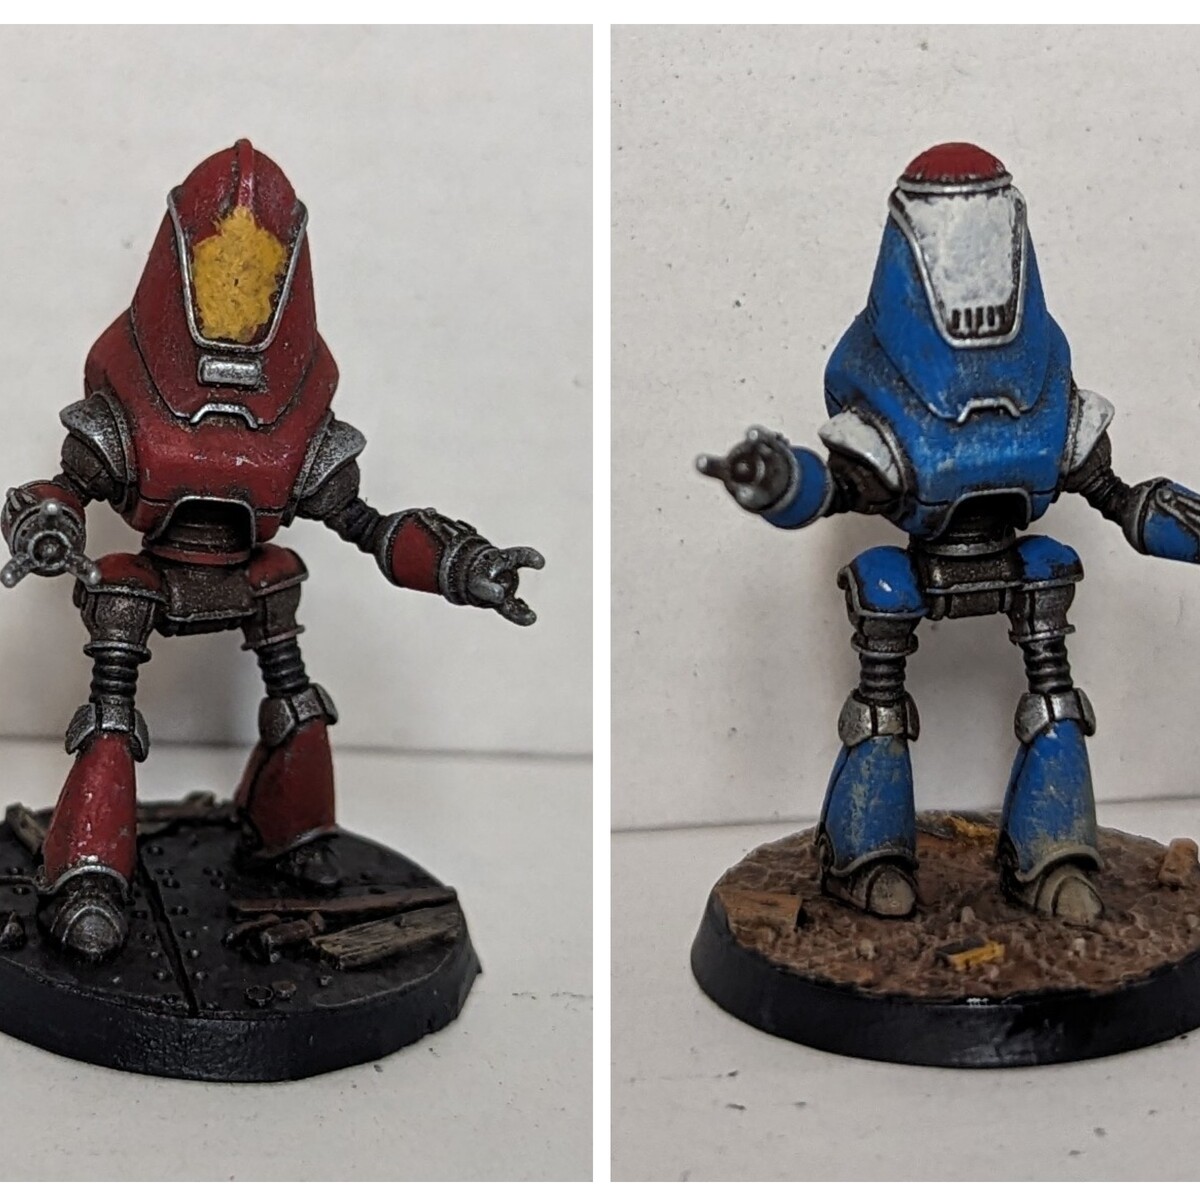
Imperial German Cavalry
Imperial German Cavalry for Return of the Tripods. These are the colors I happen to have on hand and others may work just as well. This scheme uses block colors with no real shading so it has sufficient contrast at a 15mm scale.
-
-
Rusted Claw Neophytes
This recipe will be focused on speed, and theremore you might think some steps are missing, or that some parts of the mini gets less love than others, and that is intentional. If you want to go further with some steps, then you absolutely should!
-
-
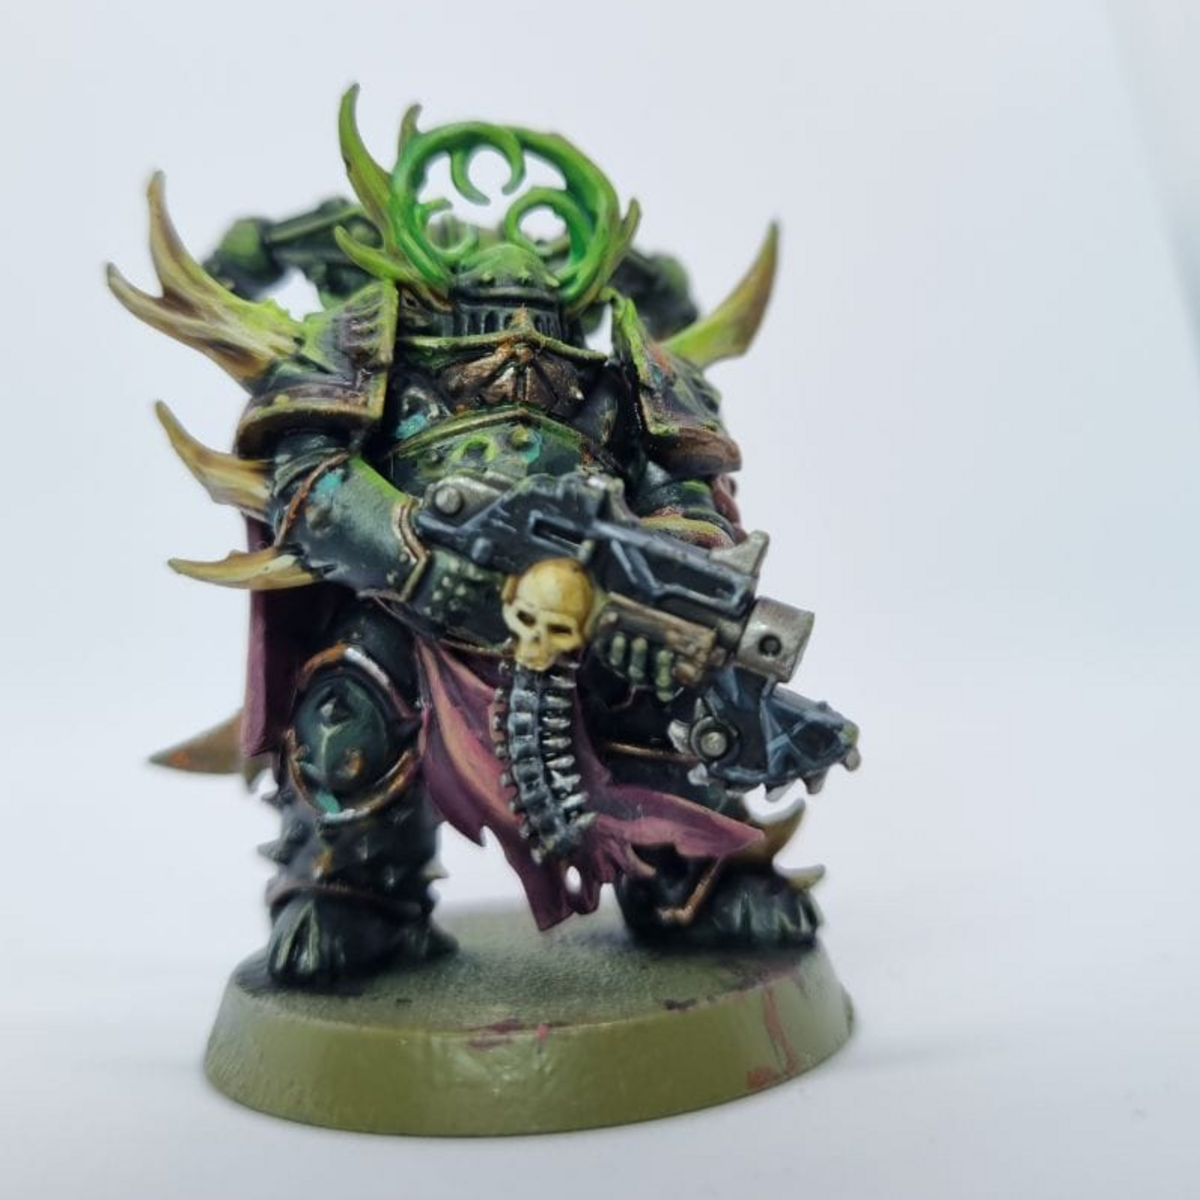
Sons of Sorrow
The Sons of Sorrow is a warband or vectorium of the Death Guard Traitor Legion's 7th Plague Company. The infamous Plague Surgeon Nauseous Rotbone was once a member of the Sons of Sorrow vectorium before he was elevated to command rank by the Daemon Primarch Mortarion.
-
Flesh Tearers Navy Breachers
Imperial Navy Breachers attachment to my (not)Flesh Tearers SM Fleet colour scheme: Red cloth, Black armour. Minor white or gold trim.
-
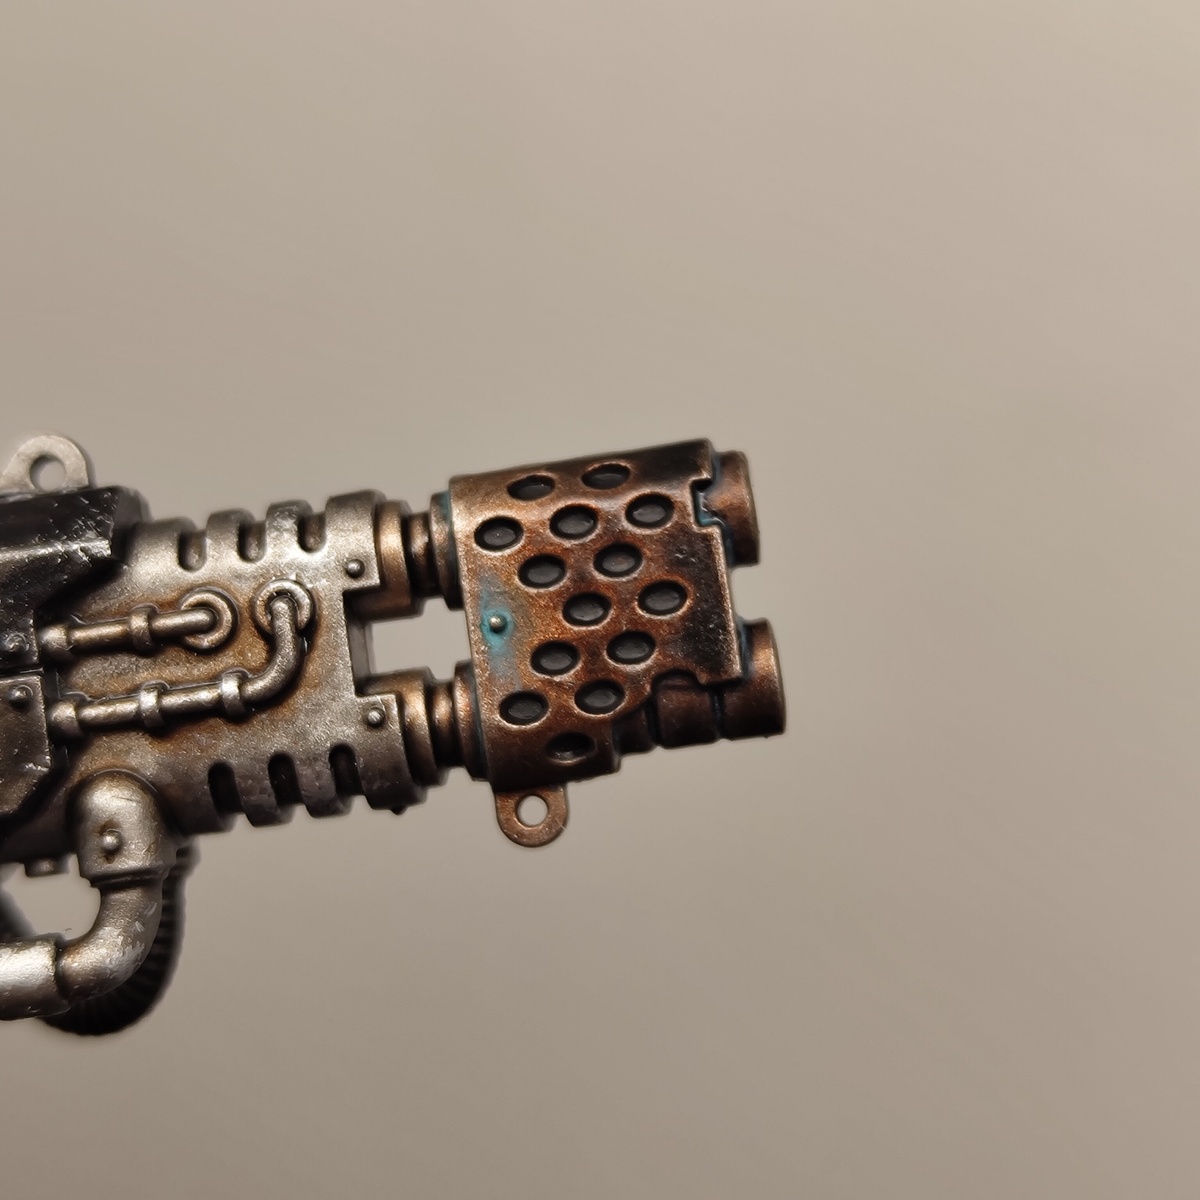
Scorched Melta Tips
A way to paint Melta weapons, in this case that of a War Dog, so it looks aged and heat scorched.
-
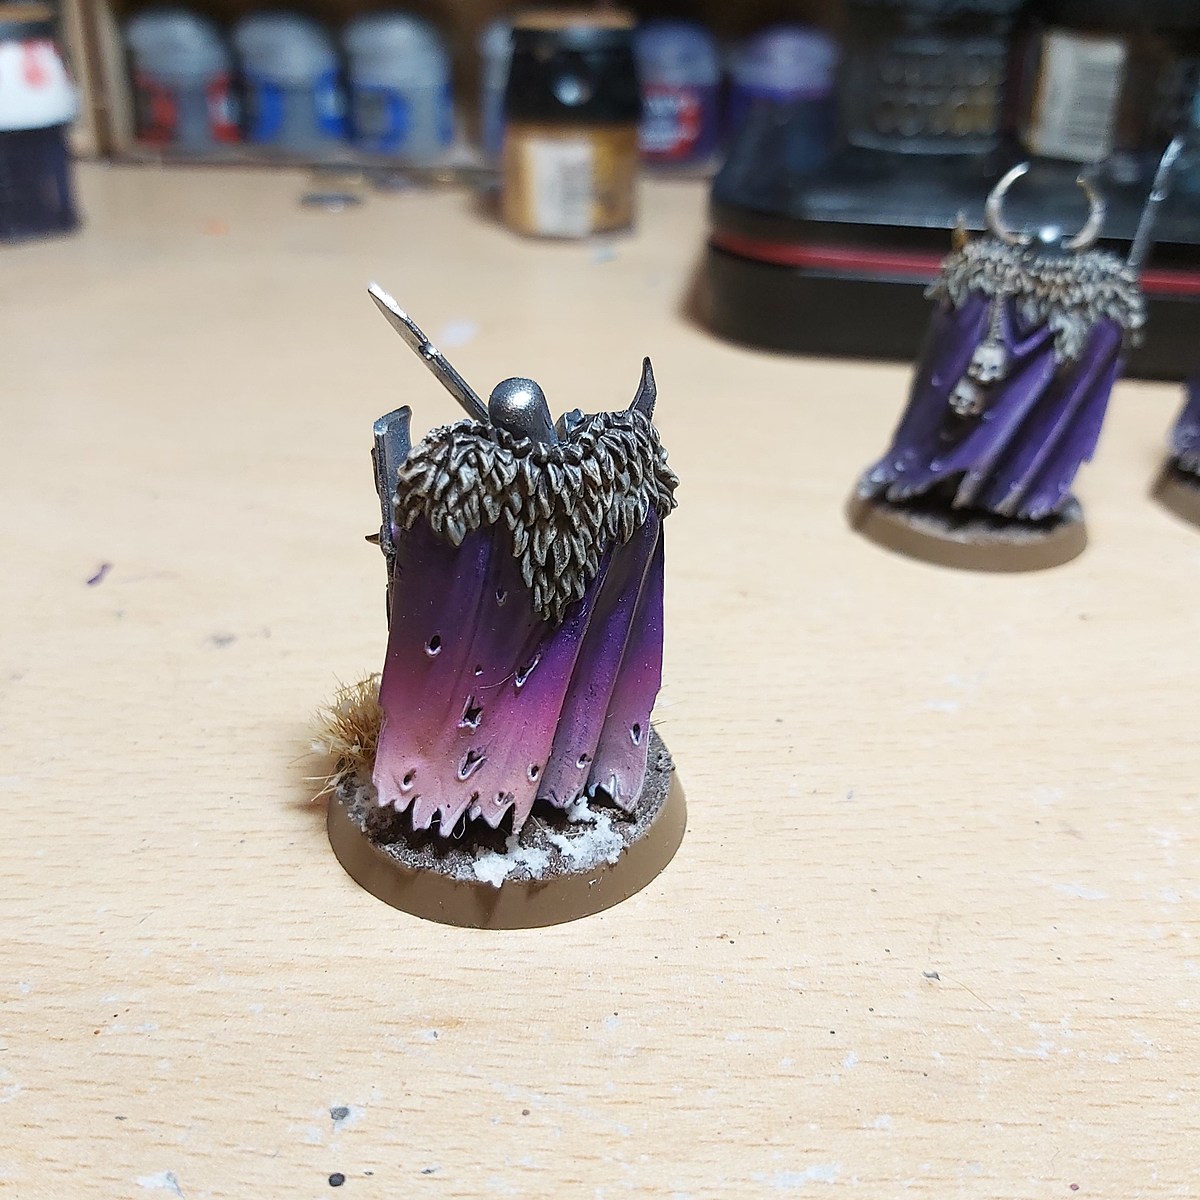
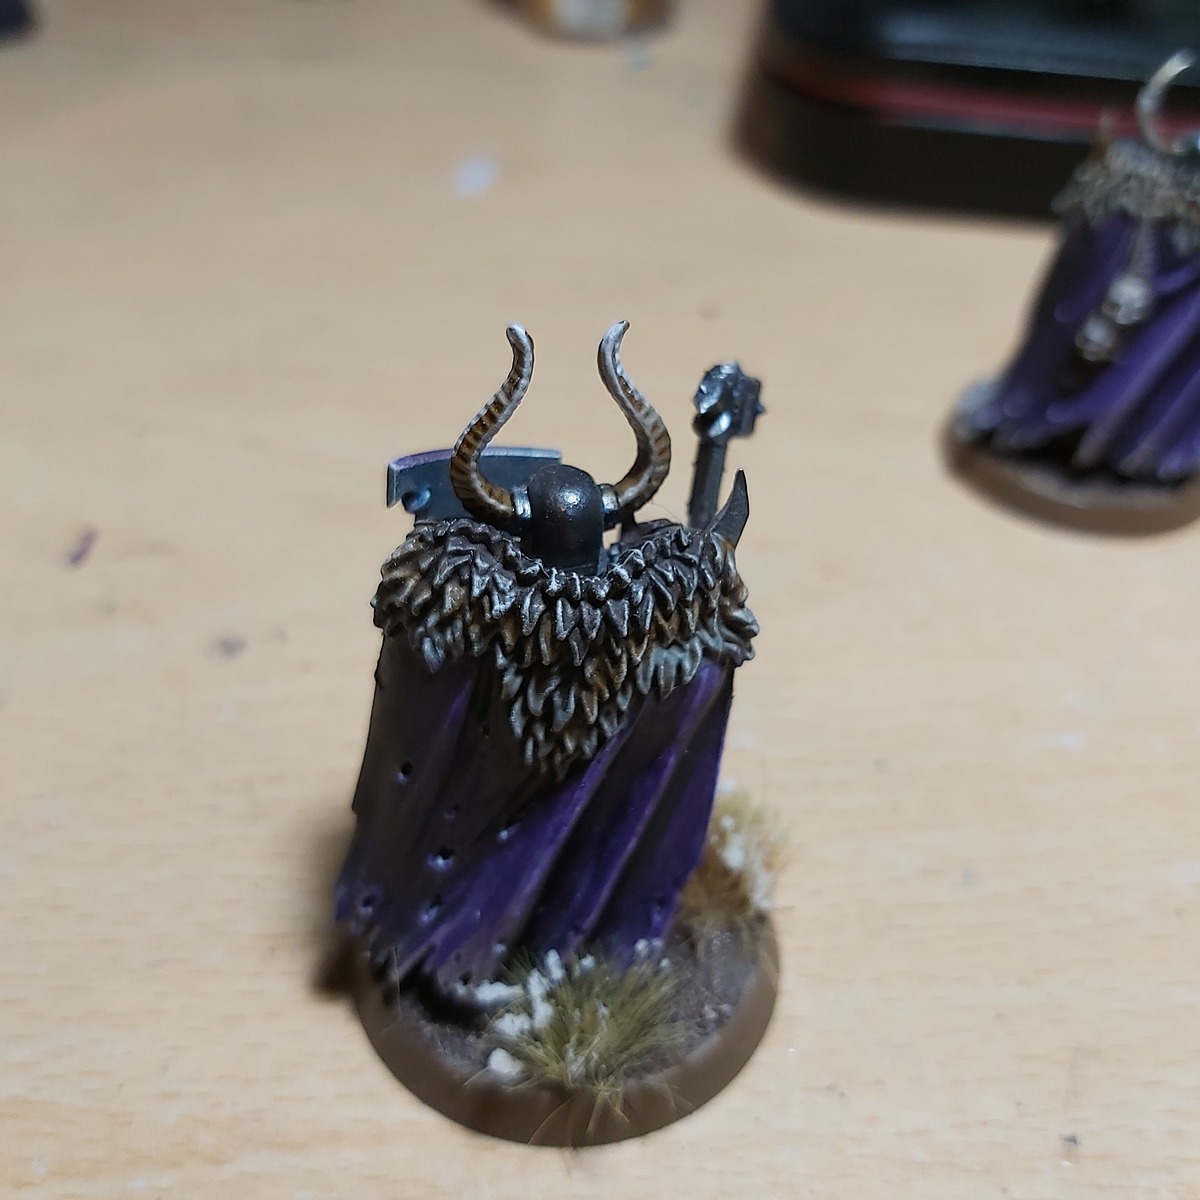
Bright neon purple cloaks
These look a little silly, but they're very eye-catching and quite tzeenchy! Easiest with an airbrush, but if you don't have one, just reverse it, starting from the lightest colour and gradually glazing the others over in sequence.
-
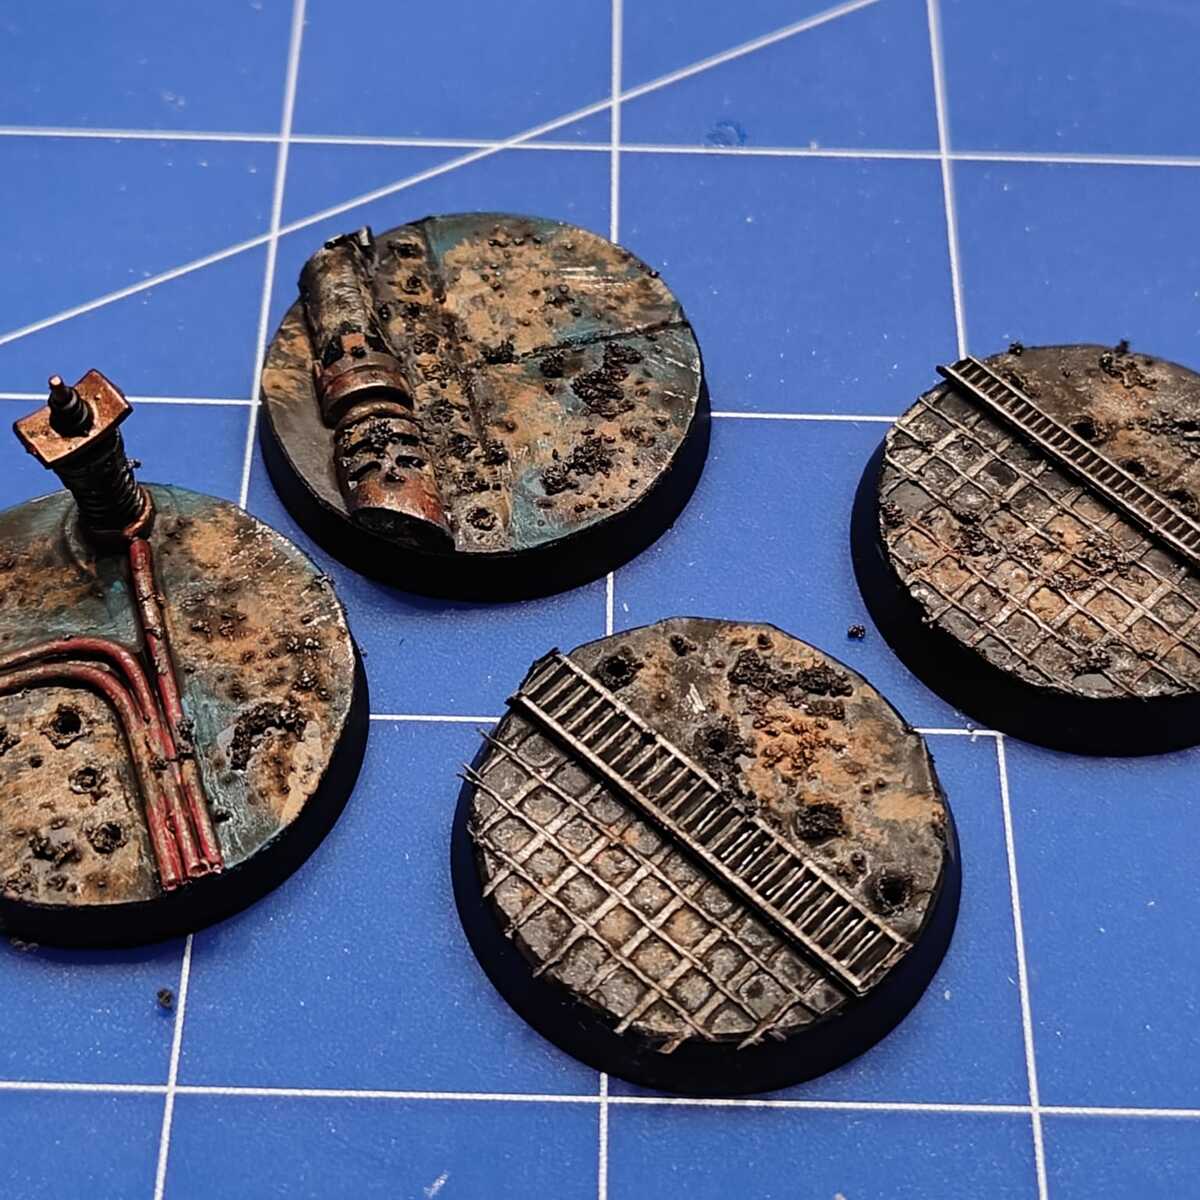
Urban Bases
A quick guide showing how I paint my urban themed bases. For those of you that are interested, I have a guide to making them on my Instagram.
-
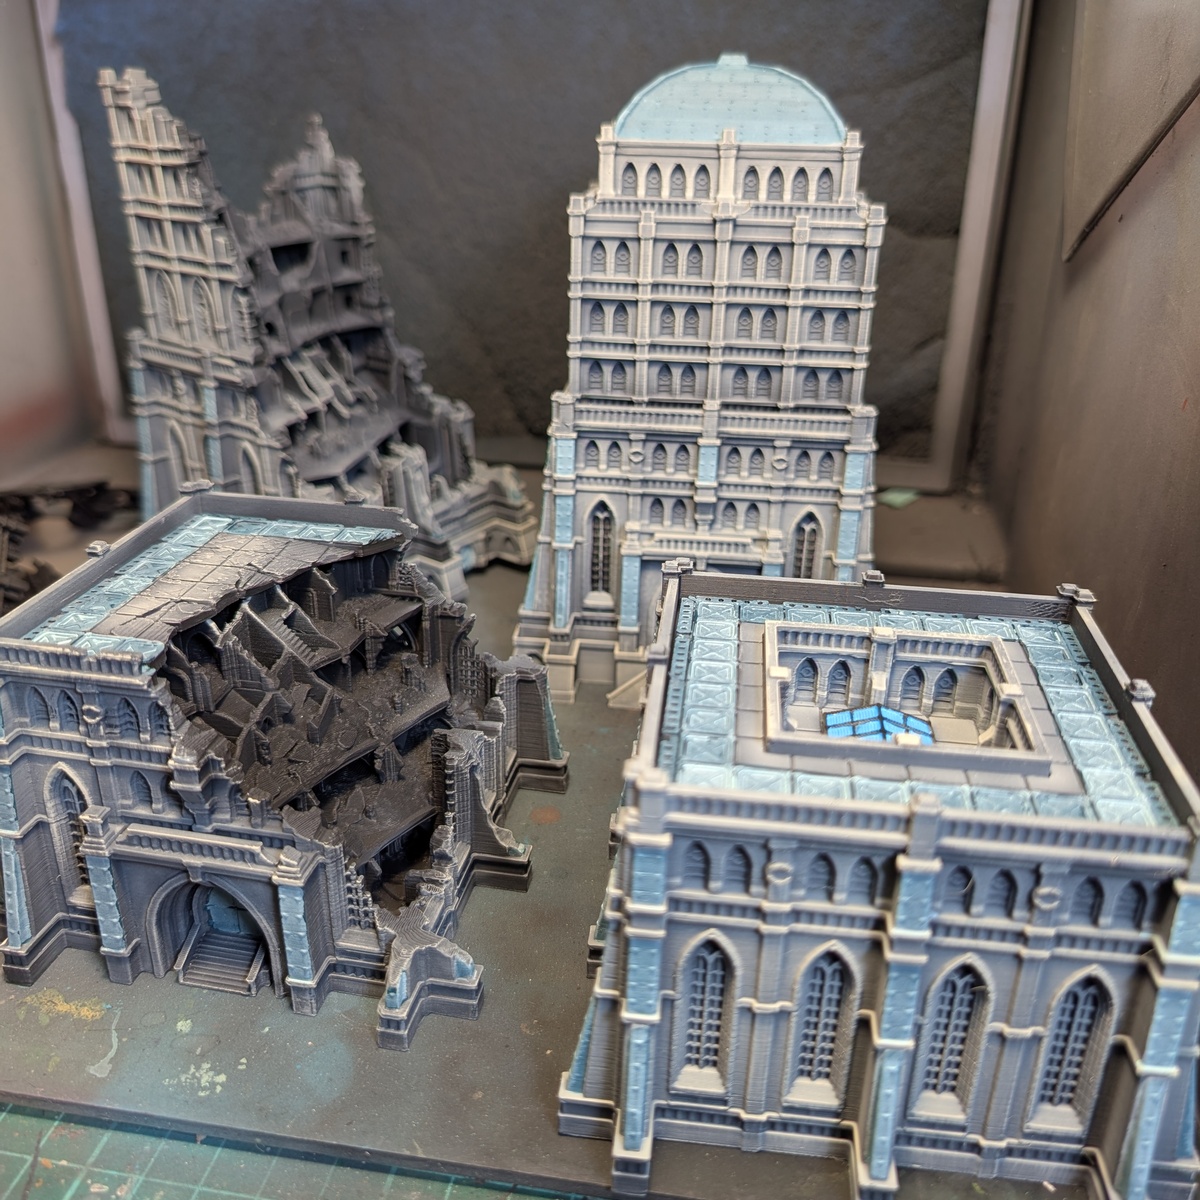
legions Imperalis Civitas Buildings (Lumos)
I purchased a bunch of STLs from Lumos Miniature Terrain and this is how I painted them.
-
Black Legion Black
Obviously applicable to other black highlighting!
-
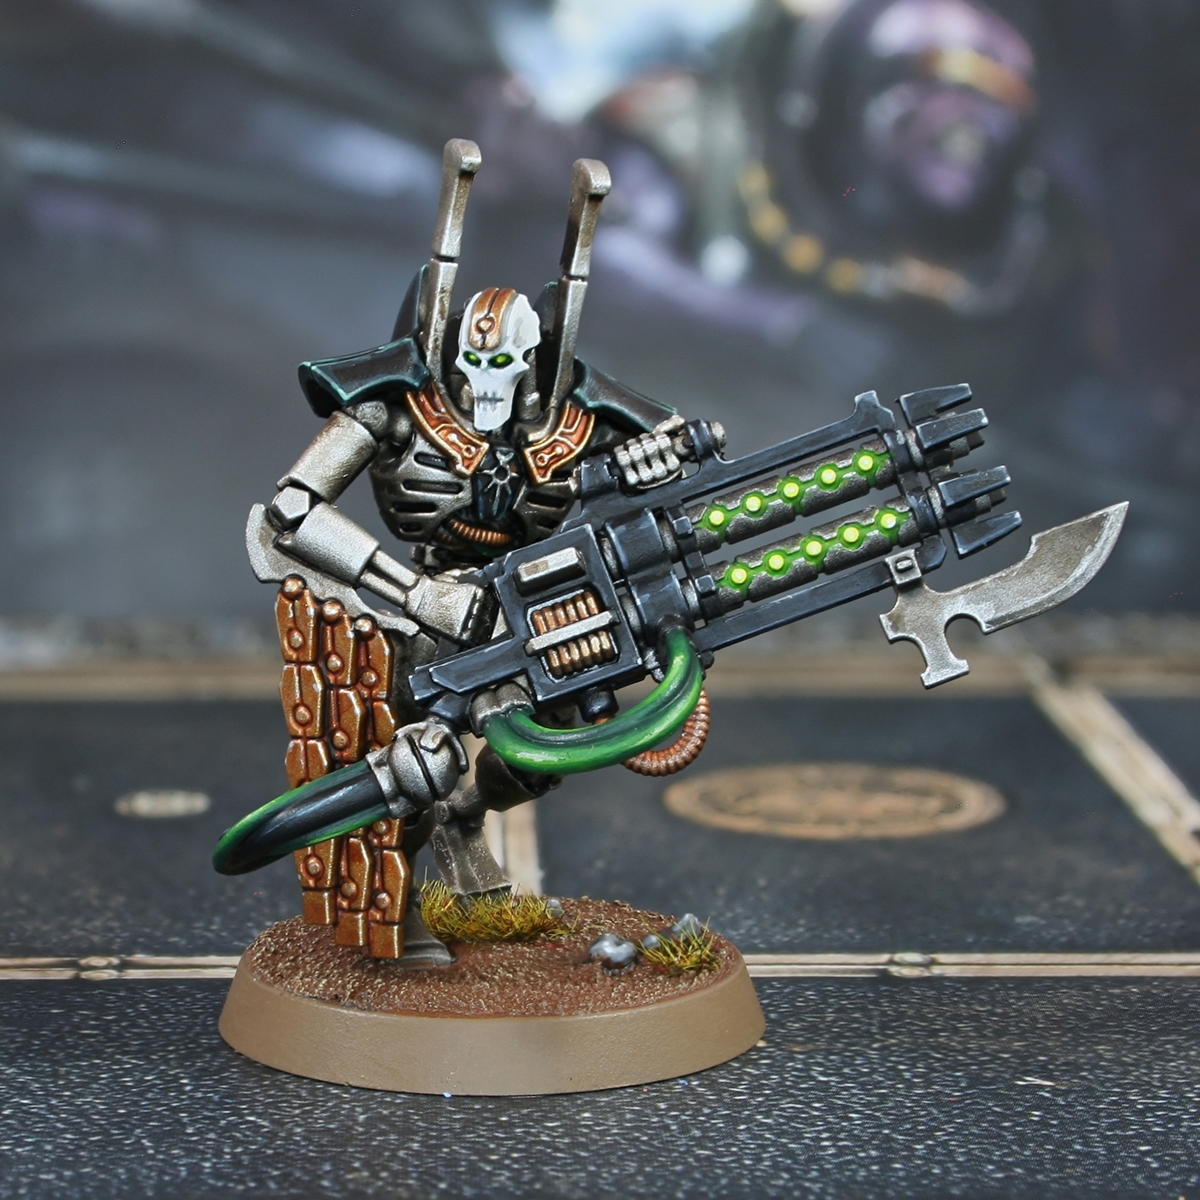
Necron Immortals (Sautekh Dynasty)
Here is how I painted my Necron Immortals. This should cover both of the standard weapon options, but I have included a few extra sections for the Immortal Despotek too.
-
Blood Knights (Mk. I)
My work-in-progress approach to painting my Blood Knights.
-
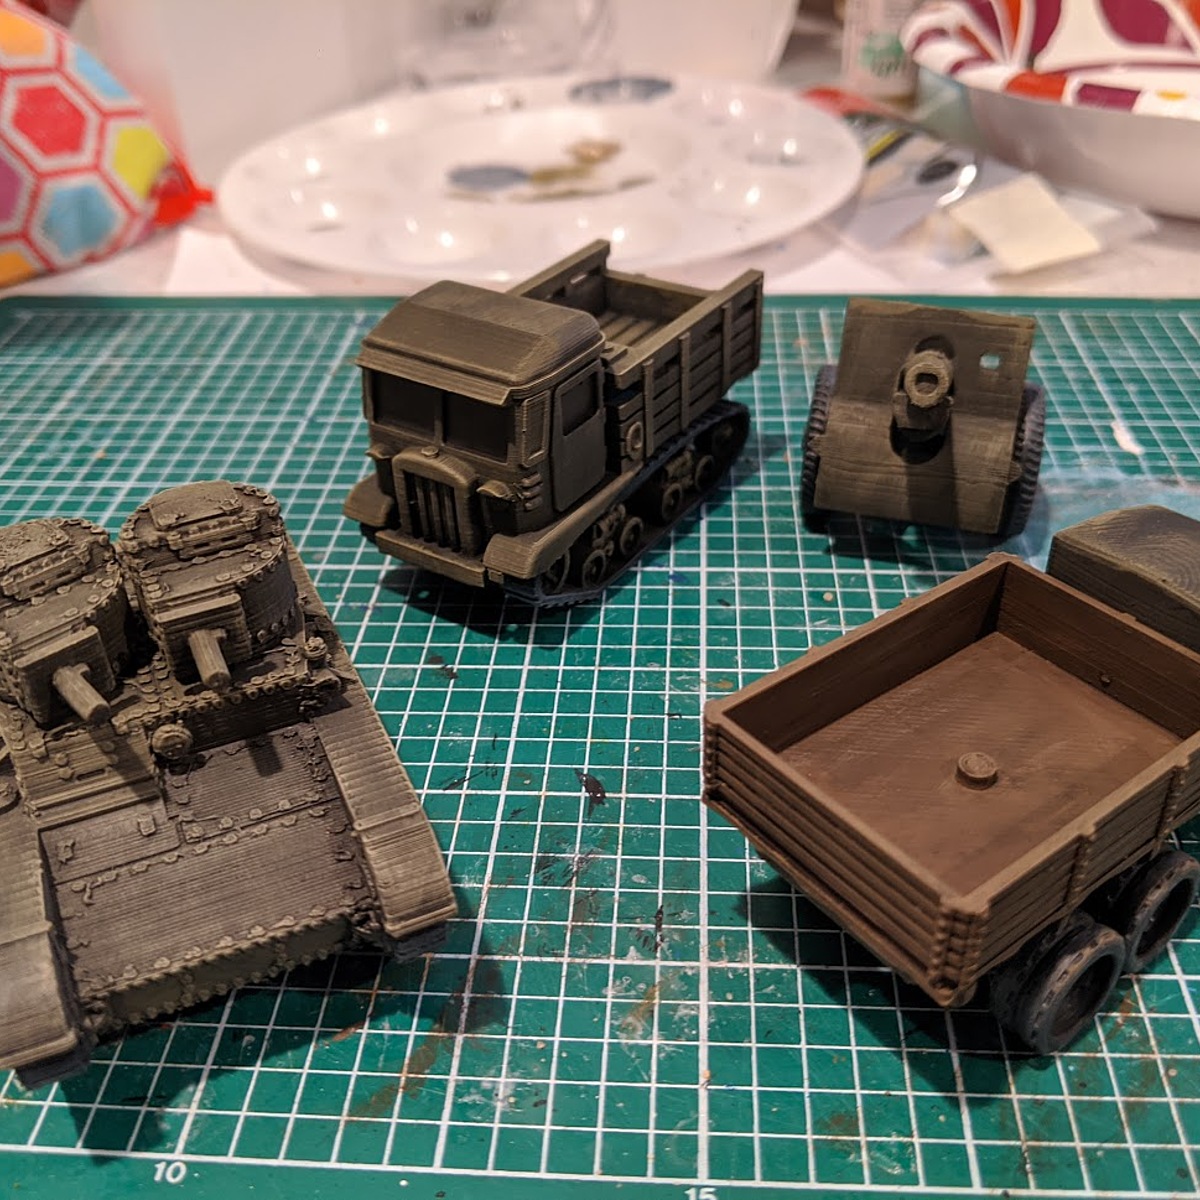
Soviet WW2 vehicles
This is for pretty much any WW2 Soviet or even American vehicle. I included details for wood in brown, but honestly most soldiers pained their wood green to match the metal.
-
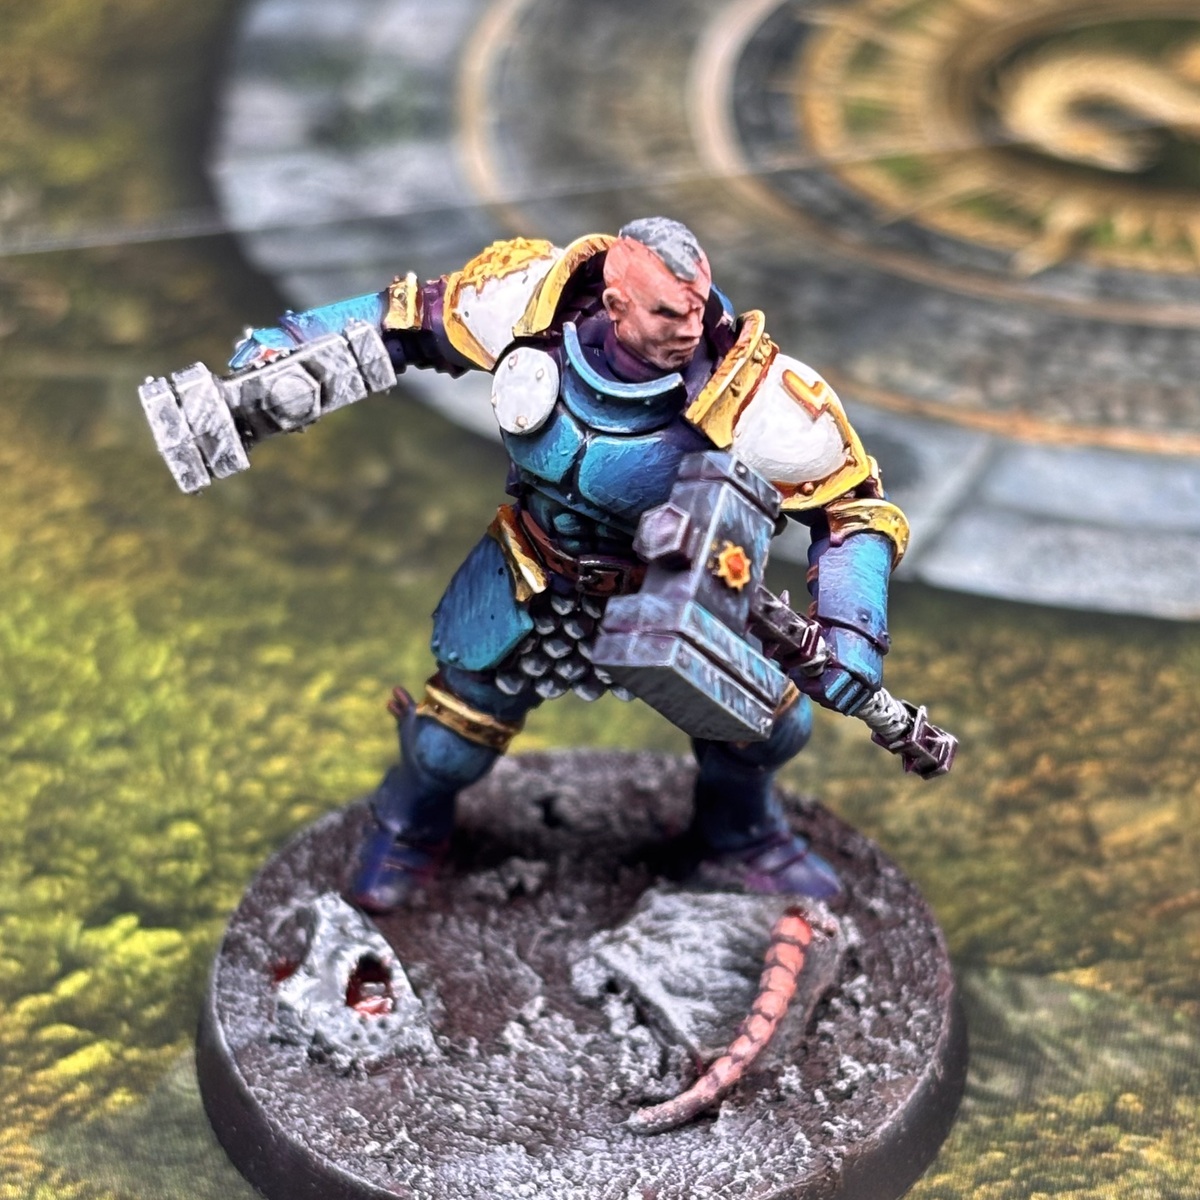
Stormcast Tempest Lord
A storm cast liberator done in tempest Lord colours. Used sketching to try and draw out highlights. First time doing it that way and enjoyed painting in that style. Purple base coat made it hard to bring Metallics out, and I think the NMM could do with some more work.
-

Eliminator cloaks
was figuring things out. wasn't the happiest with result. but maybe works for someone
-
Tome Keepers Space Marine Scouts
My revised scheme for the newly released Space Marine Scouts Kill Team. This Tome Keepers recipe collection is similar to me previous one, but has a few tweaks to compliment the new design, and also reflect my growth as a painter.
-
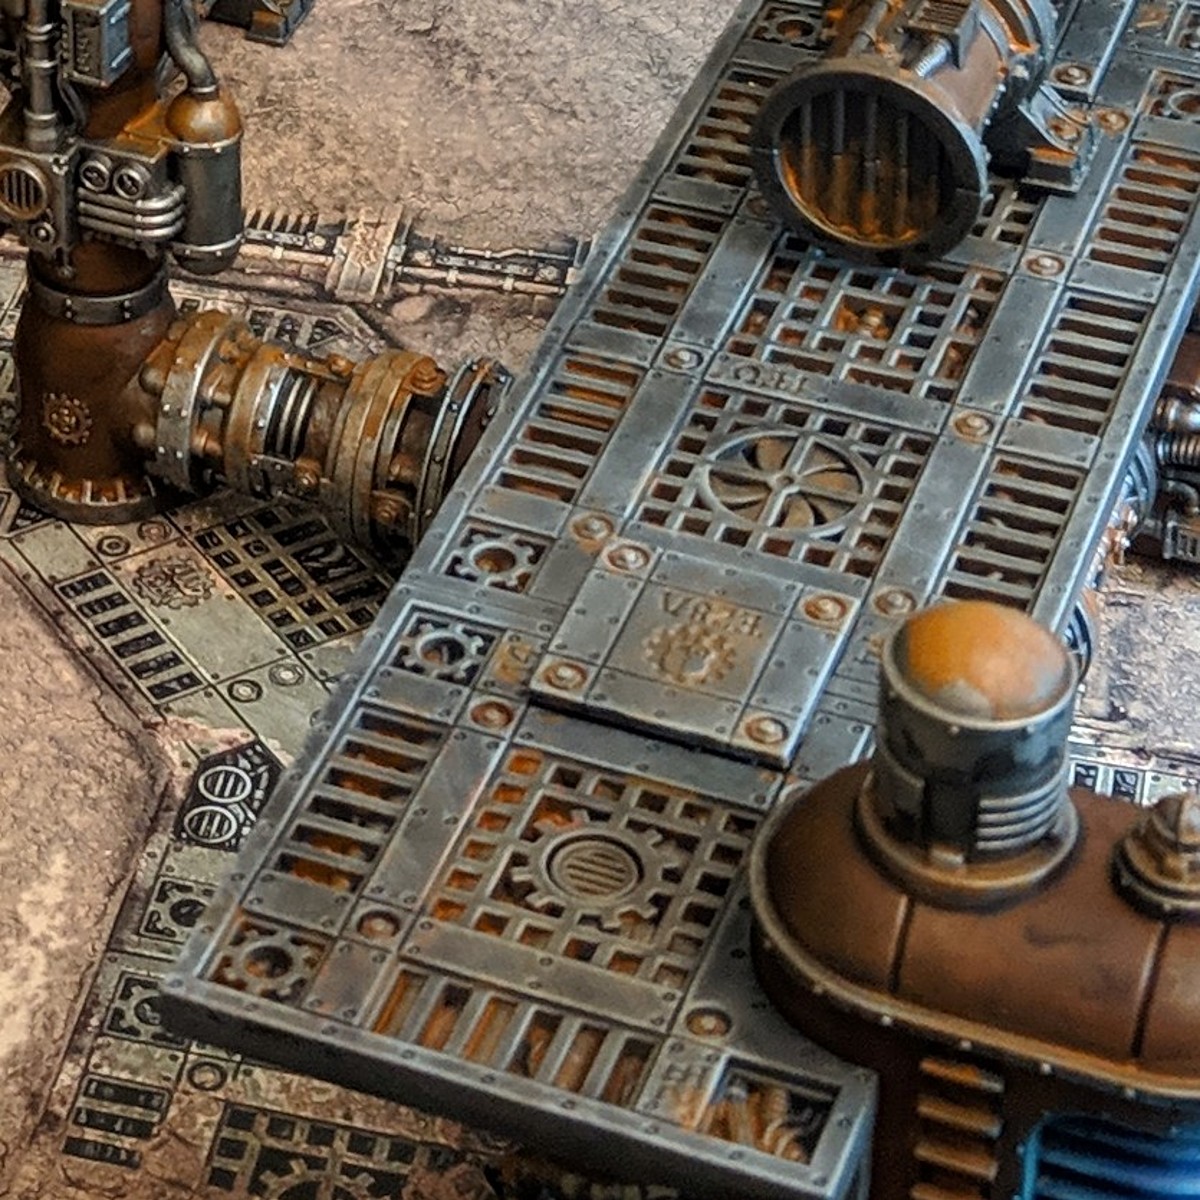
Sector Mechanicus
Quick and easy method for getting terrain on the table
-
Tzeench Chaos Warrior cold gold trim
A basic gold but with a custom wash to cool the colour down without matting it too much. Designed to compliment metallic blue armour without contrasting too much (or looking like an Ultramarine...)
-
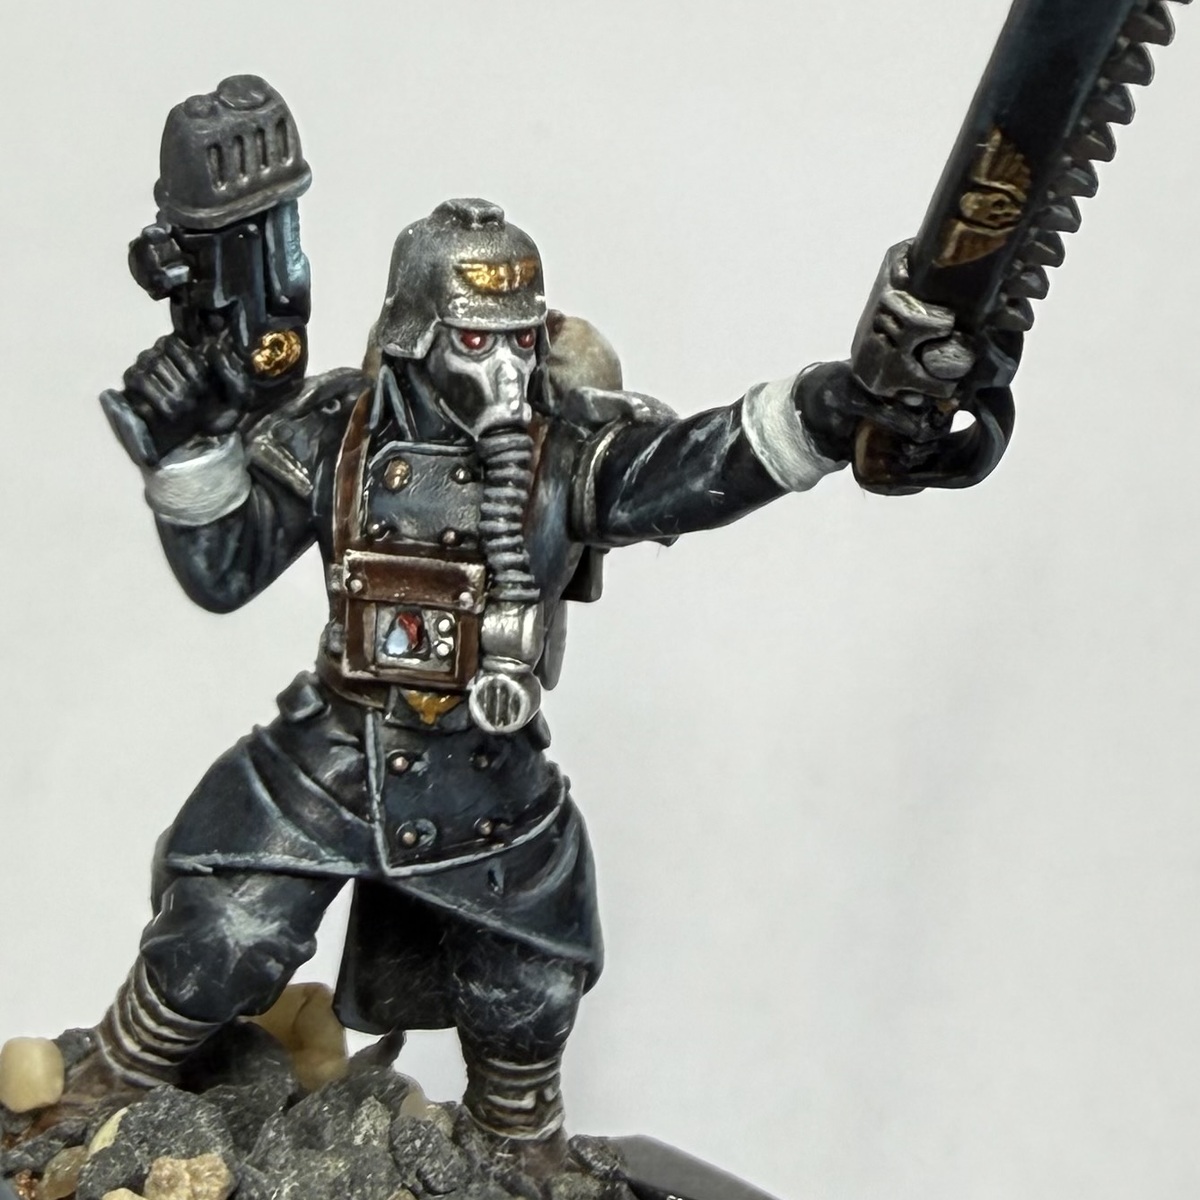
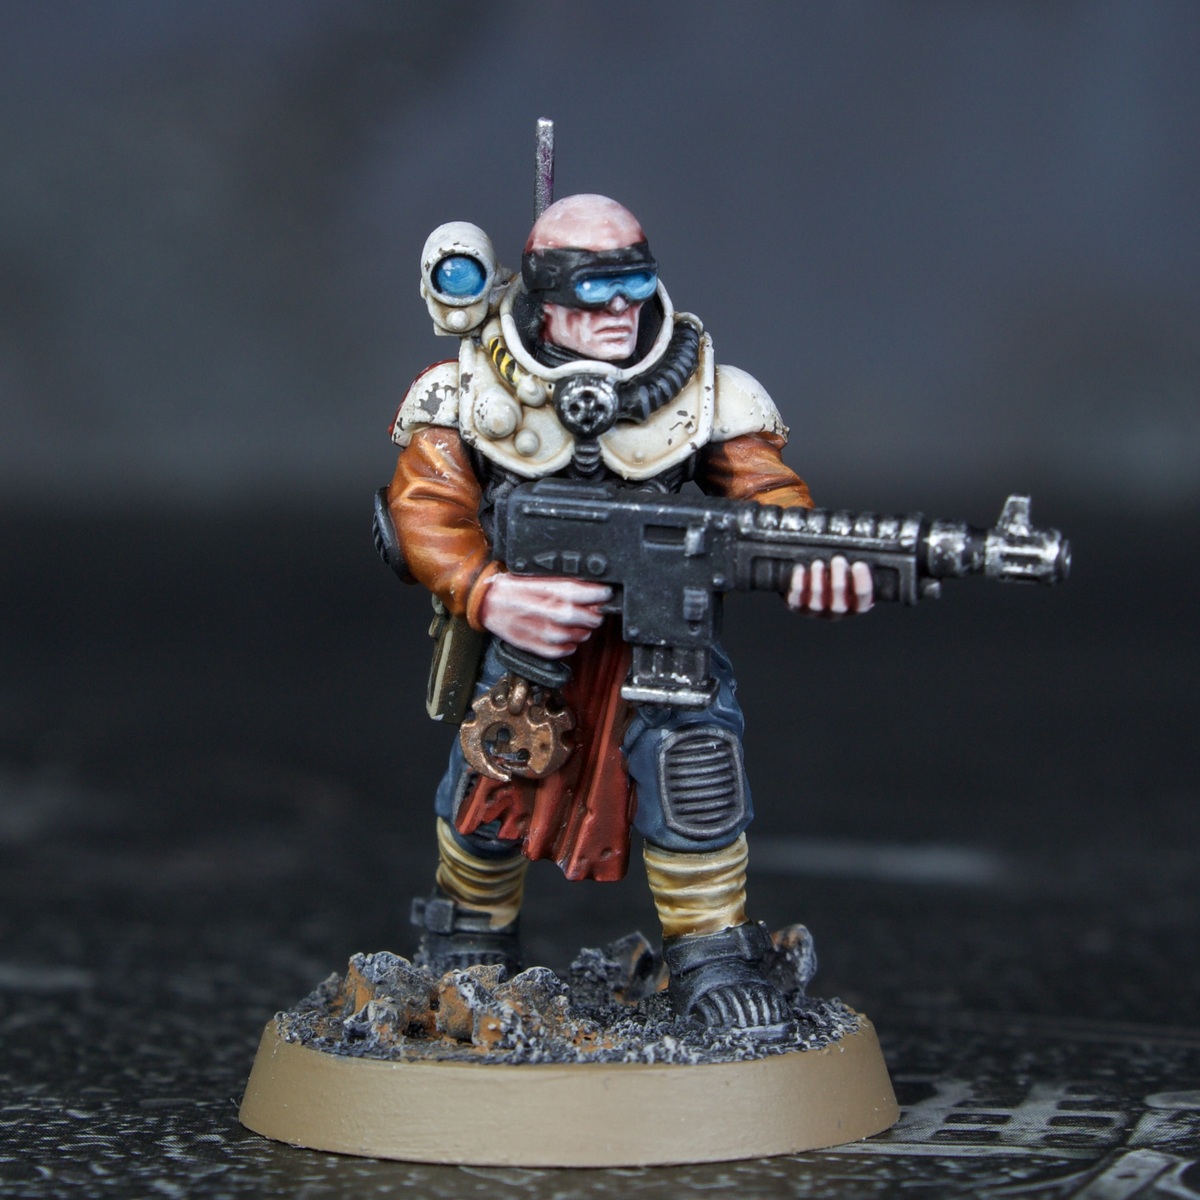
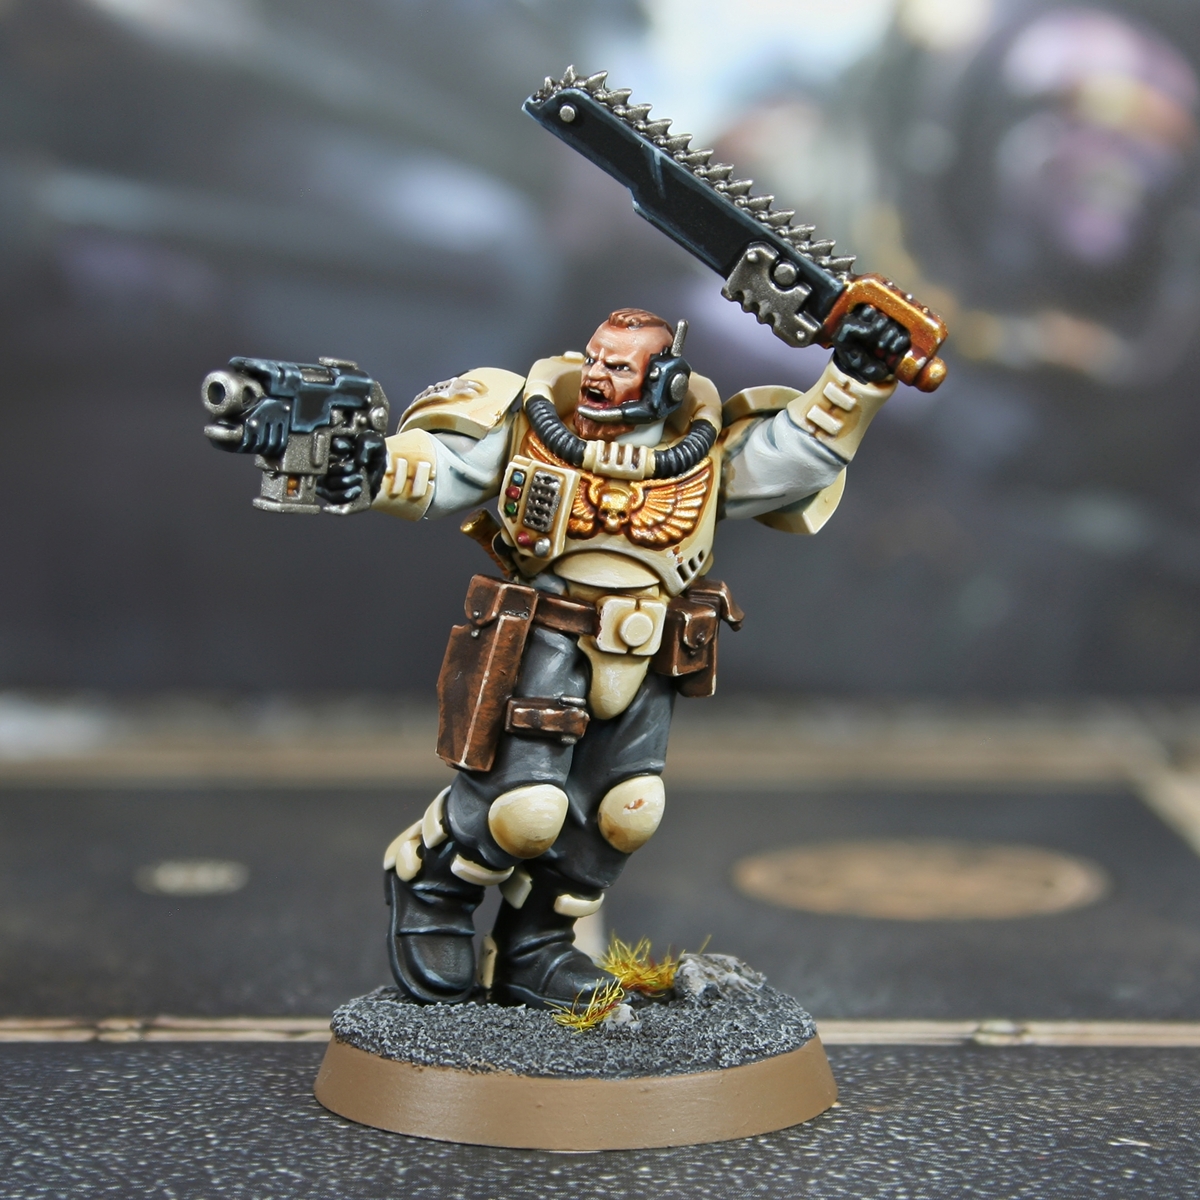
Death Korps
This recipe is mainly written so I dont forget how I painted these dudes. Also I am not a professional painter, so there could be better or more efficient recipes uploaded