Results for ‘space marines’
Found 522 recipes
-
Purple Necron Combat Patrol
I'm aiming to get something close to the Novokh Dynasty scheme but with Purple instead of red.
-
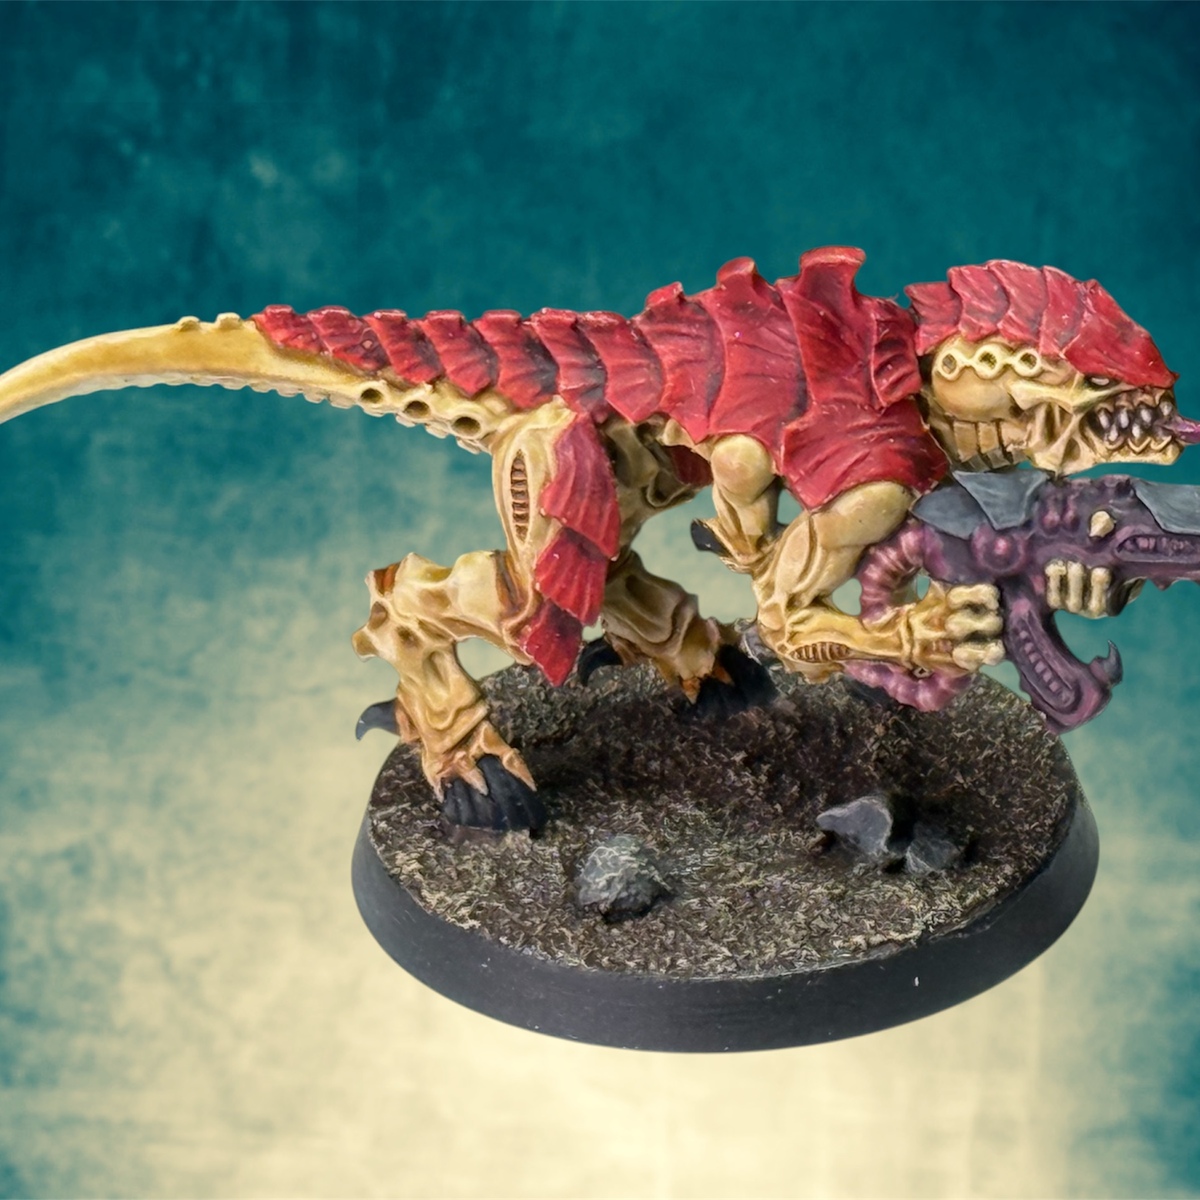
Tyranid Hive Fleet Kraken
My recipe for the Hive Fleet Kraken color scheme.
Ispiration taken from Duncan Rhodes, Trovarion, Matt’s hobby hour and the Painting Coach -
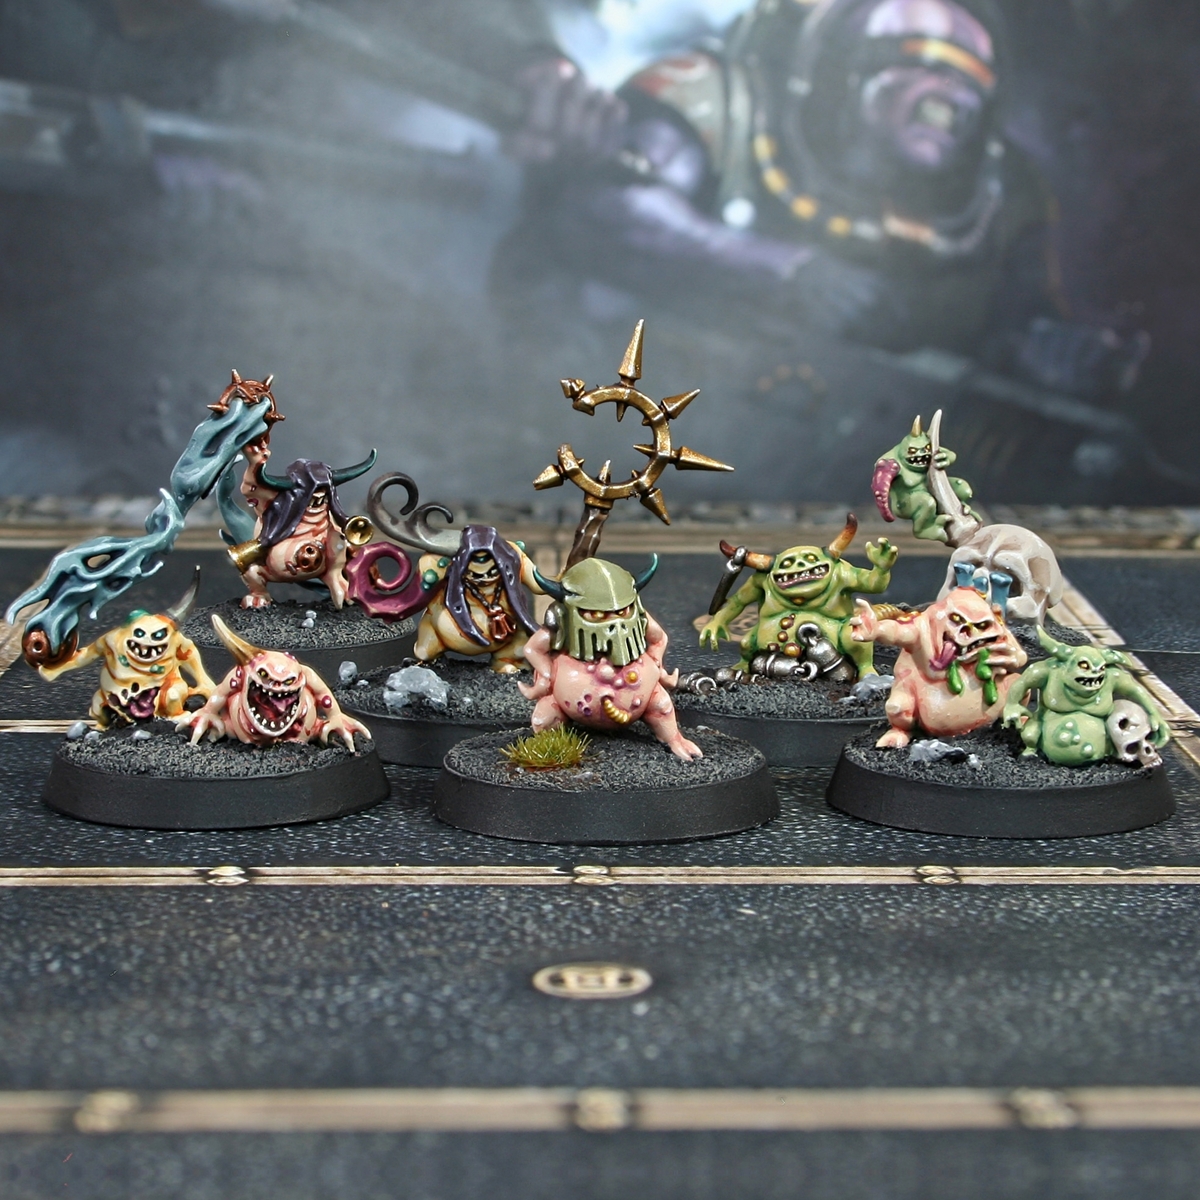
Nurglings!
This started as a pure "How to paint Sassy Nurgling" guide, but he had far too many cute little mates to leave it there. Enjoy! Whilst I tend to remove them from my Death Guard miniatures, I really appreciate the sculpts and will happily paint them separately.
-
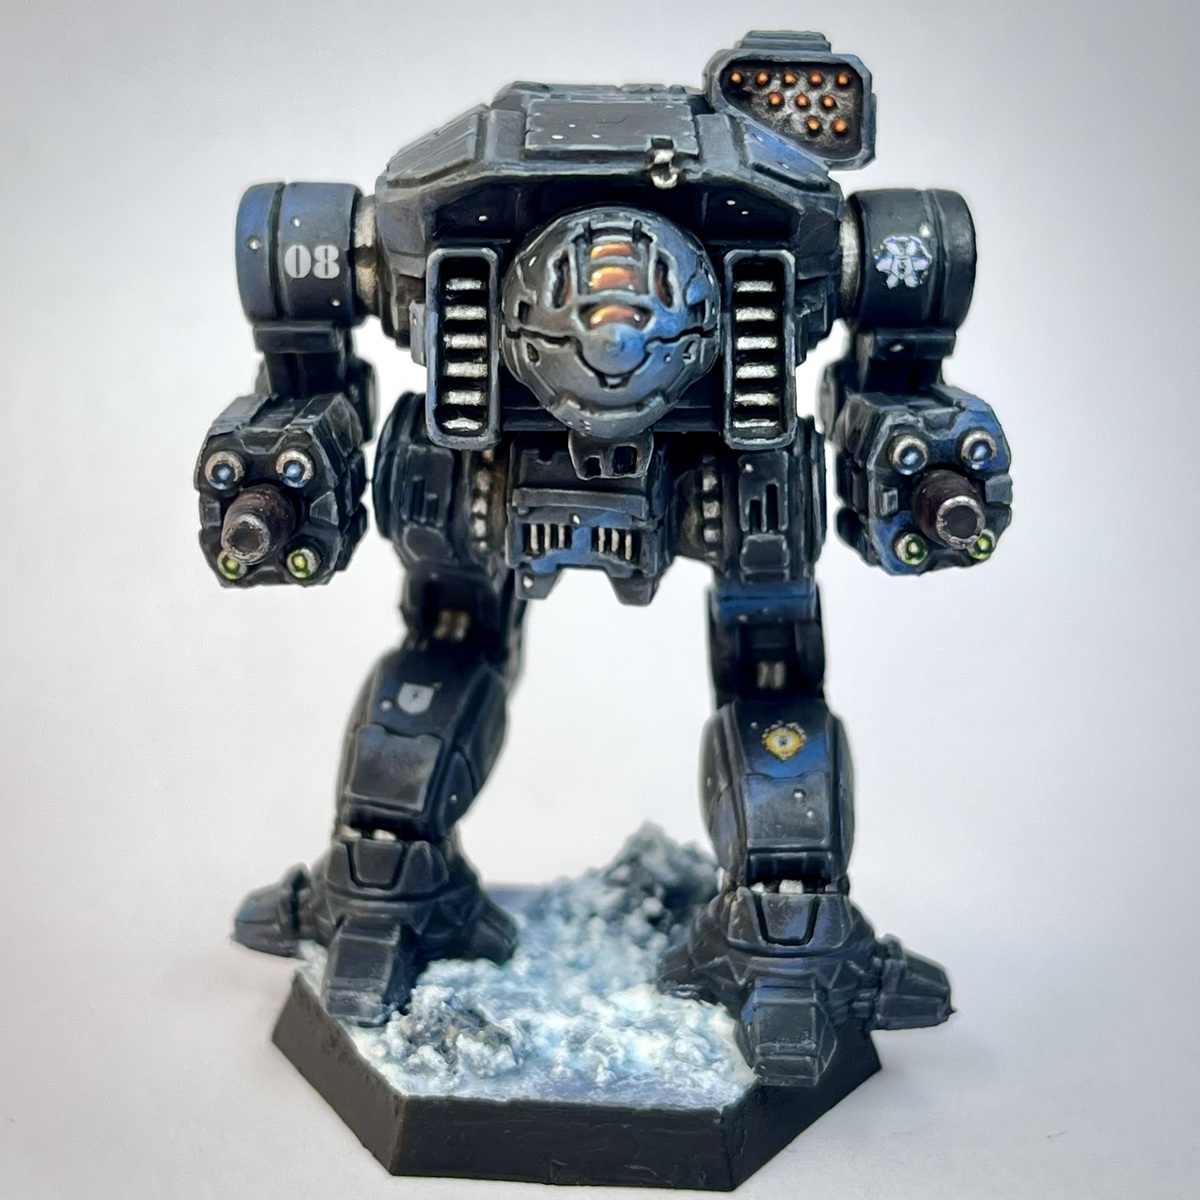
Clan Ghost Bear - Alpha Galaxy
My take on the 3rd Bear Guards of Clan Ghost Bear's Alpha Galaxy. I've really come to love the Ghost Bears after spending time with them in MechWarrior 2 and 5. And their paint scheme for their Alpha Galaxy is one of my favorites in the Battletech universe.
I got the idea for the snow texture on the base from this video by Painting Baron. Definitely recommend checking it out: https://youtu.be/9b4tKIedqjo?si=D_cmsAvdzziIG4l7 -
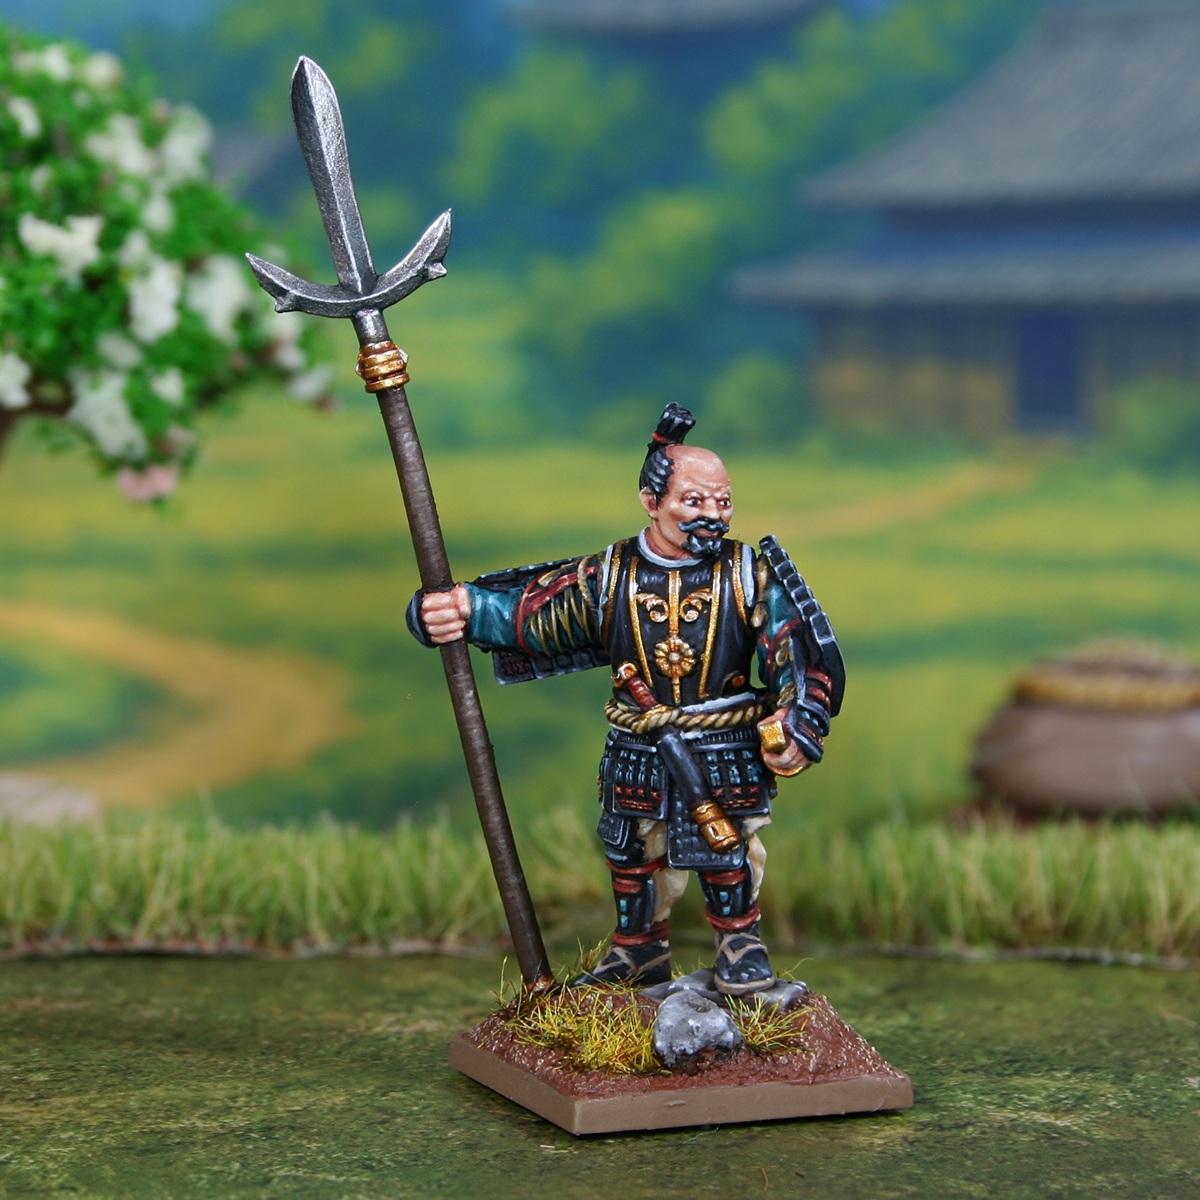
Oda Nobunaga
Here is how I painted Oda Nobunaga from the excellent "Daimyos" set from Warlord Games. These miniatures have been designed for the Pike & Shotte gaming system, but could be used in a variety of games.
-
-
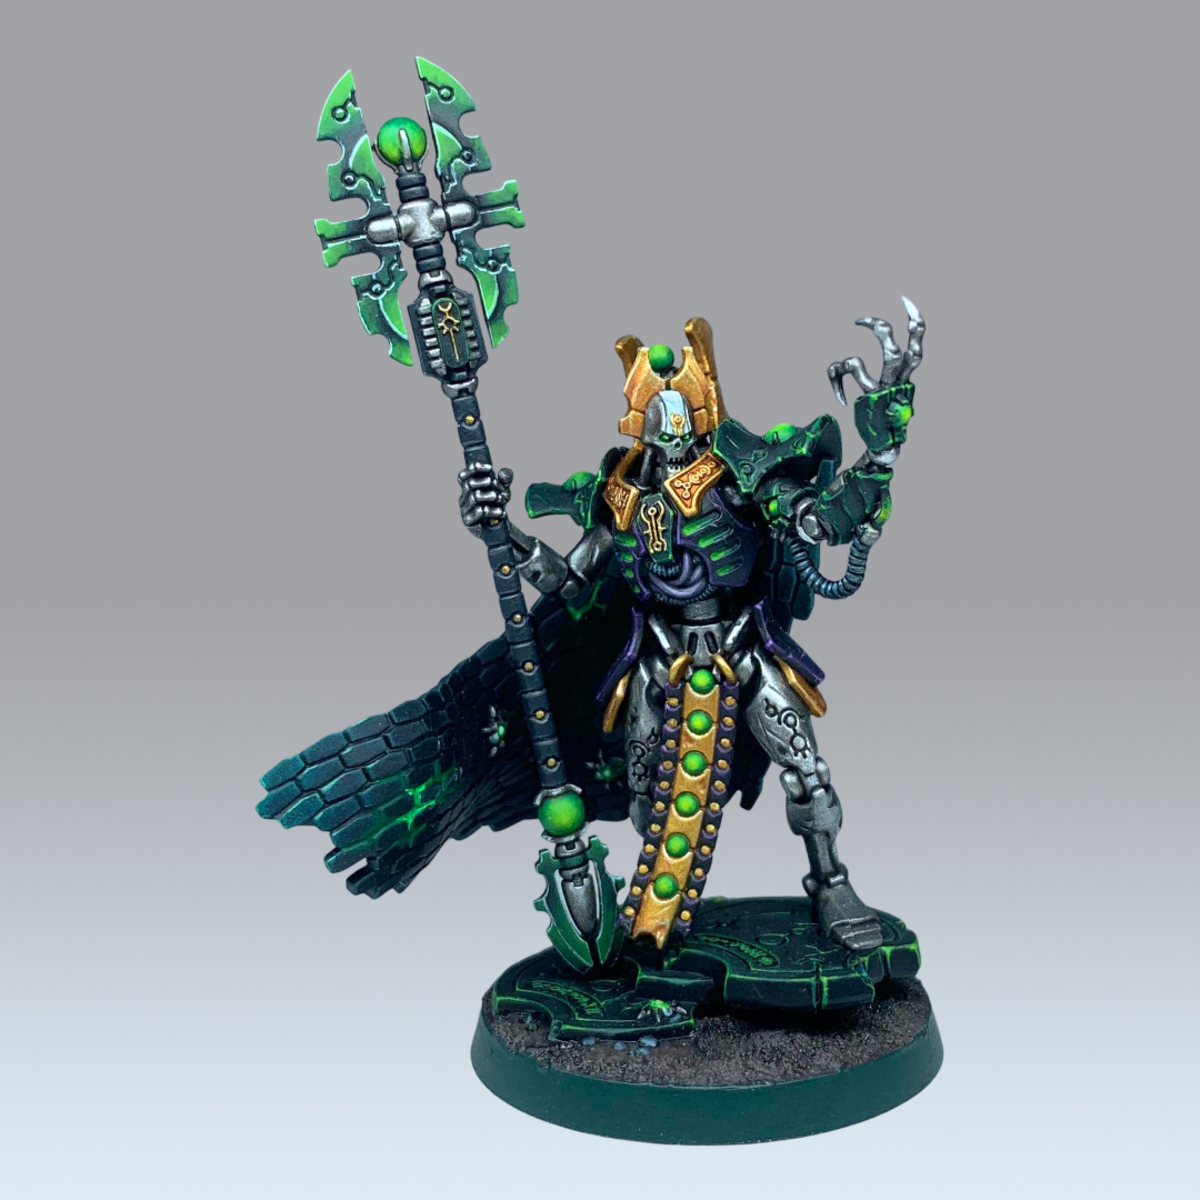
Imotekh the Stormlord
How I painted the new Imotekh the Stormlord, as a text supplement to my video tutorial.
-
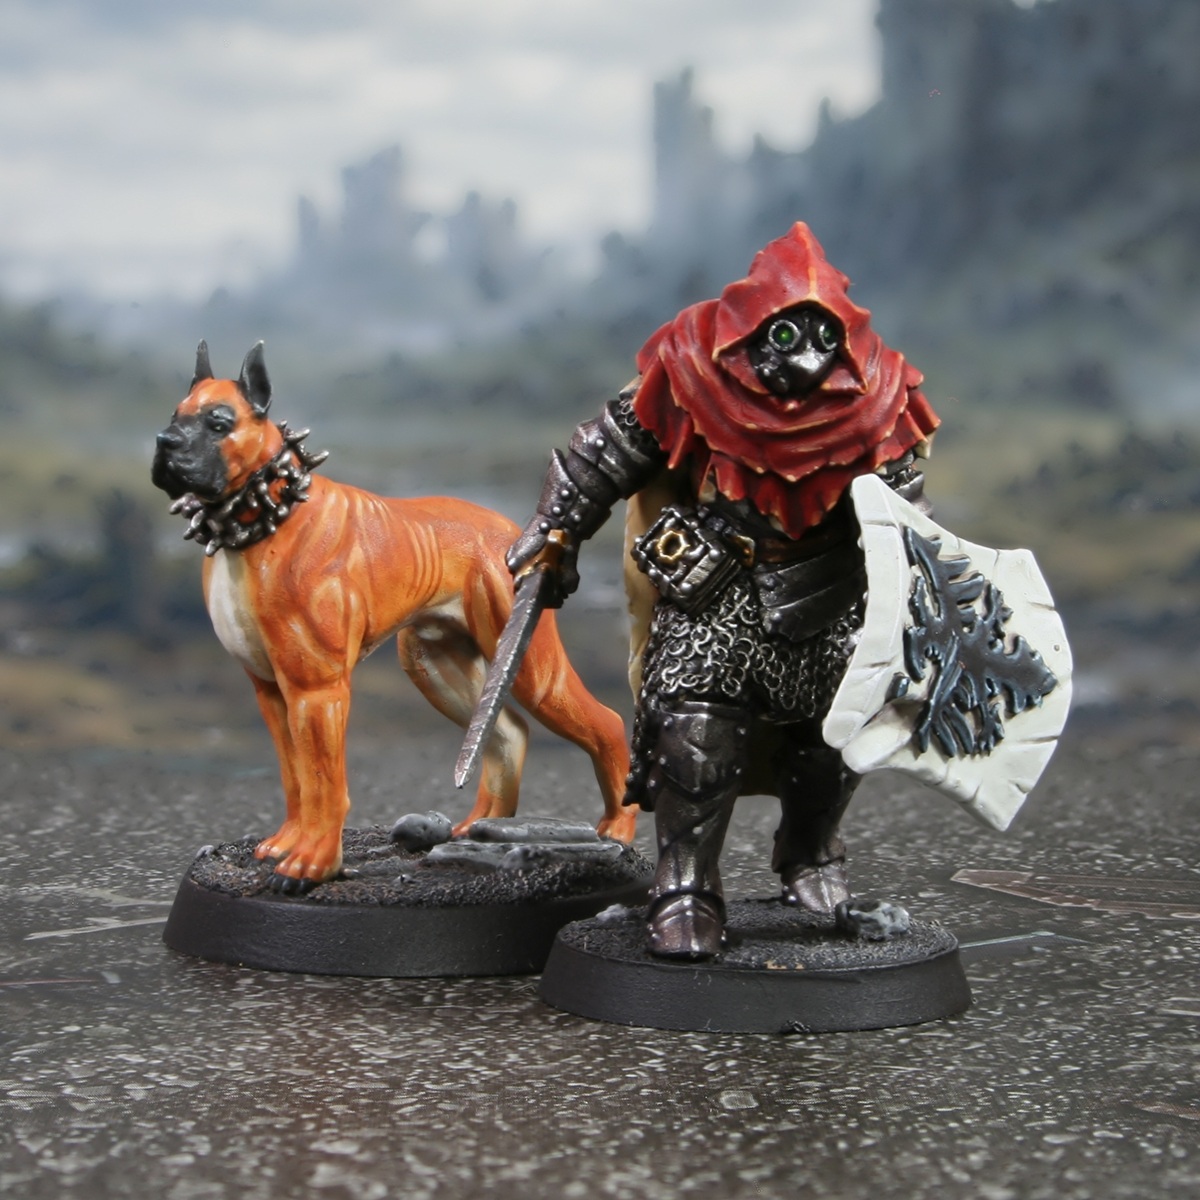
Comprehensive Paint Guide for Wargs for Middle-earth Strategy Battle Game
Wargs aren’t noble wolves or pristine hunting hounds — they’re the half-feral nightmares that stalk ruined roads and blasted hillsides, bred (or broken) into weapons. This guide leans into that: muddy, natural fur, cold, unhealthy skin, and a wet, brutal mouth that makes the face the focal point. Technically, the key is texture contrast: dry, coarse fur against smoother grey skin, then sharp teeth and glossy tongue to finish.
-
-
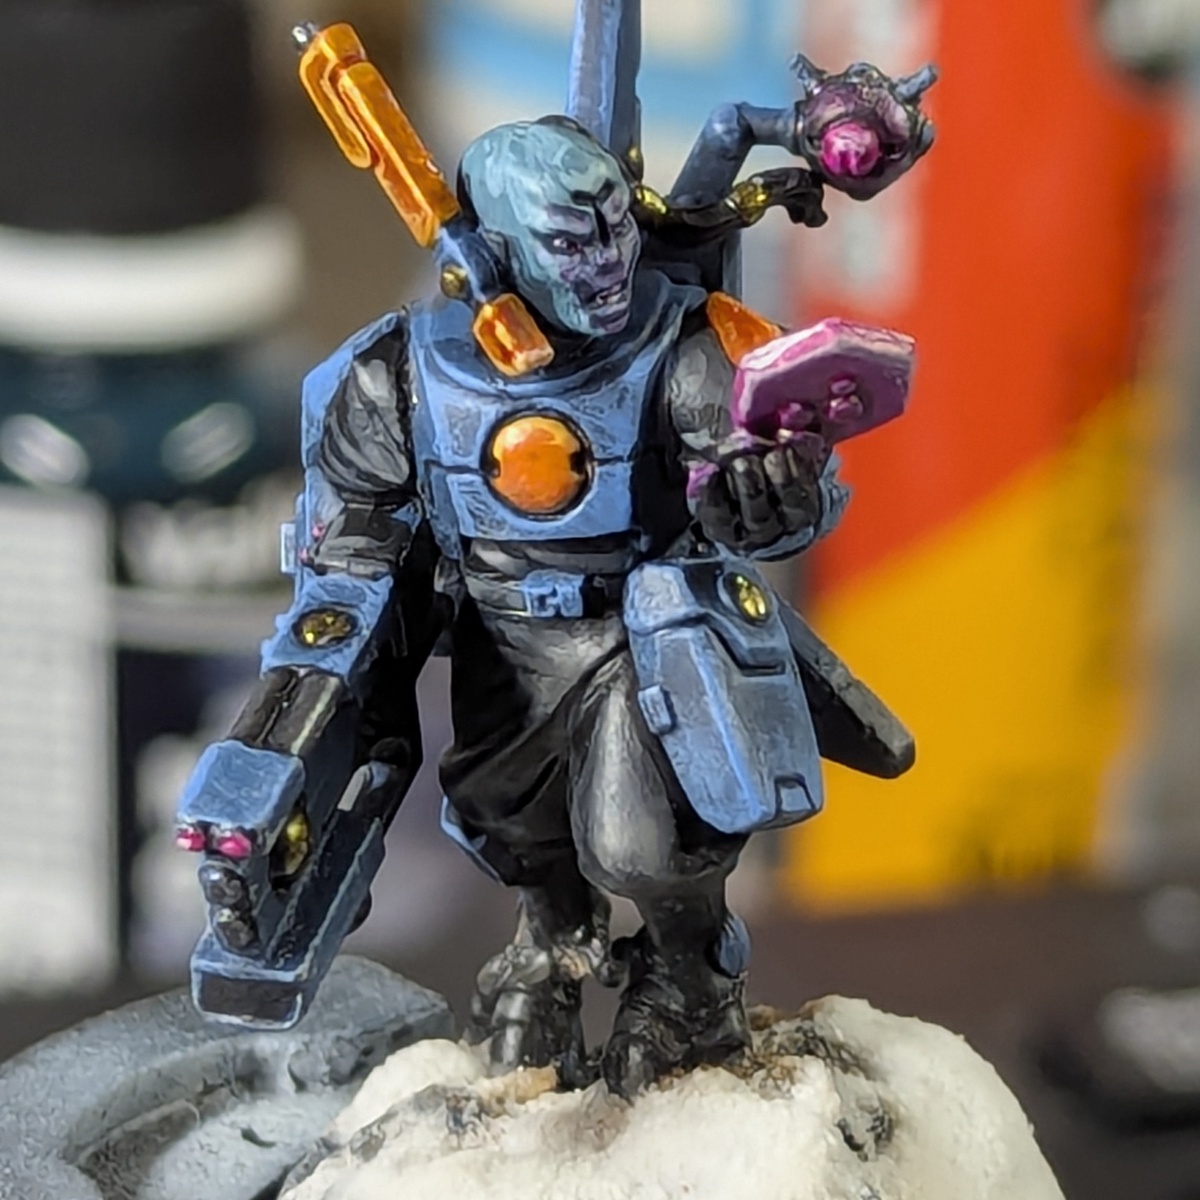
Sa'Cea Tau scheme
I couldn't find a decent tutorial for Sa'Cea Tau, in my opinion, the coolest colour scheme since the warm brown of the T'au sept (the white guys GW currently are rocking as the posterchild can go do one... imho)
2 paints are not included in PP's library, these are the Molotow range, they're great, in this scheme I use their colour, petrol as a base, and Liquitex Acrylic inks, I use their Magenta ink for effects. Feel free to sub these for something similar.
Lots of the listed paints are to provide alternatives to out-of-production colours I used, so if anyone wants to follow along, feel free to use those instead (main one being the Electric Blue I use as my drybrush pass on the armour. Any bright, saturated sky blue will do.
The same with whites, greys, blacks and metalics, just use what you have.
I wrote this while painting my test model for the scheme. I will update with pictures and effects as I get to them on different models -
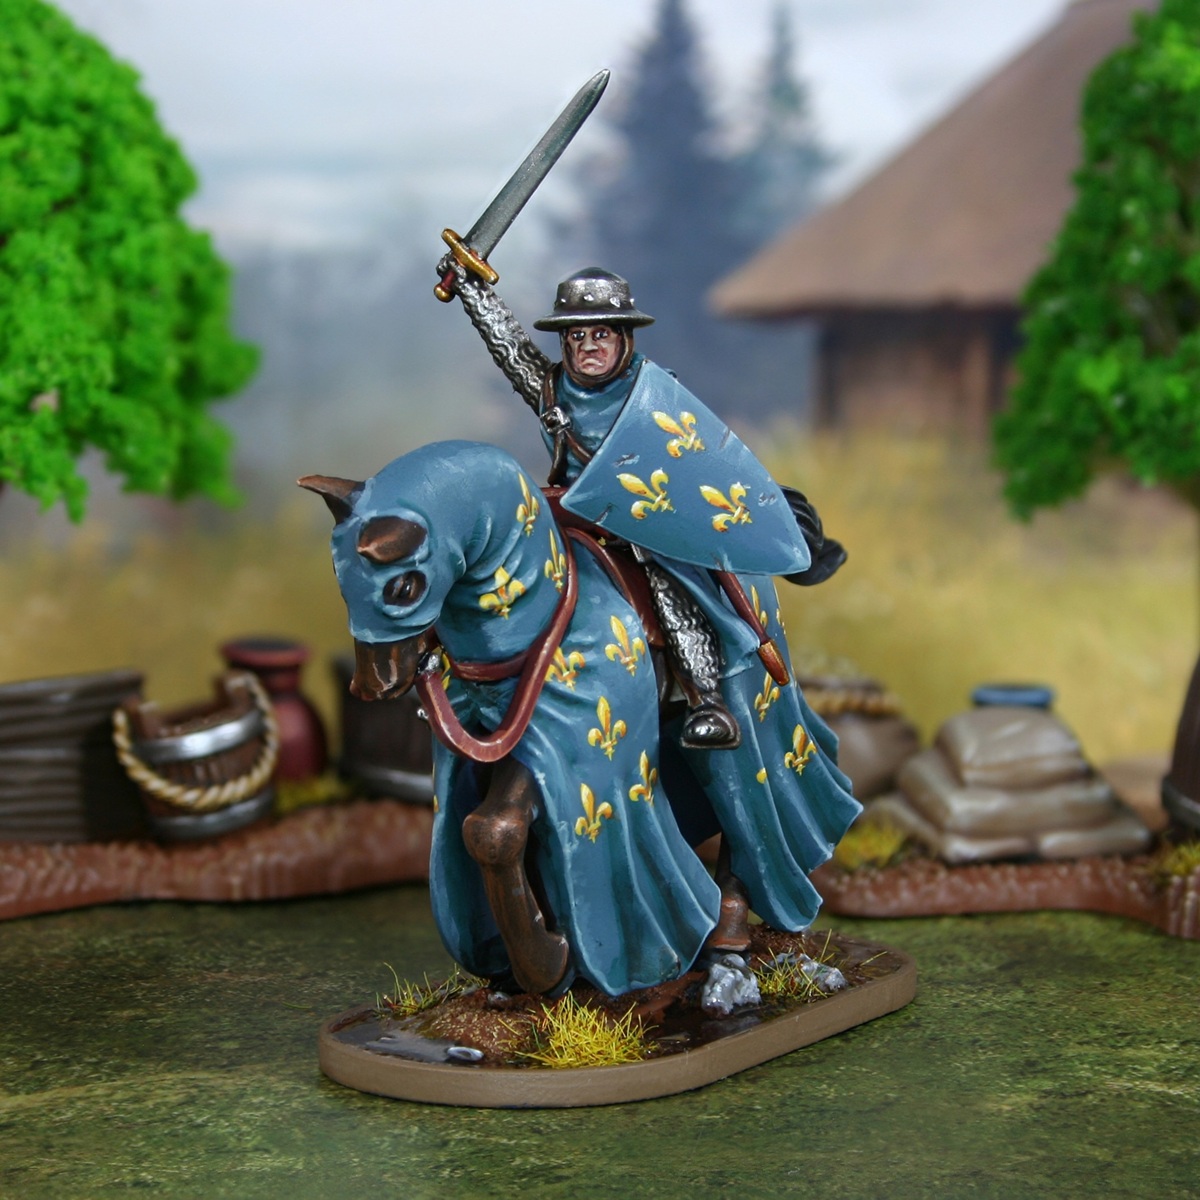
Barons' War: William Marshal, Earl of Pembroke
I built this model using Wargames Atlantic's Mounted Knights (1150-1320) plastic kit and a head and arm from the Foot Knights (1150-1320) box. My aim with this guide is to leave you with a nice playable character from the "Dramatis Personae" section in the back of The Barons' War Second edition book and pay homage to the Footsore Miniatures model also available.
-
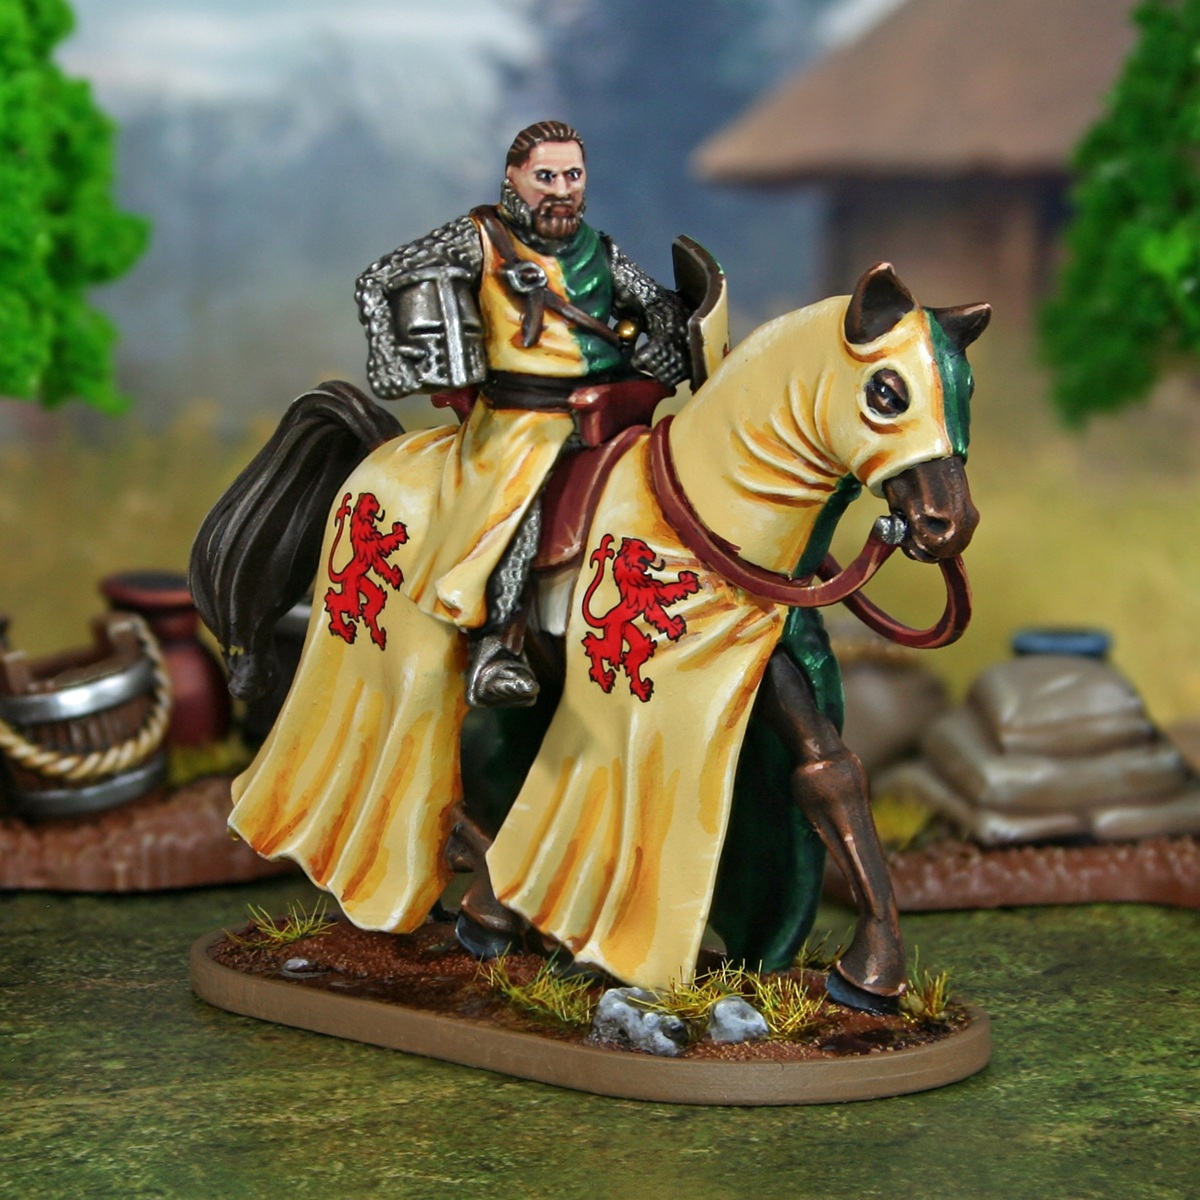
Barons' War: Prince Louis "The Lion"
I built this model using Wargames Atlantic's Mounted Knights (1150-1320) plastic kit and a head and arm from the Foot Serjeants (1100-1320) box. My aim with this guide is to leave you with a nice playable character from the "Dramatis Personae" section in the back of The Barons' War Second edition book and pay homage to the Footsore Miniatures model also available.
-
Heralds of Decay army theme (deathguard)
Not really a model specific guide as my template for my Entire DG army. these models are heavy with rust and effects. So be cautious and what order you do so you don't get rust on stuff where it doesn't belong such as tentacles and robes. Just a word of advice
this is a good article for alot of stuff if you want to swap in and out effects and such
https://www.goonhammer.com/how-to-paint-everything-tentacles/
https://www.goonhammer.com/how-to-paint-everything-death-guard/ -
Comprehensive Paint Guide for Heart of Ghur Terrain
The Heart of Ghur terrain pieces are a central part of the wild, untamed theme of Ghur, the Realm of Beasts, in Warhammer Age of Sigmar. These pieces are designed to evoke a savage, primal environment, with gnarled trees, ancient Seraphon ruins, and natural materials like bamboo and bone. This painting guide will walk you through the steps to bring out the earthy, wild aesthetic of Ghur using the reference provided. The focus will be on achieving the right textures and contrasts, ensuring your terrain pieces evoke the feeling of an ancient, dangerous wilderness.
-

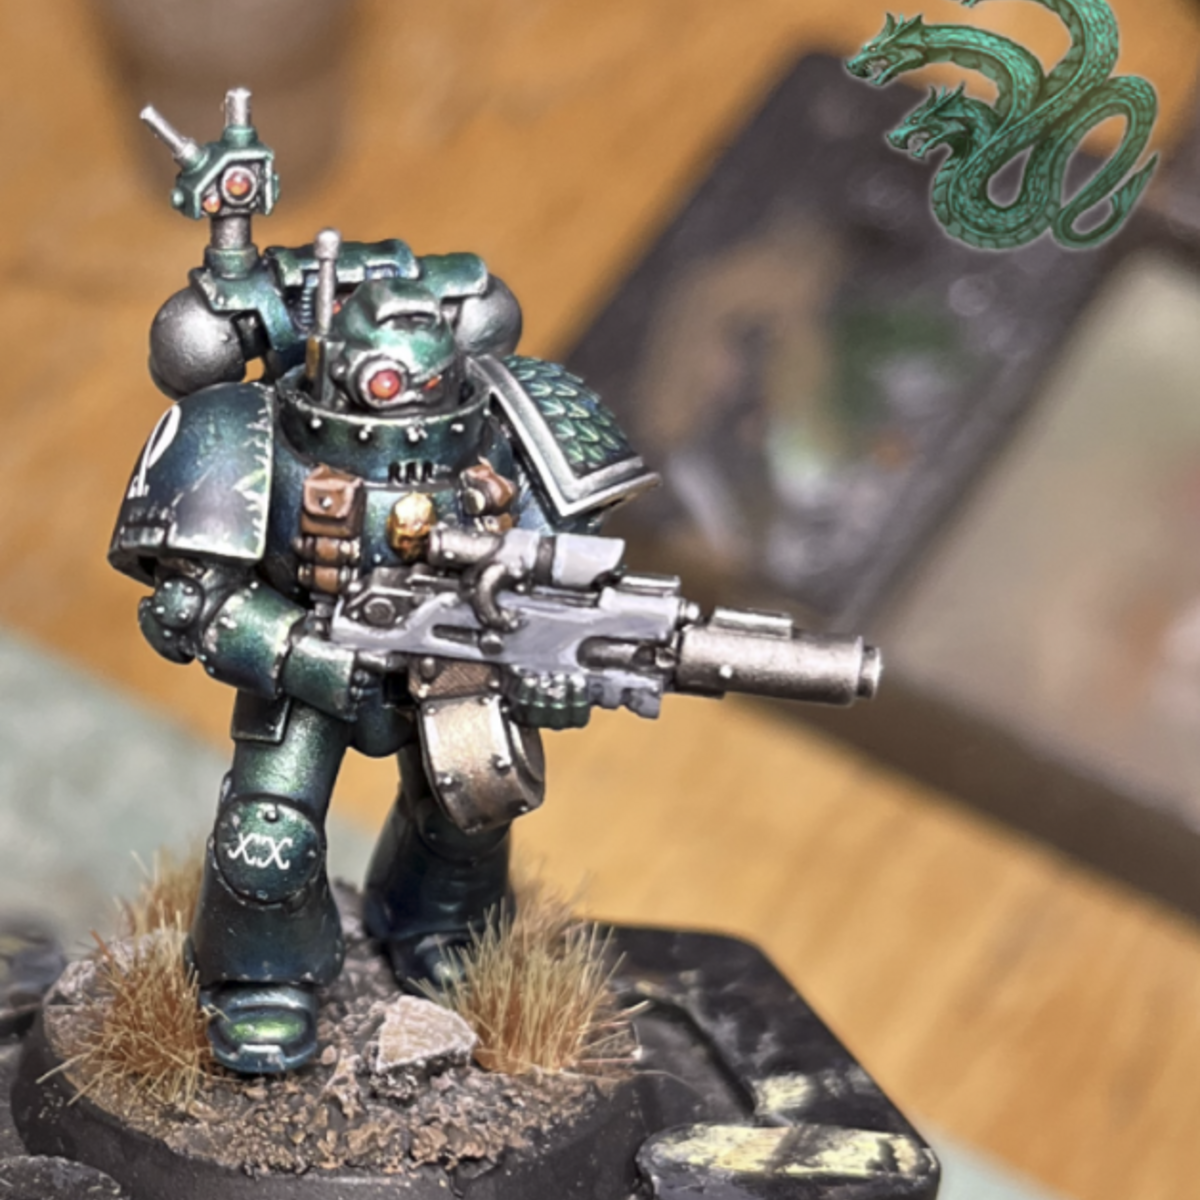
Heresy Alpha Legion
A clean Alpha Legion scheme meant for speed. The most important bit is the hue of the blue-green armour. Other paints or mixes may give different results.
It's divided in two workloads; airbrushing the armor and filling the details. Each can be done on different sessions and on different amounts of models. For instance, I do the airbrushing on 10 to 20 models at a time and then the hand painting on 5 models at a time.
For this scheme you'll need an airbrush and some skill with it! -

How to paint easy Ultramarines
A guide on how to paint an ultramarine from the chapter's 1st company
-
Convoluted 30k Alpha Legion (Green)
My green Apha Legion 30k. Credit to JuanHidalgoMiniatures for the general workflow. Reverse credit to myself for making it extremely complicated. Work in progress!!!
-
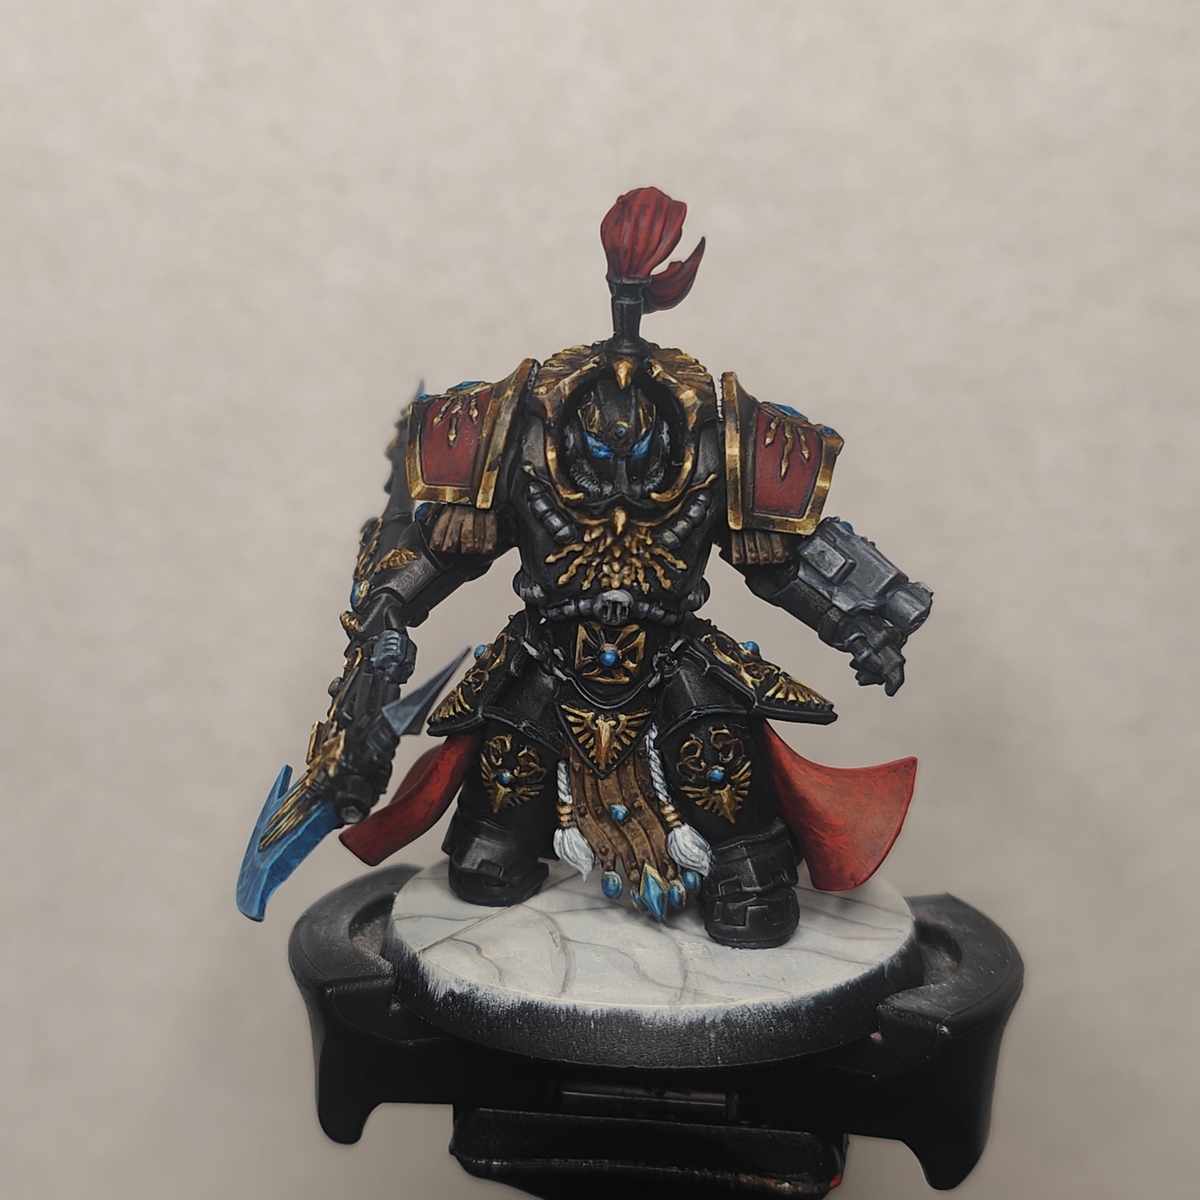
Adeptus Custodes Shadowkeepers NMM
People will say this is too many steps. Those people are right.
Draft list I used while painting a test model for my Custodes, as well as some ideas I had along the way. Will take pictures along the steps of the next one and refine as I go, really don't think I need so many paints and can probably save some effort with the layers if I wet blend instead sometimes.
My goal is to use a ton of different techniques and styles all at once.
- Non-metallic metal
- Drybrushing
- Sponging
- Glazing
- Edge highlighting
- One source lighting
- Crosshatching
And it'll either look a mess or totally sick. -
Taddeus the Purifier
This recipe is designed to get close to the box art and is based completely off of GW tutorials and color schemes. An extensive range of Citadel paints are used in this process.