Results for ‘space marines’
Found 522 recipes
-
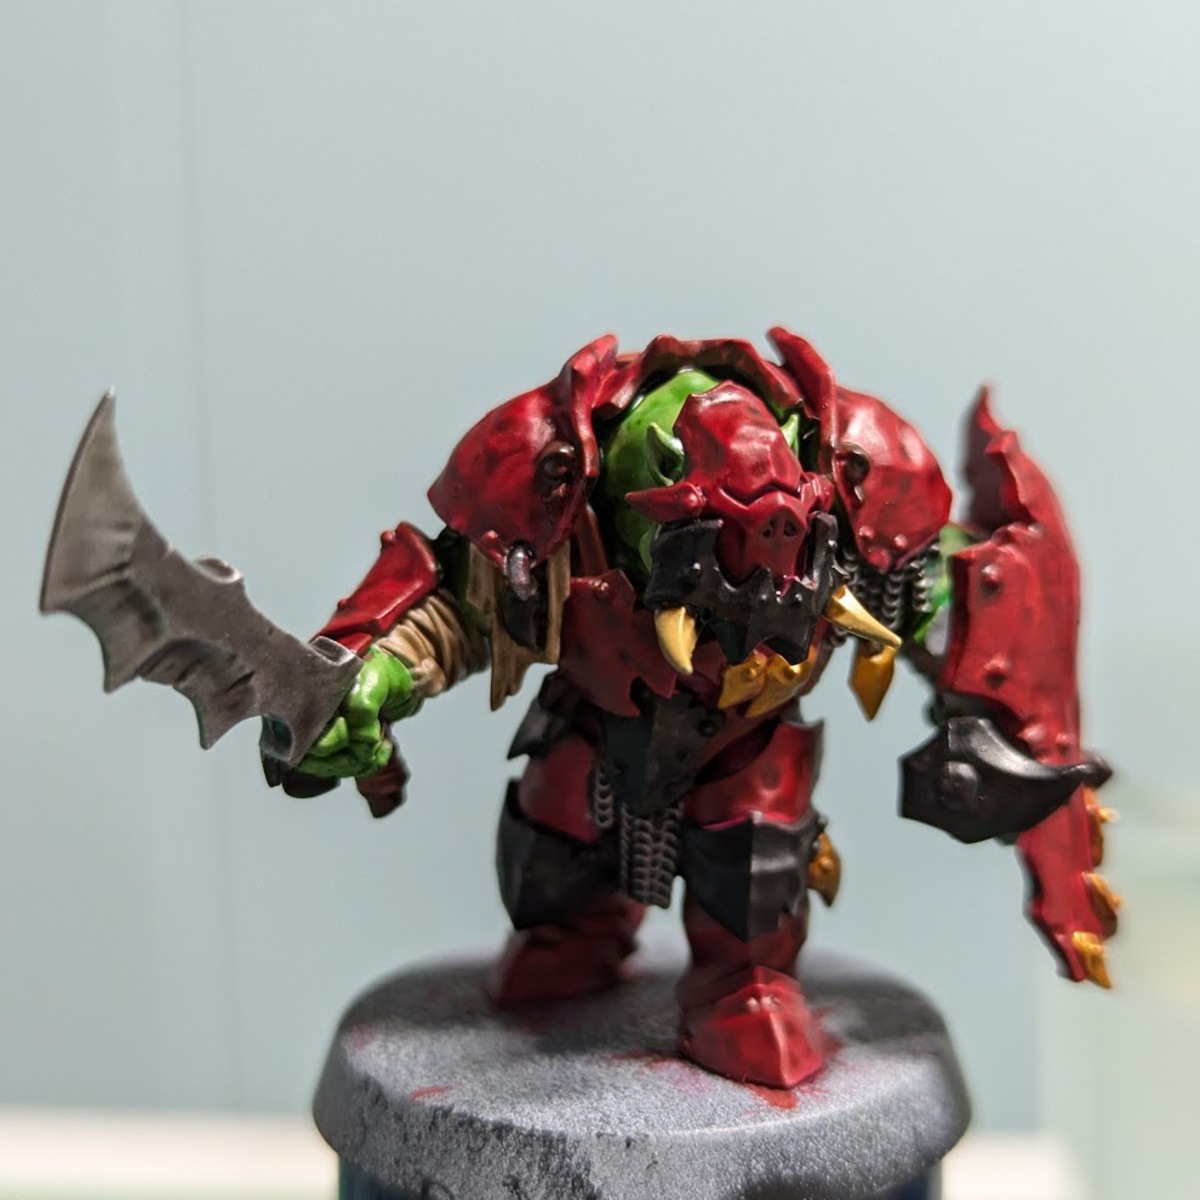
Khorne Bezerkers
This is how I painted the armor and trim on my models. Weapons will be in another recipe as I did those separately
-
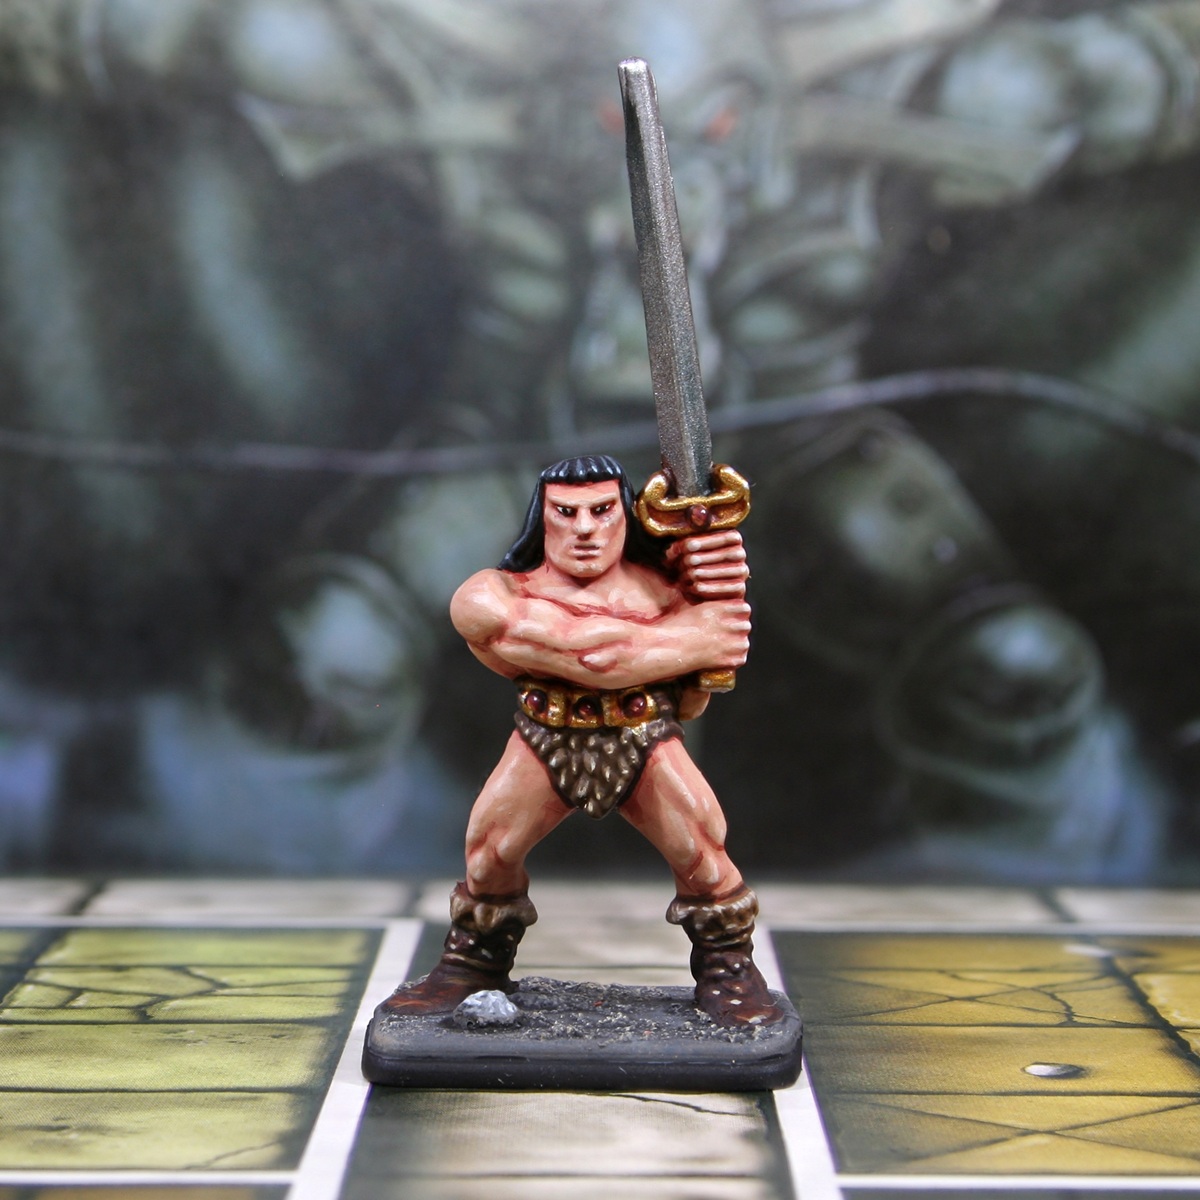
HeroQuest (1989): Barbarian
Part of my larger "Painting Classic HeroQuest" series of short videos. You can watch the whole thing here, if you were interested: https://www.youtube.com/@RookieBrushes
-
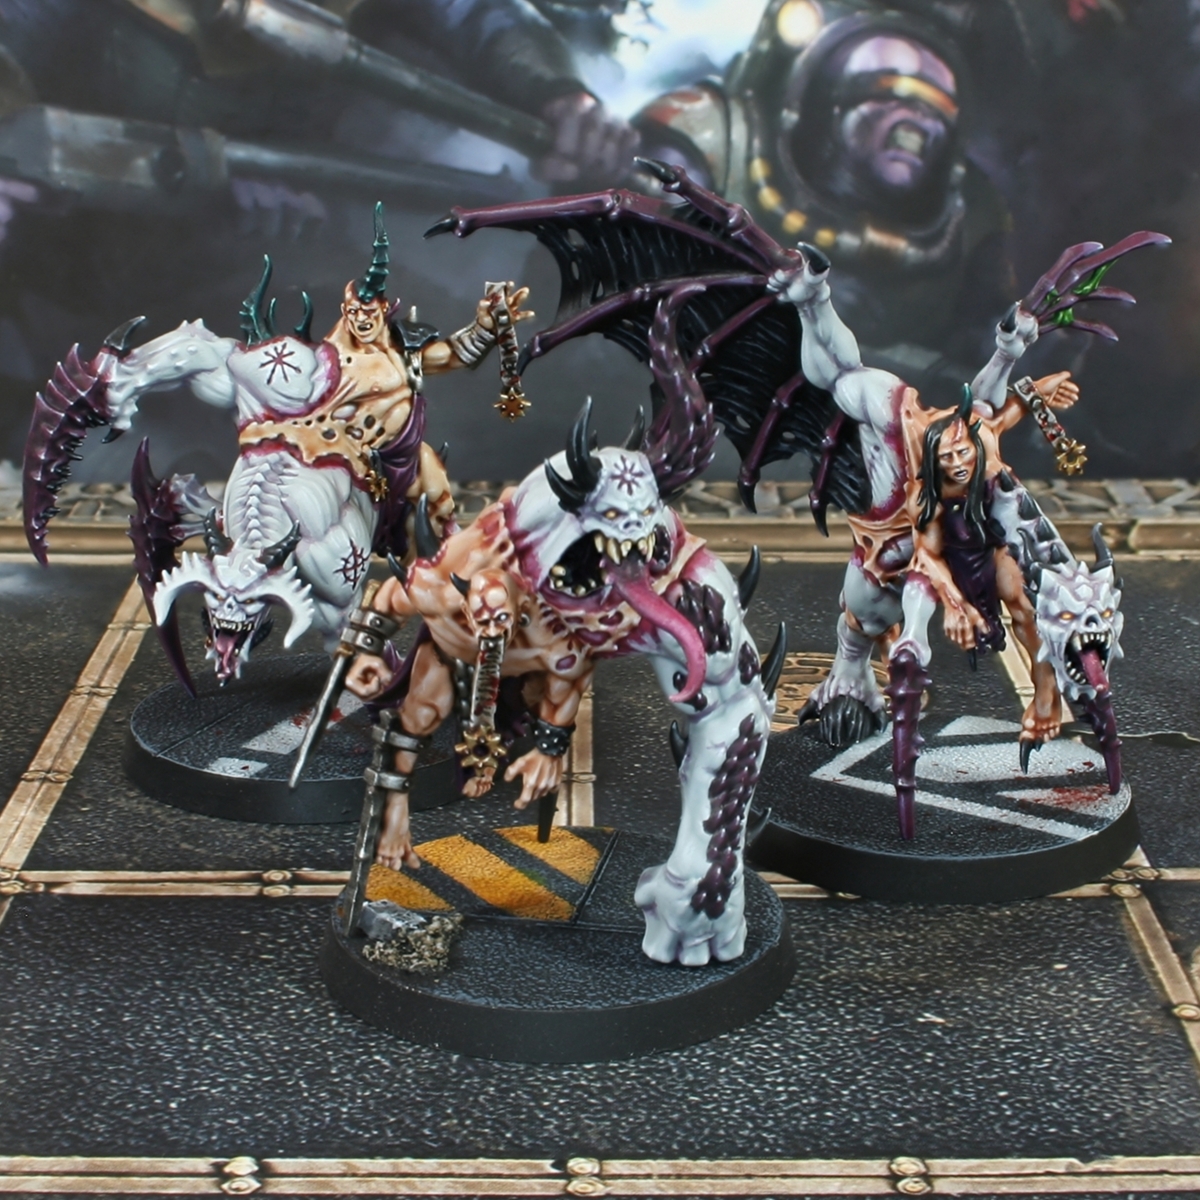
Slaanesh Chaos Torments
Here is how I approached painting the Torments from the 'Accursed Cultists' kit.
-
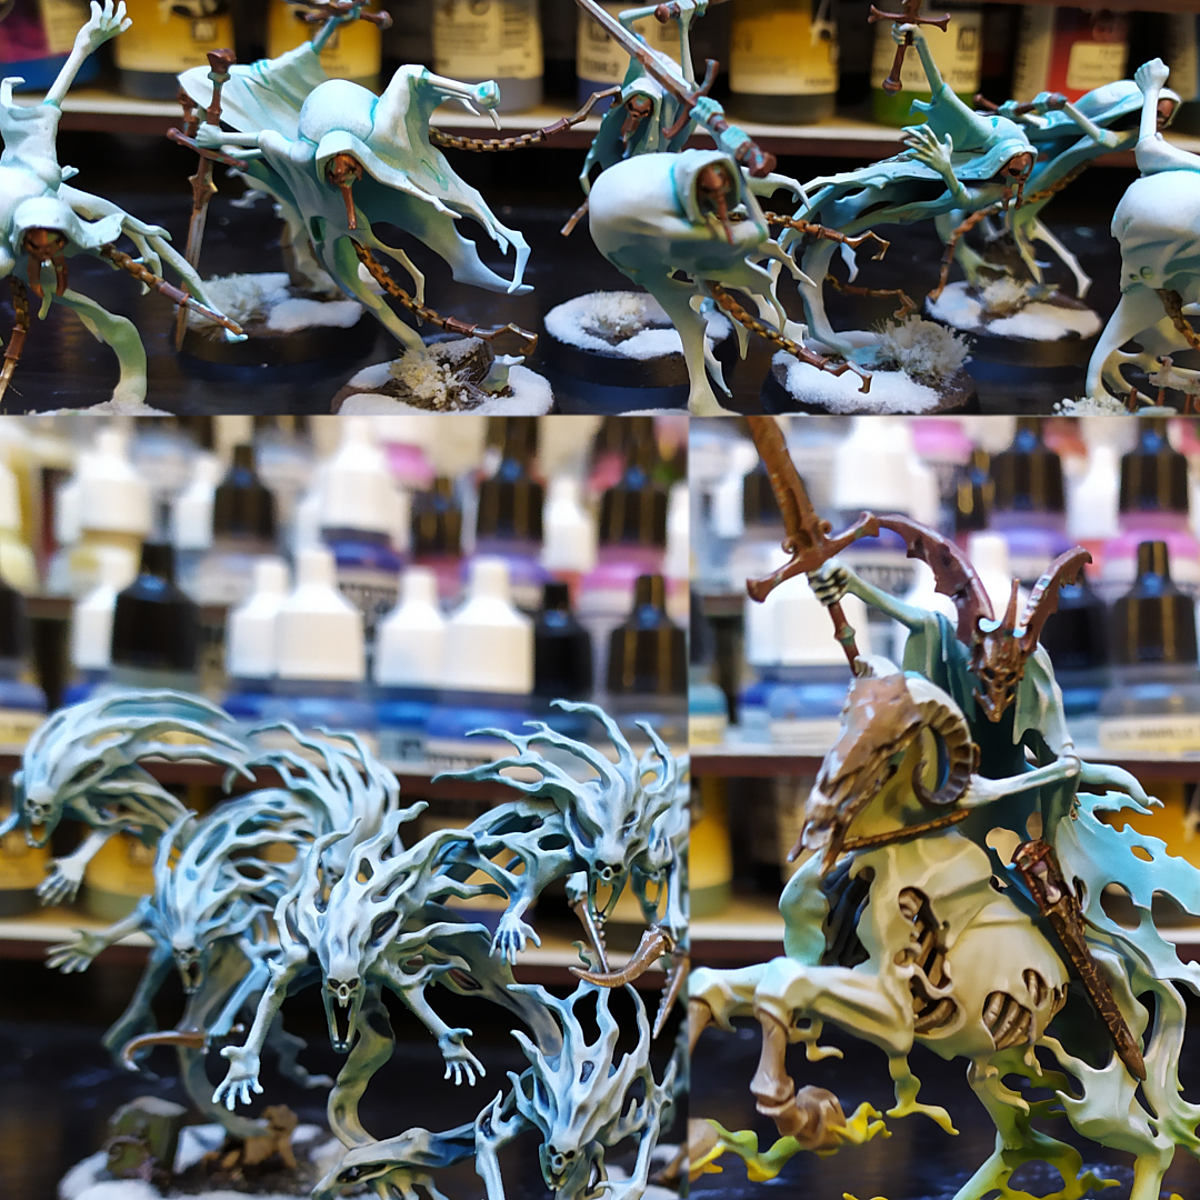
White Nighthaunt
This recipe explains how I painted my Nighthaunt. The process has been on development more or less since the release of AoS 2.0 and I have tweaked the steps to the needs of different units based on the speed, level of detail or the attention I want to give to the model.
-
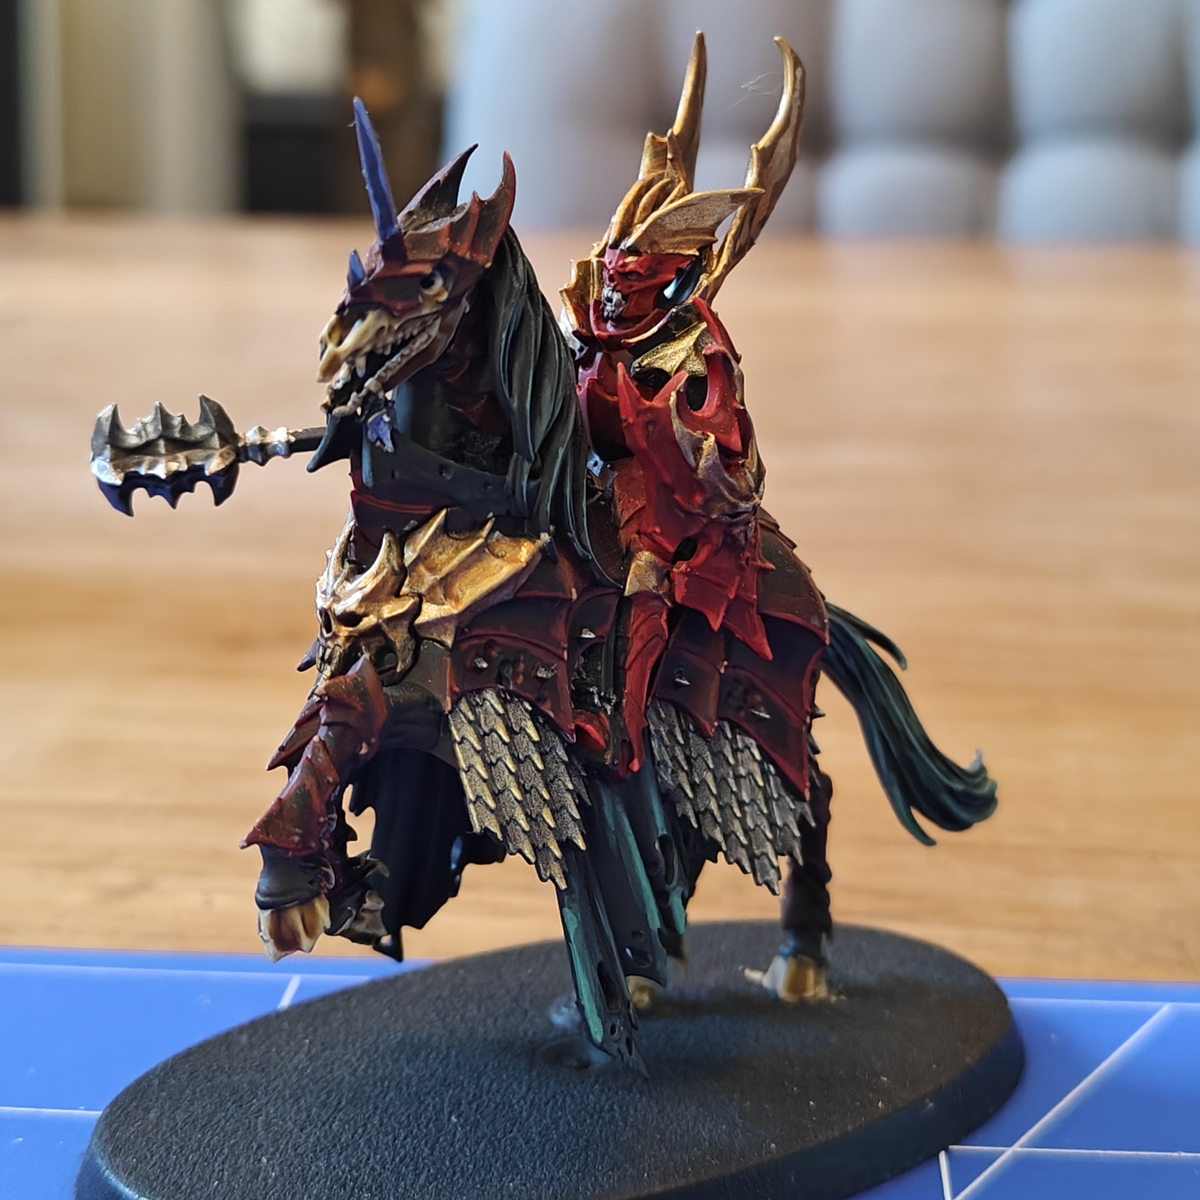
Soulblight Gravelords: Blood Knight
Based mostly on video linked in description
-
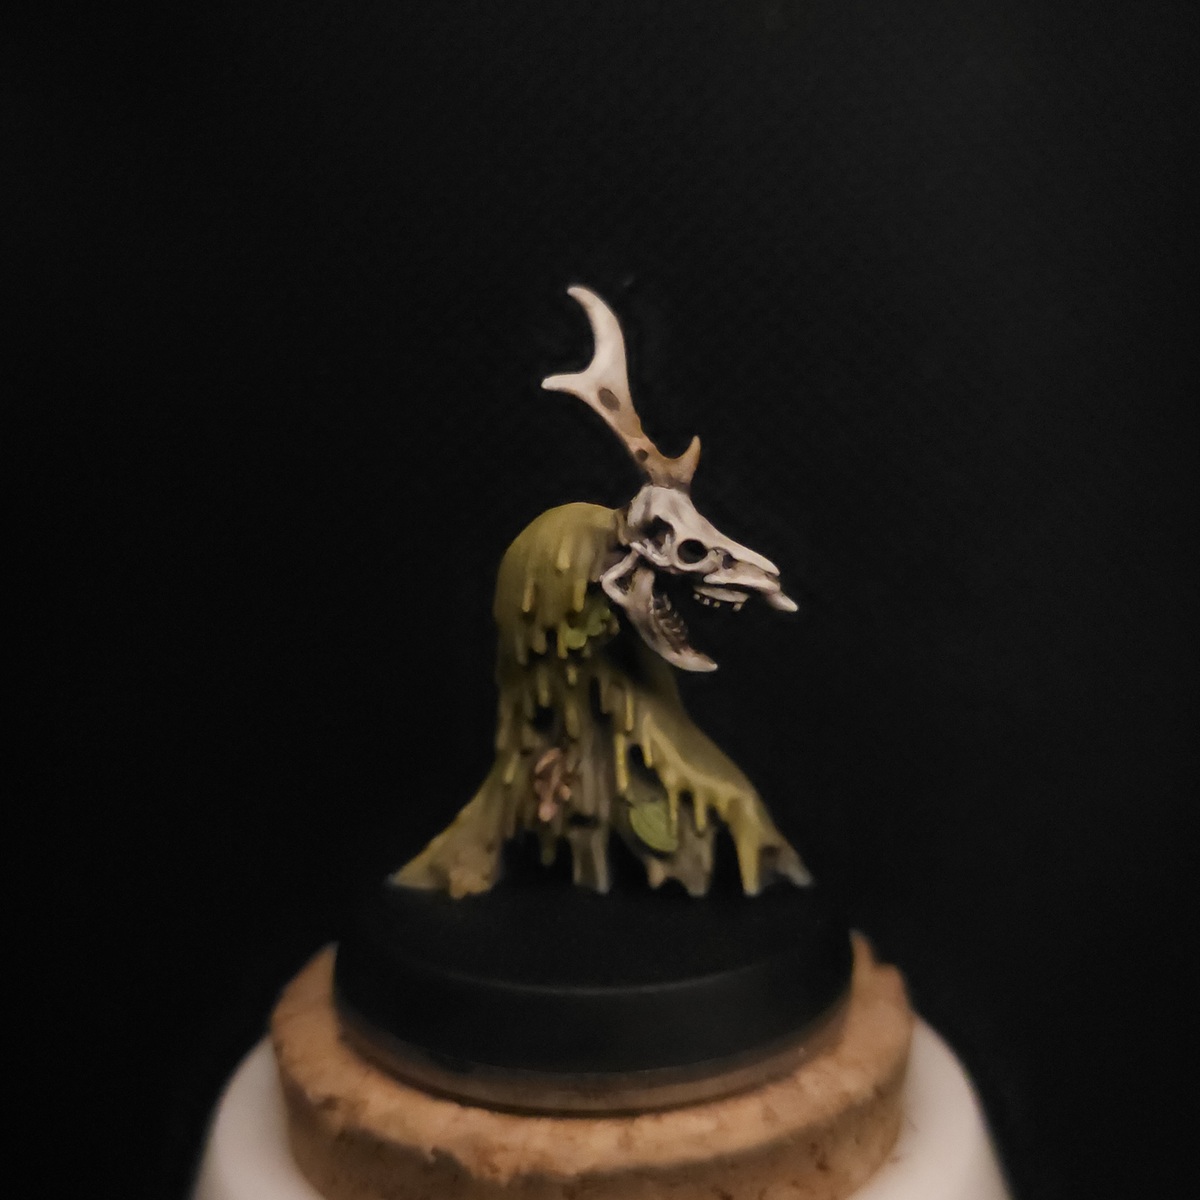
Mire Kelpie
(WIP) Recipe for Mire Kelpies from the WQ Darkwater Box
Still tweaking, final update once based. -
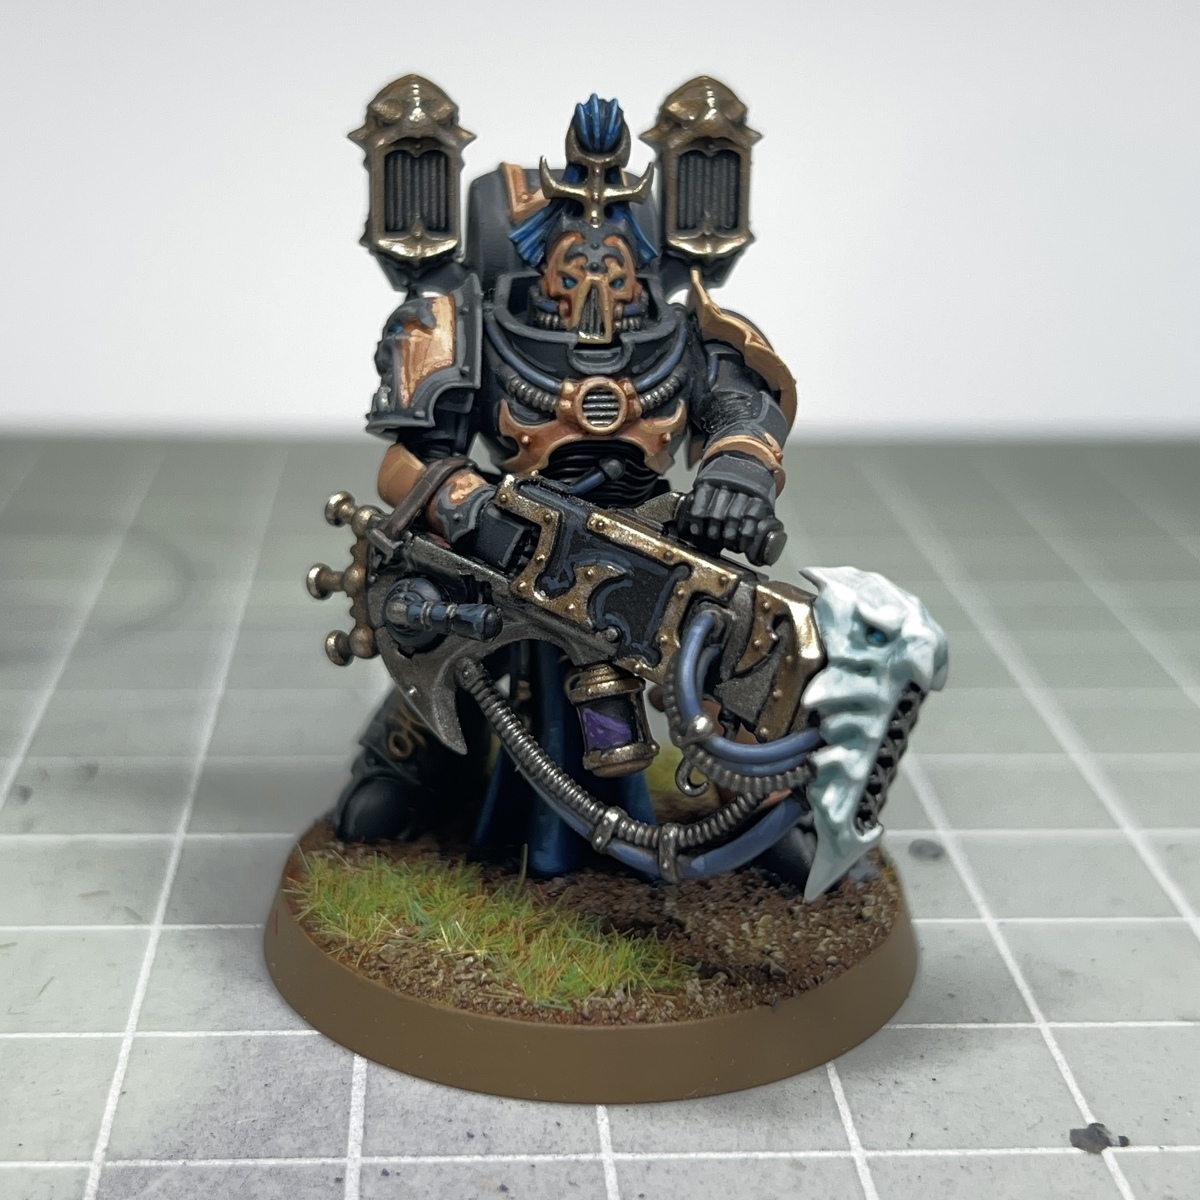
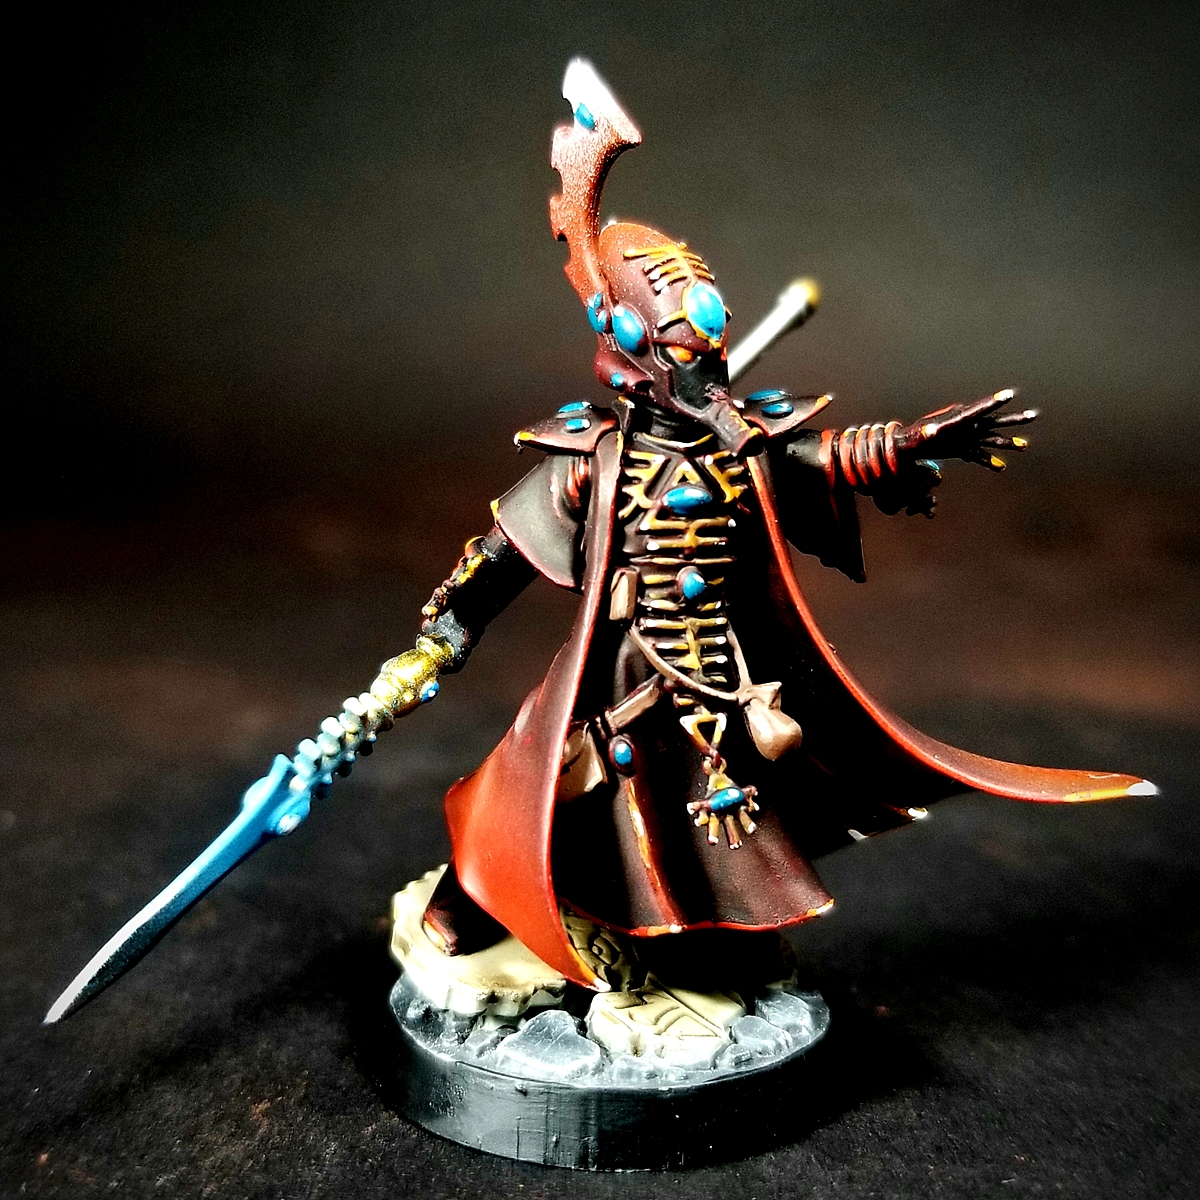
The Ceaseless Voice V2
An updated version of my original recipe for my new Emperor's Children army.
-
-
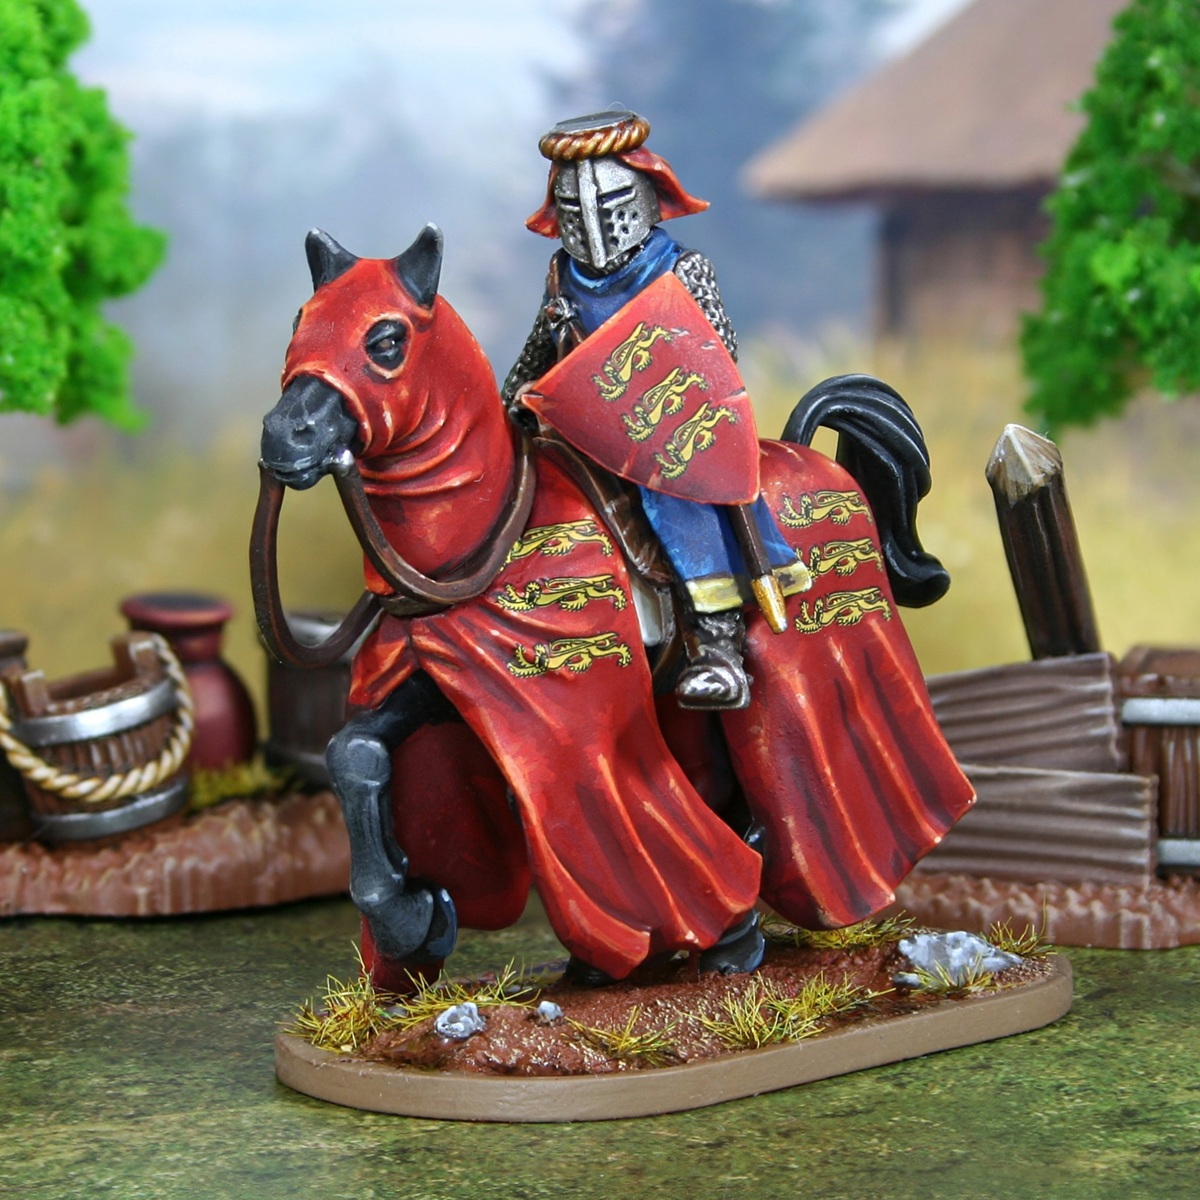
Barons' War: King John of England
I built this model using the Mounted Knights (1150-1320) plastic kit from Wargames Atlantic, exclusively. My aim with this guide is to leave you with a nice playable character from the "Dramatis Personae" section in the back of The Barons' War Second edition book and pay homage to the Footsore Miniatures model also available.
-
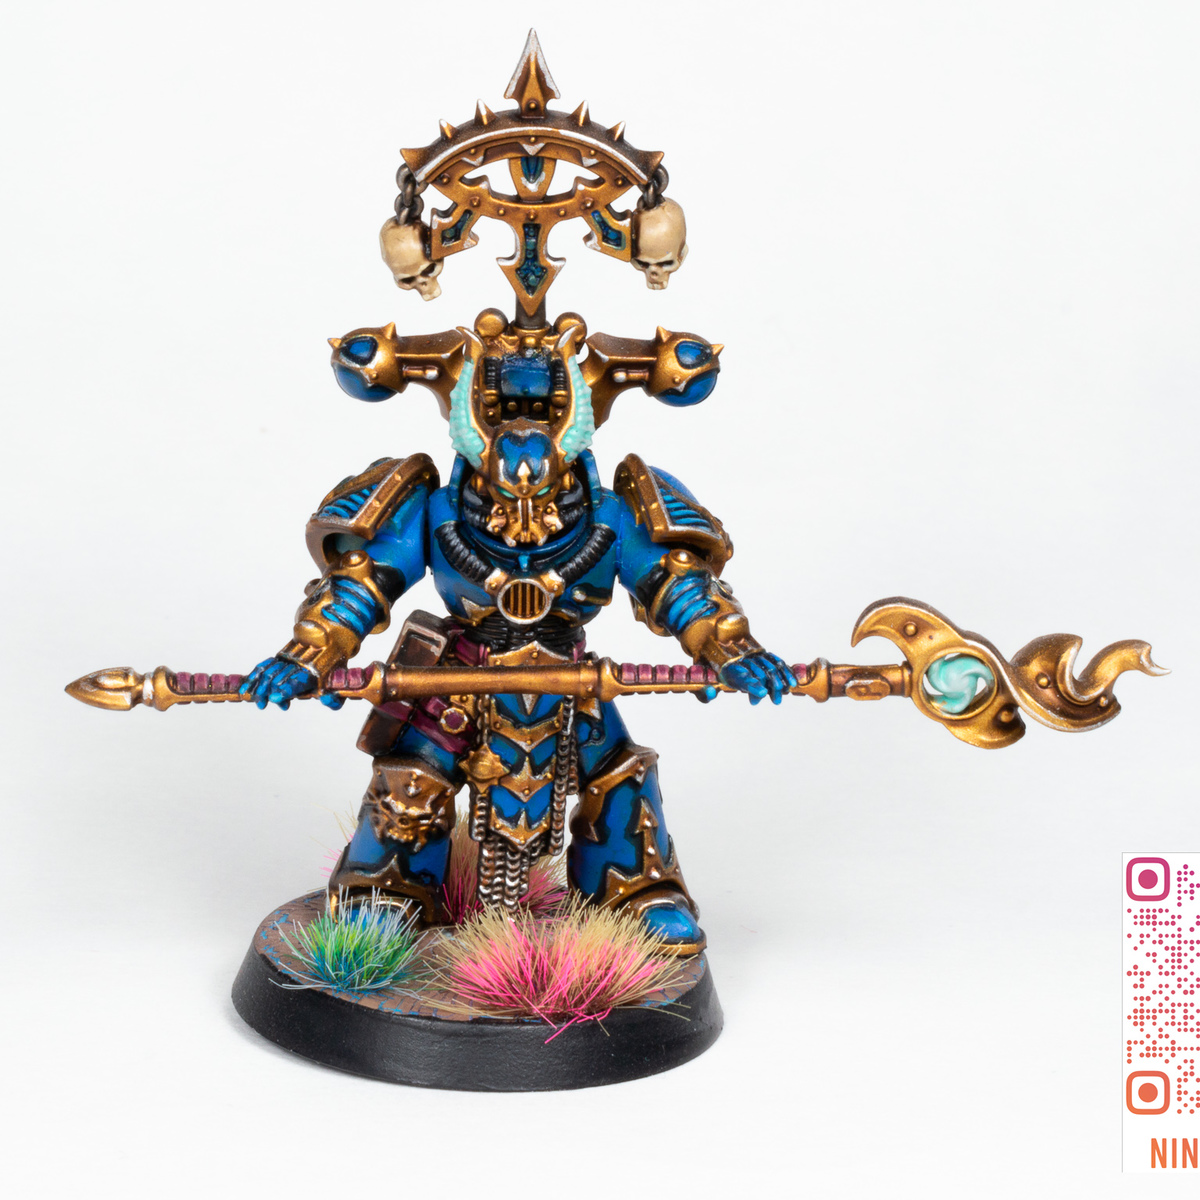
Thousand Sons
This is my take on the classic paint scheme of the Thousand Sons.
-
-
House Raven (Imperial Knights)
Method done on a Armiger Helverin and Cerastus Knight, should work for all others
-
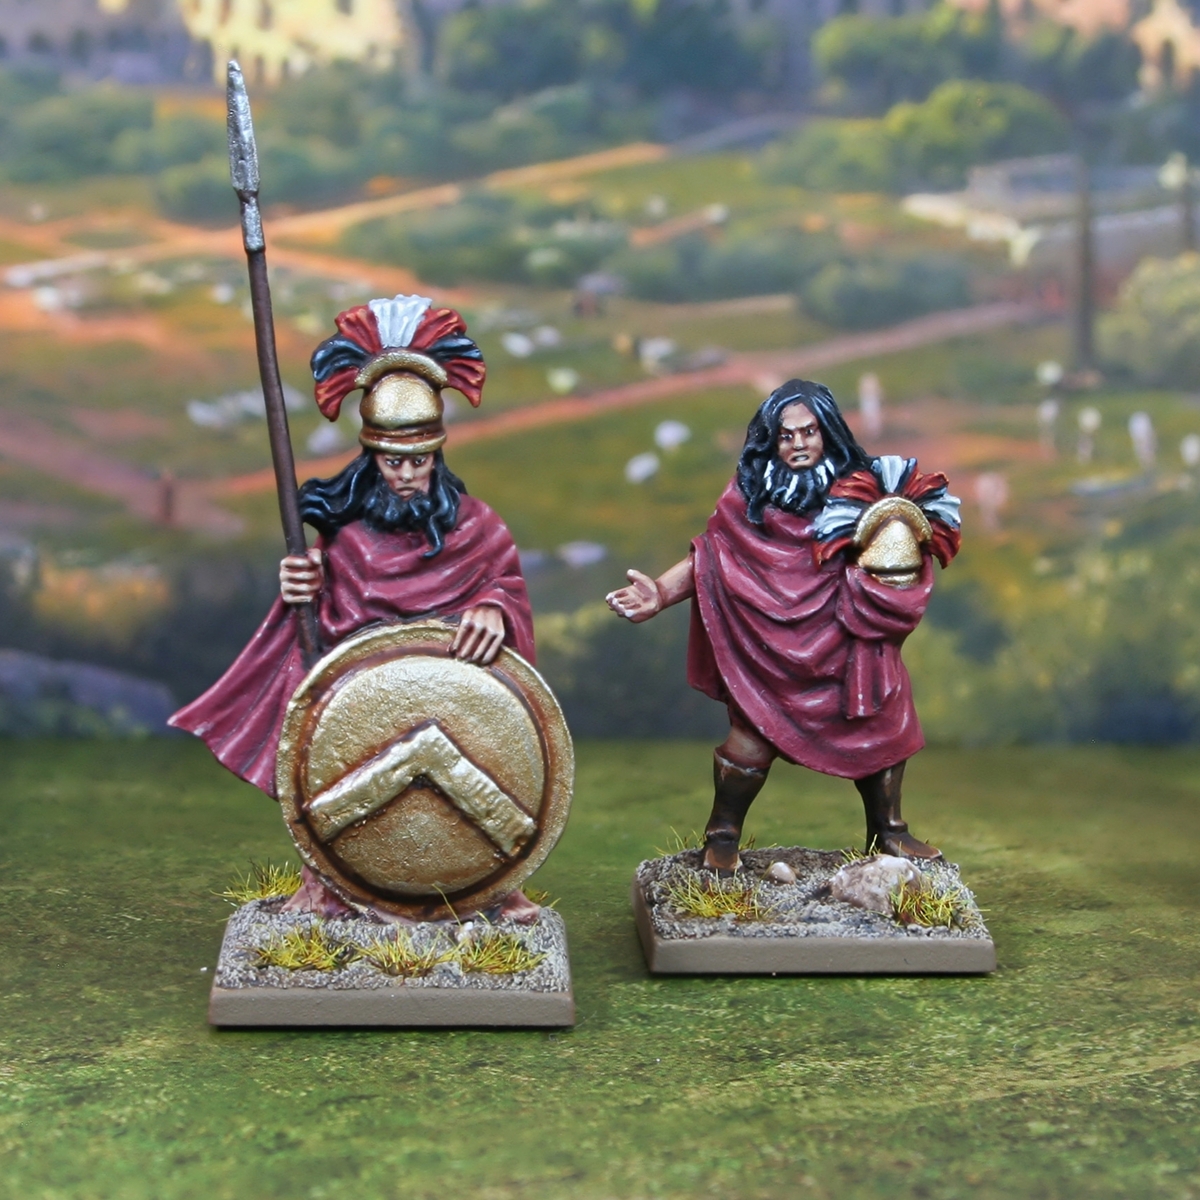
Spartan Generals
How I painted these lovely Spartan Generals from Warlord Games. This was a quick passion project for me, based upon my love for the '300' graphic novel AND the movie adaptation. Maybe it will end up as a full army one day?
-
-
-
Adeptus Titanicus Titans using Contrast
Facing the task of painting a large number of titans in a fairly short space of time, I brewed this recipe for use on my titans using mostly contrast paints over a metal coloured basecoat to achieve a quick, effective finish. You could easily adapt the contrast colours used to achieve a metallic finish for a variety of other colours. Inks carefully applied can achieve a similar result properly thinned. Using washes as a substitute for the armour panels tends to leave a very matt finish which is hard to add any more depth too so I would not recommend them.
-
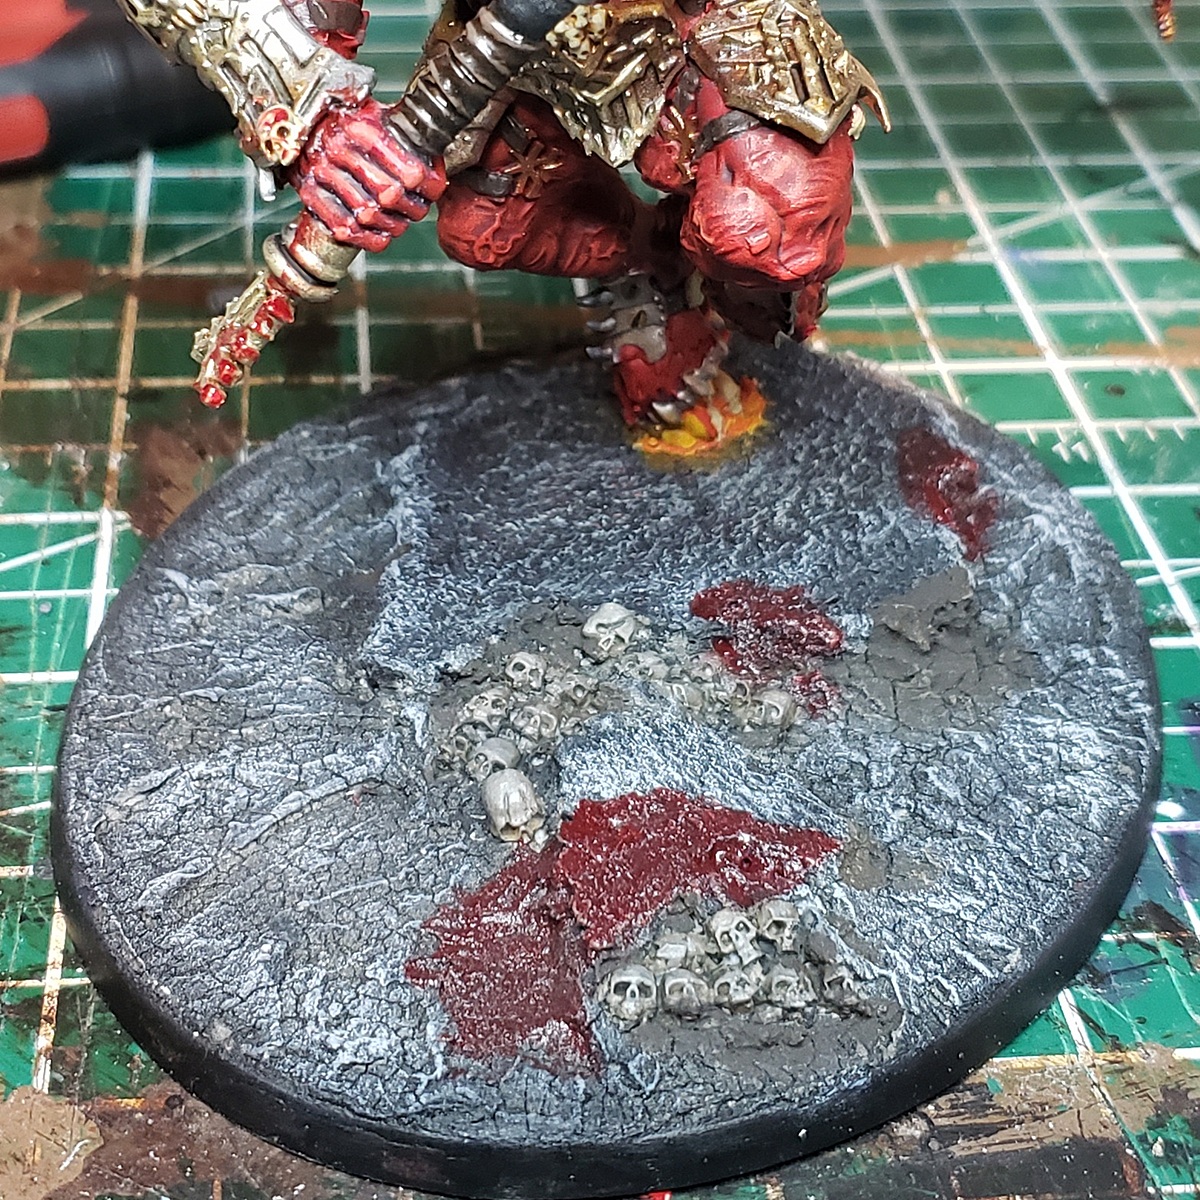
Basing: Blood God's Realm
Using Golden Crackle Paste and drybrushing to create the realm of the Blood God.
-
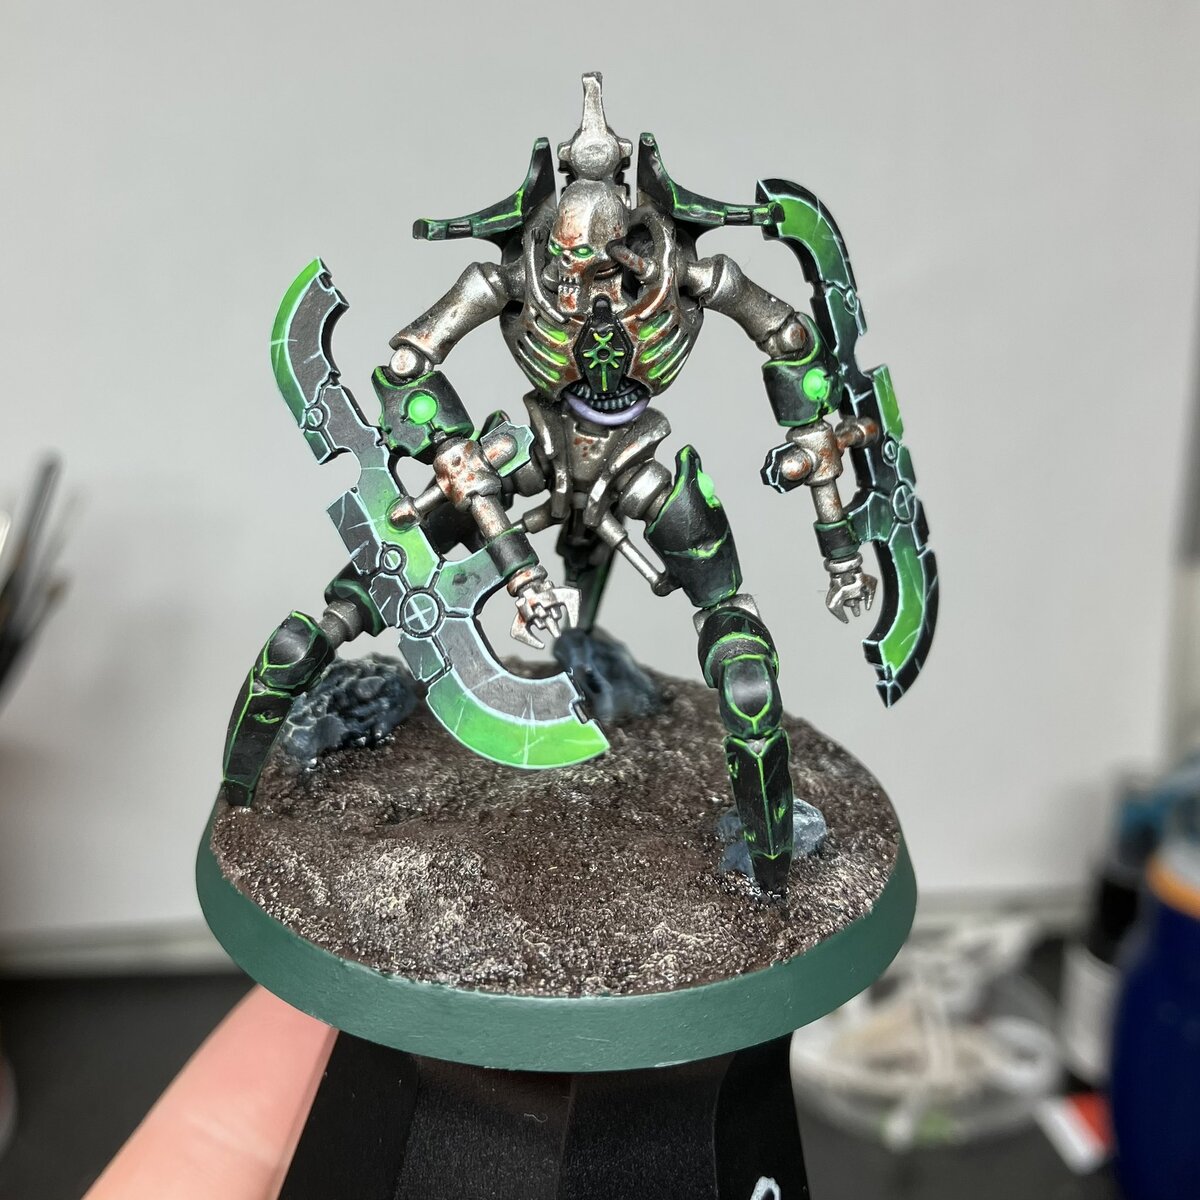
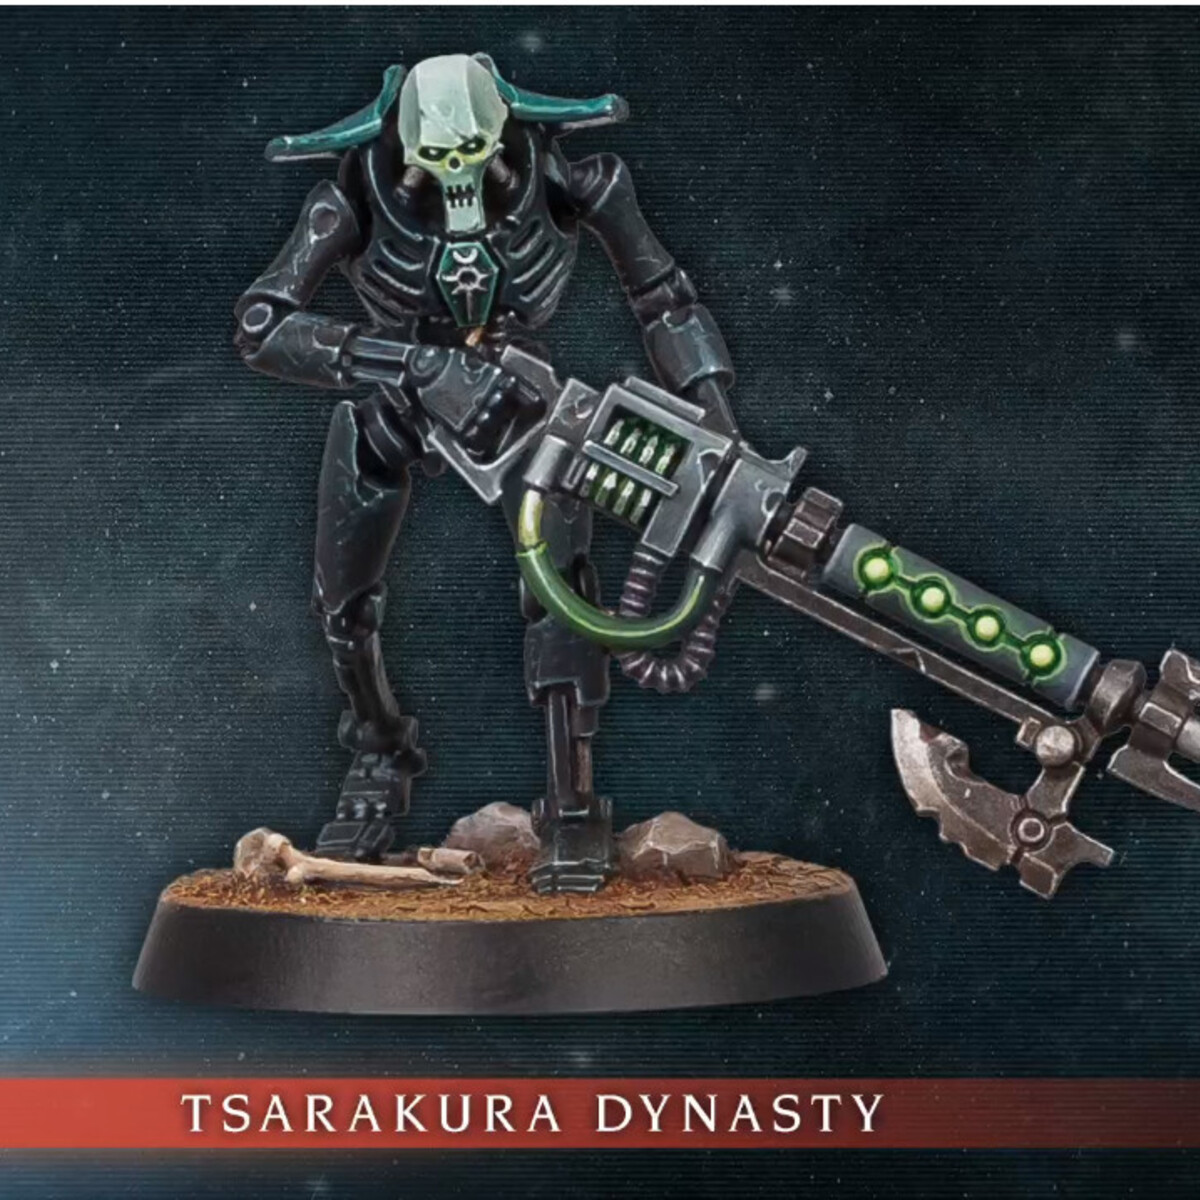
Sautekh Skorpekh Destroyers
Showing how I painted my Sautekh Skorpekh Destroyers as a supplement to my video tutorial.
-
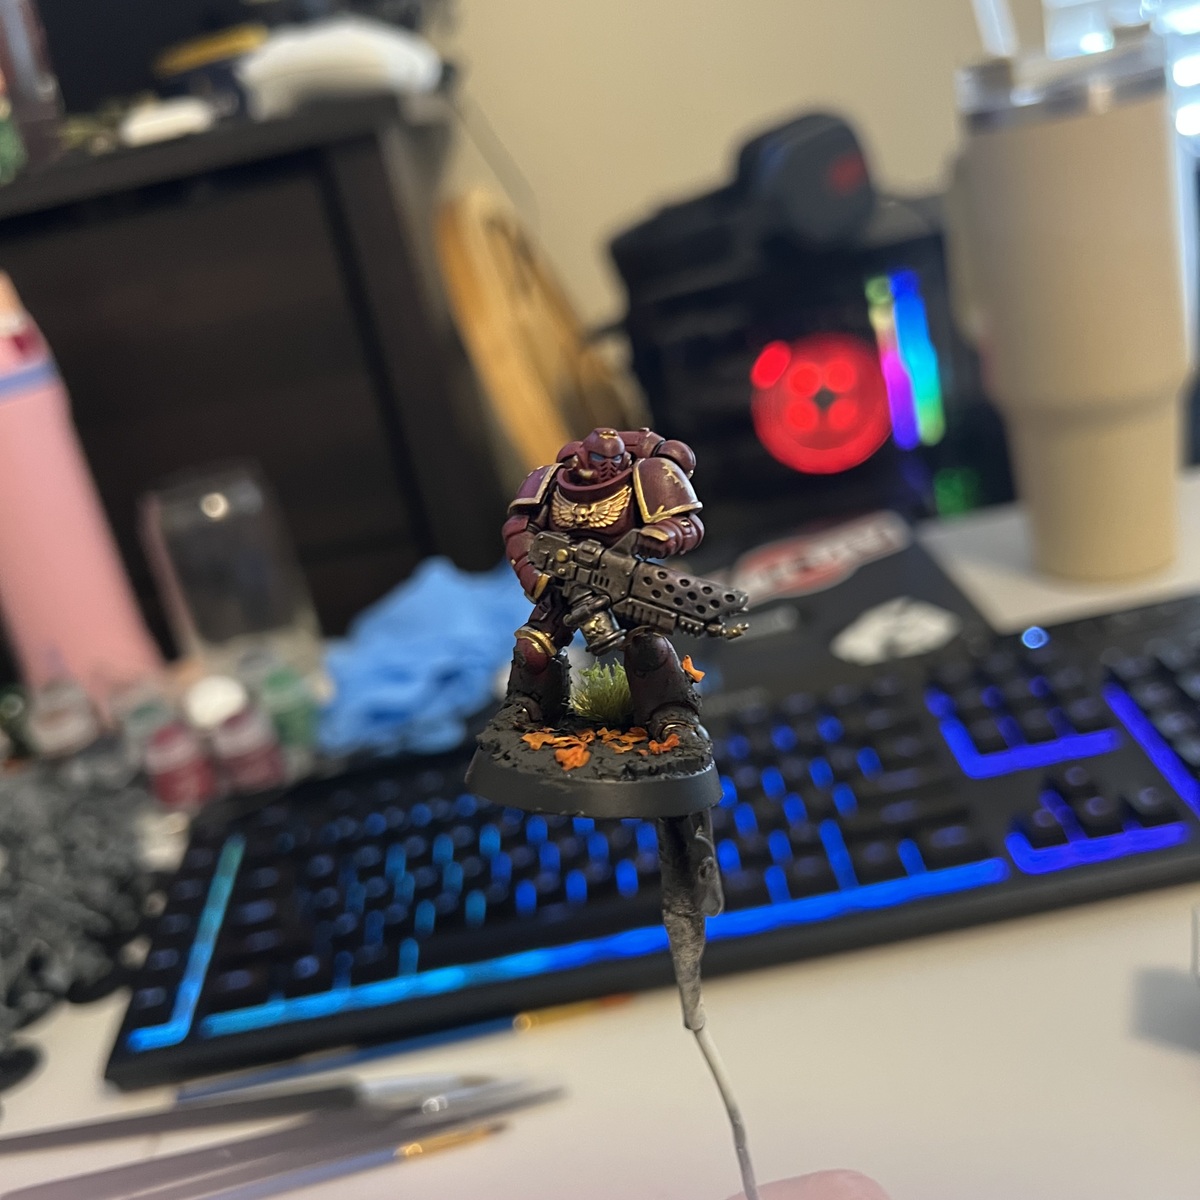
Red Corsairs
quick n dirty recipe for grungy metallic red power armor. This method is incredibly formulaic, but also incredibly modular with different base metallics producing different results.
-
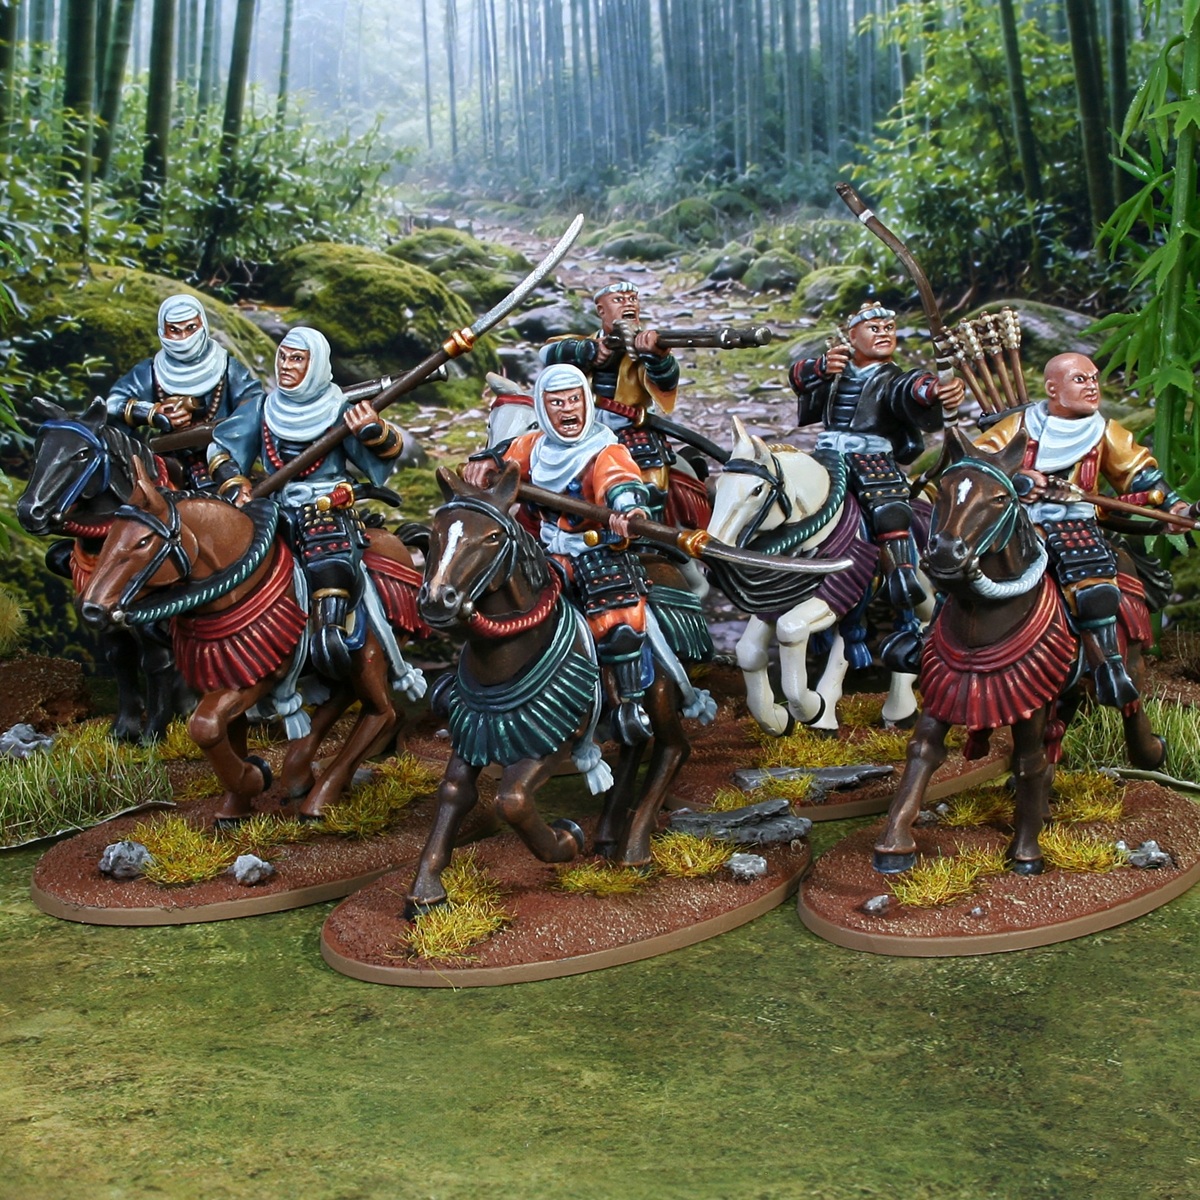
Sohei Warrior Monks (Mounted)
Kindly sent to me by Fireforge games, these models are a mash-up of their Mounter Samurai and Sohei Warrior Monks kits, to see what what possible. He is how I went about painting my test models.